Other than installing drywall, you can use drywall mud (otherwise known as joint compound) to cover up seams and fill up any areas that need repairs, like holes left by nails.
You should always apply more than one coat of drywall mud in these areas requiring repairs to get the best results. You may want to sand it, also.
The whole concept of sanding may seem complicated. And this is why we’re here to help. We’ll walk you through the proper sanding process and answer any lingering questions.
Yes, it helps to sand while drywalling. It’s not a mandatory process, but to achieve seamless sheetrock, do some sanding. So, after the initial coat of mud dries, apply two other coats of a compound to the fasteners while continuously sanding between individual coats. Avoid dirty work; wipe your knife with the mud pan’s edge.
We know you’ve had worries that may stem from failed attempts at sanding. But after this article, we guarantee you’ll understand the sanding process more.
And how to undertake any sanding or drywalling project.
Ready for a Drywall Quiz?
Should You Sand Each Layer of Drywall Mud Before Applying Subsequent Coats?
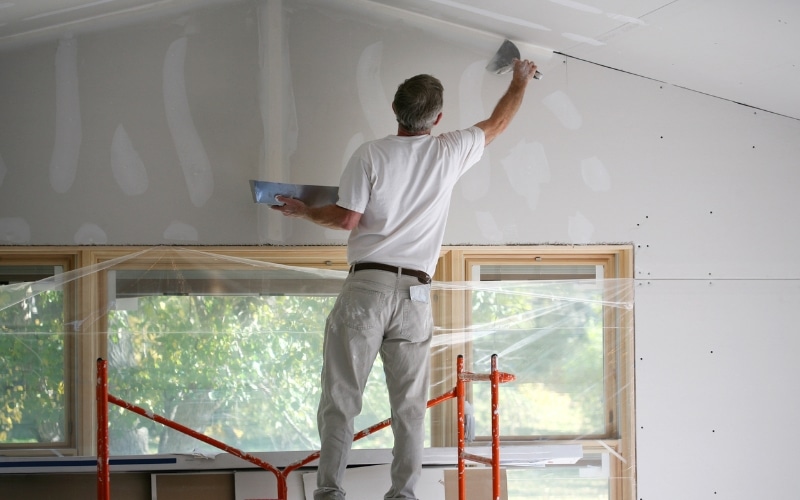
Most projects may require you to sand between coats of joint compound to achieve a perfect drywall finish. And this is why you should always check the guidelines of your mud.
However, it would be best to leave it to set for at least a day before using a joint compound paper. Afterward, you can remove any lumps of mud after applying the first and second coats.
It’s not essential to achieve a perfect finish at this moment. Nevertheless, most professionals may smoothly apply the joint compound in such a way that sanding would be unnecessary.
Which significantly reduces the time and amount of joint compound you may exhaust during the process.
And this is why it’s always best to consult a drywall expert if you need help doing the job yourself.
Generally, it’s a recommendation that you sand each layer of drywall mud before you apply subsequent coats.
Sanding helps smooth the surface and remove any bumps or lumps, helping you create a more even and professional finish.
Additionally, sanding helps remove excess mud, ensuring that the next coat will adhere properly to the surface.
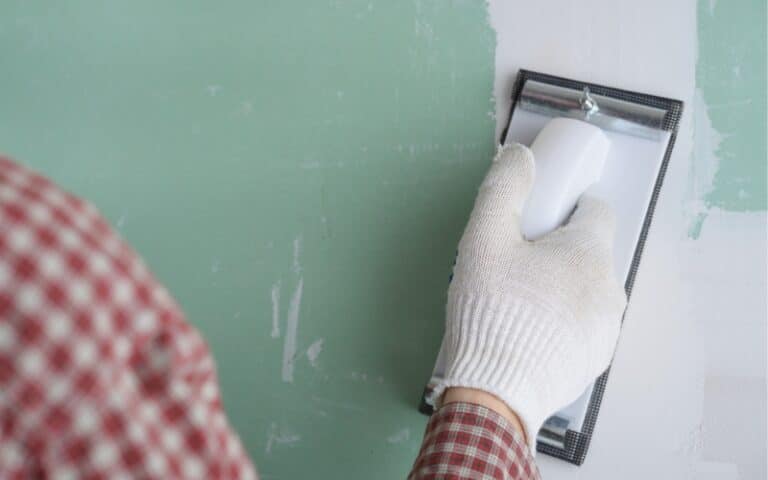
When sanding drywall mud, it’s essential to use fine-grit sandpaper and to rub lightly to avoid damaging the drywall.
Also, It’s always best to use a sanding pole or sanding block to ensure that you’re applying even pressure, as this helps prevent the sandpaper from tearing.
After sanding, it’s ideal that you clean the surface with a damp cloth to remove any dust or debris before applying the next coat of mud.
Doing this will help the next coat bond properly and will also help to remove any lumps or dents from showing through the finished surface.
The table below contains the pros and cons of sanding your drywall.
| Pros | Cons |
|---|---|
| Smooths out uneven and rough surfaces. | Time-consuming and labor-intensive. |
| Removes imperfections and blemishes. | It creates a lot of dust which may be harmful when inhaled. |
| Blends seams and joints. | It creates more imperfections and uneven finishes if not sanded properly. |
How Long Should Drywall Mud Set Before Applying Another Coat?
The amount of time you should set drywall mud before applying another coat dramatically depends on the type of mud you’re using. Plus, the humidity and temperature of your work environment.
As for most types of drywall mud, it’s best to allow the first coat to set for at least 24 hours before applying the second coat.
Give the mud sufficient time to dry and harden. In addition, it will help to ensure that the next coat adheres properly.
However, If you’re working in a humid environment or with a very high temperature, it may be necessary to allow the mud to set for longer than 24 hours before applying the next coat.
But, if you’re operating a busy schedule, let the mud dry at its own pace and naturally.
In these conditions, the mud may take longer to dry and harden, affecting the quality of the finished surface.
Also, most drywall will require you to allow it to dry for at least a day before you can sand, prime, and then paint the drywall (if it’s the final coat).
It’s also a good idea to check the manufacturer’s instructions for the specific type of drywall mud used, as they may have specific recommendations for drying and curing times.
How Many Coats Can You Apply Before Sanding Drywall Mud?
You should apply at least two coats of drywall mud when finishing drywall.
The first coat, also known as the “scratch coat,” is applied to the joints between the drywall panels. And you can use it to smooth out any blemishes, creating a uniform surface.
You can apply the second coat, also known as the “finish coat,” over the first coat. And its use is to smooth the surface further and to create a more polished finish.
After you’ve applied the second coat and allowed it to dry completely, you can sand the surface to smooth out any remaining finish.
Also, you can add a topcoat and a third coat at this stage. Finally, an experienced finisher can perfect a flat, finished surface at this stage.
However, you’ll need to use a more flexible wider knife to apply a fourth coat. And, if there are any irregularities or unevenness on the walls, you’ll need to add a fifth coat.
It’s best to let the mud dry completely before sanding, as sanding too soon can cause the mud to crumble and create more work for you.
Also, you can apply additional coats of drywall mud if you want, but generally, two coats are sufficient for most applications.
So, allow each coat some time to dry completely before applying the next coat. Sand between coats if needed, creating a smooth, uniform surface.
Finally, several elements determine the coats you’ll need to apply to produce a level.
And smooth drywall, including your level of expertise, the evenness and smoothness of your wall, and the quality of the joint compound.
Nevertheless, you should expect that you’ll need to apply at least three to five potential layers of drywall mud.
And also, you should prepare to mildly sand the wall between each application to achieve a perfect finish.
It would help if you didn’t give up after any failed attempt, as practice does make perfect.
However, if you’re undertaking the job as a finisher or mudslinger, remember the techniques and processes involved in performing this DIY project.
How Thick Should Drywall Mud be on Each Coat?
Since you use drywall mud to achieve seamless joints between sheets of drywall and to cover screws or bumps on a surface.
It’s important to use the right thickness to ensure a smooth, professional finish. Therefore, here are some general guidelines for applying drywall mud:
The First Coat (also known as the base coat): Drywall mud should be relatively thin, about 1/8 to 1/4 inch thick.
This coat can fill the gaps between the drywall sheets and cover any surface imperfections.
The Second Coat (also known as the second coat or build coat): The coat of drywall mud should be slightly thicker than the first coat, about 1/4 inch to 3/8 inch thick.
You can use this coat to smooth out any imperfections in the surface and to create a uniform surface for the final coat.
The Final Coat (also known as the finish coat or top coat): The drywall mud should be the thinnest, about 1/8 inch thick.
This coat helps smooth out the surface and create a seamless finish.
It’s worth noting that these are just general guidelines, and the thickness of the drywall mud may vary depending on the specific needs of your project.
Nevertheless, you should apply several thin coats rather than one thick coat, as thin coats are easier to smooth out and produce a better finish.

