Drywall sheets give you a smooth and neat finish after installation. With the proper installation, you wouldn’t need any repair or remodeling for long.
However, one common mistake during installation is leaving wide gaps between the drywall sheets. They create a line that reduces the neatness of the wall.
Without immediate intervention, the gap can get more comprehensive and create more problems. Hence how do you deal with drywall gaps between sheets?
Use a setting compound to fill the space between the sheets. This method is comprehensive but practical. There are quick fixes to the problem, but using this compound ensures a complete seal of the gaps. You will also need tape and an all-purpose compound for smooth work. However, you must consider the size of the gap before fixing it.
In this article, I will explain the reasons and solutions to drywall gaps between sheets and if you can fill gaps in the drywall before taping.
By the end, you’ll also understand what size of drywall gap is too big.
Ready for a Drywall Quiz?
Why Are There Gaps Between Drywall Sheets?
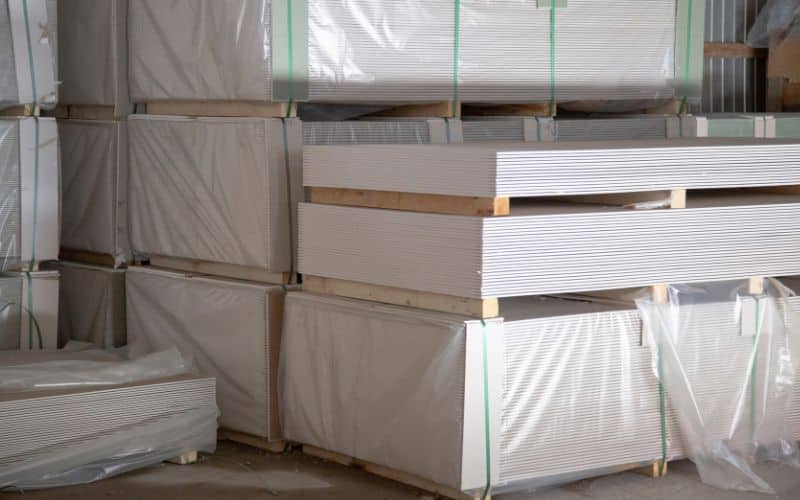
The most common reason for gaps between drywall sheets is installation processes and style. When installing drywall sheets, the recommendation is that you leave space between each sheet.
This space is to give room for expansion from either side. During expansion, the space between the walls protects the drywall and prevents cracking.
However, three likely scenarios that cause gaps between drywall sheets; are as follows:
- Sometimes, the wall between these sheets is wider than the recommended ⅛ inch. A wider gap leaves your work incomplete and disfigured.
- In some other scenarios, the initial space is appropriate but widens as the wood behind the wall shifts and the house goes through wear and tear.
- Another common type of gap exists between drywall sheets in a corner. This fault is often due to poor installation.
How Do You Fix a Gap Between Drywall Sheets?
With simple steps, you can fix a gap between drywall sheets effectively. The goal is to fill and cover to prevent future gaps.
This aim is achievable even with little knowledge and expertise. Before you begin, ensure you have everything you need for the work.
Here are the materials necessary for fixing the gap:
- Safety gears for eyes and nose
- Screwdrivers and hammers
- A dragging knife
- Setting Compound
- All-purpose Compound
- Tape
- Sandpaper
- Mixing Bucket
Here are the steps involved:
#1. Start With Safety
Before fixing, it is best to ensure all safety protocols are in place. There might be little to do in new unused homes but switch off the electric supply to the affected walls.
For houses with appliances, remove anything attached to the wall. Move things that could get stained away from the area.
#2. Remove Nails and Screws
If there are protruding screws and nails close to the gaps between the sheets, it is best to remove them. Removing them leaves you with holes that you can quickly fill later on.
If removal is not easy, you can drive in the screws and hammer the nails. Make sure you get these nails and screws to enter the wall completely. However, don’t overhit the wall.
#3. Cut Out Rough Edges
If the gap between the drywall sheets is due to long cracks, it is necessary to smoothen out the gap. You can do this by cutting off the jagged edges.
Loose edges and sheets can cause bubbles under the tape. It is best to cut it off neatly.
#4. Use Stain-Blocking Primer
Spray stain-blocking primer on the wall surface. The area includes places outside the paper area. It is also good to spray the edges.
#5. Mix your Setting Compound
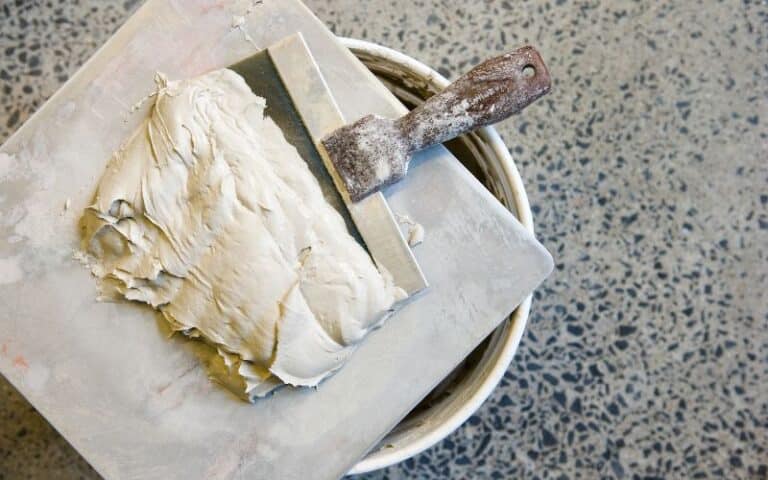
Mixing your compound at this point and not before removing the obstruction is best. Carefully mix the compound to a butter-like texture that is smooth and thick.
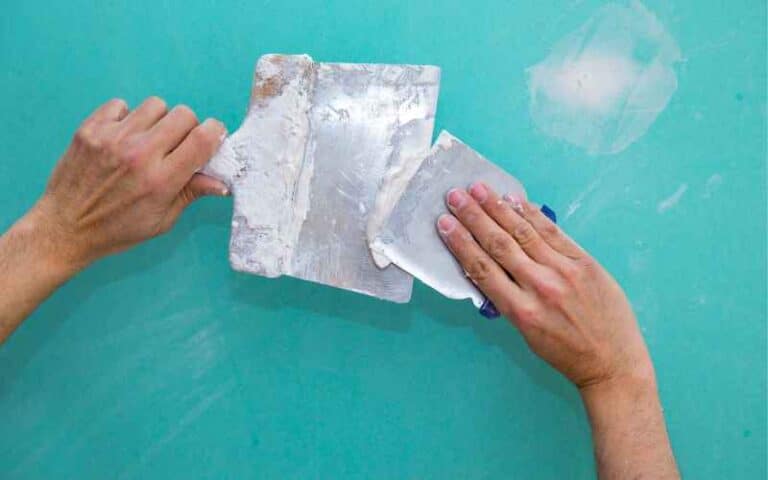
Apply it to the gaps by dragging a knife filled with the compound over it. Drag or press the knife against the wall with the compound until it is filled and can’t take anymore.
While applying, blend the compound with the wall around the space. Even it out for a smooth and even result.
#6. Remove Rough Spots
Allow the compound to dry. However, remove any bulge or spot you missed before it becomes solid. Move a neat knife over the gap firmly.
This step removes the rough parts without removing the compound in the gap.
#7. Apply All-Purpose Compound
Mix and apply another compound level over the gap. The goal here is to smoothen out the edges of the wall.
Allow it to dry out evenly without rough spots. However, the wall should not be arid before the next step.
#8. Tape the Gap
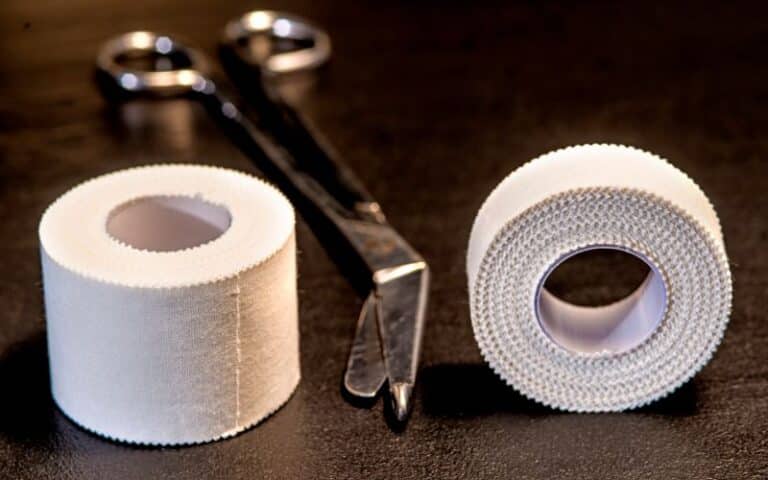
Gently apply tape over the area of the gap where you have your compound. Use a trowel or another proper tool to smoothen out the tape. Run it over the tape and ensure there are no spaces.
Next, add a thin compound layer to the tape and smooth it out. That should make your work neater and more pleasant.
Allow the compound to dry out while you cut off the open edges of the tape/
#9. Sand the Compound
To achieve that nice and smooth feeling after completing the work, sand out the compound. Don’t forget to use protective gear for your eyes and nose.
Fine dust from compounds can cause allergic reactions. After sanding to the desired smoothness, the next step is to paint the wall to match the old surroundings.
Can You Fill Gaps in the Drywall Before Taping?
You can fill the gaps in the drywall before taping or go with the taping option. The right choice depends on the size of the gaps between the drywall sheets.
When the gap is small, you can tape over it without filling it. However, significant gaps over an inch or more require filling before taping.
The space or gap can appear in a corner or between two flat walls. Both scenarios use similar steps with slight differences.
For instance, you don’t need a corner beading when filling space between two flat walls. After applying the compound, you apply tape if there are no gaps between the corners.
#1. Cut the Corner Beading to Fit (For Corner Walls)
Before filling, trim the corner beading to the proper length and width that covers the gap. If there are irregular gaps outside the beading, you can mark them out.
The plan is to fill those gaps before installing the corner beading.
#2. Mix Patching Compound
To fill the gaps, mix only the needed amount of patching compound. It is best to use this compound form for this filling work due to its durable strength when drying.
Carefully mix the compound to a semi-solid state. It should be thick with a smooth texture. Don’t mix all the compounds simultaneously if the task is too much.
These patching compounds get dry and hard quite quickly.
#3. Apply the Compound
When filling the gaps, apply the compound with the appropriate tools. A 4-inch blade is suitable in this instance. Apply into the gaps and flatten out the edges.
Ensure to make the walls as smooth as possible.
There is also a need to work fast in this regard. Sanding patching compounds is difficult; any uneven surface can make corner beading installation difficult.
#4. Apply Drywall Tape
Tapes help to cover the fill between the drywall sheets. It also acts as a bond to hold the mud if you plan to mud the wall.
Hence it is vital to tape properly without space or air between the compound and the tape. You can tape flat walls and inside corners.
#5. Install the Corner Beading
After some minutes, the compound is dry, hard, and smooth. You can install the corner beading using nails or screw along the sides. You can use more compounds to edge out the sides of the beading.
How Big of a Drywall Gap Is Too Big?
Any gap exceeding the 1-inch limit is too wide for mud fixing. When dealing with gaps between drywall sheets, it is vital to consider the width of the gap. The gap during installation is ⅛ inch.
However, the gap can get bigger. When dealing with a gap between ⅛ inch and ½ inch wide, you can use tape and apply compound over the tape for a smooth effect.
When the width is between ½ and 1 inch, use a compound to fill the space before taping. However, any gap wider than 1 inch is too big for this method.
Here is a table showing the summary of the drywall gaps and the appropriate solution:
| Gap size | Appropriate Solution |
|---|---|
| ⅛ to ½ inch | Tape and Mud |
| ½ to 1 inch | Compound filling, Tape and Mud |
| I inch and above | Use expansion foam or drywall patch |

