We often look forward to home makeovers for the joy of having a new look or setup. As such, months or at least weeks of planning goes into a project.
Yet, there’s a place where all the daydreaming doesn’t go exactly to plan due to a slight fault. Imagine installing a cement board to see that it’s not flush with the drywall.
That’s a problem regarding aesthetics, although some people have no issue with it.
It’s usually a measurement error when the cement board isn’t flush with the drywall after installation. The situation can quickly become an eyesore, so it’ll demand immediate fixing. Thankfully, it’s possible to salvage the situation without discarding the setup. Also, you can leave the structure as it is if there’s no issue with functionality.
Missing a measurement by a fraction of an inch or even more is expected. Although that may seem small, the error can be costly when fitting parts.
This article will look at installing cement boards flush with the drywall. You’ll learn how it matters during installation and also how to achieve great looks with a flush setup.
Ready for a Drywall Quiz?
Does Cement Board Need to Sit Flush With Drywall?
One of the common questions when it comes to installing cement boards is if it needs to sit flush with the drywall. The answer is yes; the cement board should sit flush with the drywall.
Cement board is often a substrate for tiles in wet areas where moisture is a concern, like bathrooms and the kitchen.
The cement board is a stable and moisture-resistant surface for tiles in such areas. Yet, installing the cement board flush with the surrounding drywall is vital.
Doing that will ensure a smooth and level surface when installing tiles.
However, a tile installation will be uneven if you don’t install the cement board flush with the drywall. The tiles will sit unevenly and cause grout lines to seem rough or crooked.
That result will make the installation look unprofessional and need more structural integrity.
Also, gaps and unevenness between the cement board and drywall will exist if they aren’t flush.That’ll create an area for moisture to seep in.
Over time, the moisture will lead to mold growth and other water damage. Ensure the cement board is flush with the surrounding drywall during installation.
That will help to ensure a smooth and level surface for tile installation and prevent any potential water damage or mold growth.
Installing cement boards over a stable and structurally sound substrate like drywall or plywood is helpful.
Before installing cement board, it’s vital to ensure the surface is clean, dry, and free of debris or protrusions.
Cement board installation is possible by using screws, nails, or adhesive. However, the installation method can vary depending on the product and manufacturer’s instructions.
It’s vital to properly tape the seams between cement board sheets and fill them with mortar. That gives a continuous and waterproof surface.
After installing cement board, a helpful tip is to let the sheets fully cure and dry before you install tiles or other finishes.
Also, follow the manufacturer’s instructions for installing and maintaining the specific cement board product you’re using.
Doing that will give you a solid finish and ensure your installation stays in place for a long time.
How to Make Cement Board Flush With Drywall?
Please follow the steps below to install the cement board flush with the drywall.
#1. Measure and Cut the Cement Board
Measure the area where you want to install the cement board and cut it to size using a circular saw or a carbide-tipped scoring knife.
Wear safety goggles and a dust mask when cutting the cement board.
#2. Determine the Thickness Difference
Before you begin, you’ll need to determine the thickness difference between the cement board and drywall. You can do this by measuring the thickness of each material.
#3. Cut Cement Board to Match
Once you know the thickness difference, you can use a circular saw or jigsaw to cut the cement board to match the drywall thickness.
Ensure to wear a dust mask and eye protection while cutting.
#4. Install the Cement Board
After cutting the cement board to match the thickness of the drywall, install it over the framing using cement board screws.
Make sure the screws are flush with the surface of the cement board.
#5. Install the Cement Board
Secure the cement board to the framing or substrate using screws, nails, or adhesive per the manufacturer’s instructions. Place the board flush with the surrounding drywall.
#6. Tape the Seams
Cover the seams between the cement board sheets with fiberglass mesh tape. Then apply a thin-set mortar layer over the mesh tape using a trowel.
That helps create a continuous and waterproof surface.
#7. Smooth Out the Surface
Once the thin-set mortar has dried, use a sanding block or power sander to smooth out any bumps or ridges and create a flat surface.
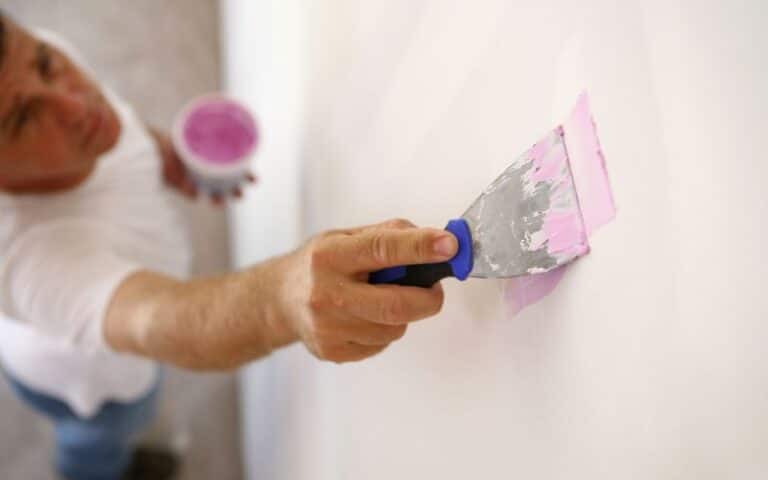
#8. Apply Joint Compound
After installing the cement board, apply a thin layer of joint compound to the transition area between the cement board and drywall.
Use a drywall knife to feather the joint compound from the transition area onto the drywall, creating a gradual slope.
#9. Sand the Joint Compound
After the joint compound has dried, use a sanding block or sandpaper to smooth out any bumps or ridges and create a flat surface.
Be sure to wear a dust mask and eye protection while sanding. After that, you can prime and paint or install tiles based on your plan to use the setup.
By following these steps, you can ensure that you install your cement board flush with the drywall, creating a stable and moisture-resistant surface for proper use.
Can You Tape Cement Board and Drywall Seam?
Tipping the seam between the cement board and drywall is generally not a good idea. That’s because the surfaces have different properties and movement characteristics.
The varying properties can cause the tape to crack or pull away from the surface over time.
Also, the joint compound used for taping drywall seams may not adhere well to the cement board. That can lead to cracking or separation.
Instead, it’s better to use a flexible caulk or sealant to fill the gap between the cement board and drywall.
That will allow for some movement and flexibility between the two surfaces and create a waterproof seal that will help prevent moisture from seeping in.
When applying caulk or sealant, clean the gap thoroughly and allow it to dry completely before using.
Use a caulking gun to apply a continuous bead of caulk or sealant along the joint. Then use a finger or a tool to smooth and shape the caulk or sealant.
Once the caulk or sealant has dried, you can install the tile.
Using a flexible caulk or sealant instead of tape ensures a proper seal at the joint. That is the joint between the cement board and drywall.
It also gives protection from moisture while allowing for some movement between the two surfaces.
The table below gives some alternatives to taping cement board and drywall seam.
| Alternative | Description |
|---|---|
| Mesh Tape | Mesh tape is a self-adhesive tape that reinforces joints in drywall and cement board. |
| Joint Compound | The joint compound fills the joint between the cement board and drywall sheets. |
| Corner Bead | A corner bead is a metal or plastic strip that reinforces the corners of the drywall and cement board. |
| No-Coat Drywall Corners | These are rigid plastic materials you install without joint compound or tape. |
| Backer Rod | A Backer rod is a foam product for filling gaps in joints before applying joint compound. |
How to Finish Cement Board to Drywall Transition?
You’ll want to use a flexible joint compound when finishing a cement board to drywall transition. That helps bridge the differences in movement between the two surfaces.
Below are the steps to complete a cement board to drywall transition:
#1. Clean the Joint
Use a drywall knife to clean any debris or excess mortar from the joint between the cement board and the drywall.
You want the joint to be as clean and smooth as possible before applying the joint compound.
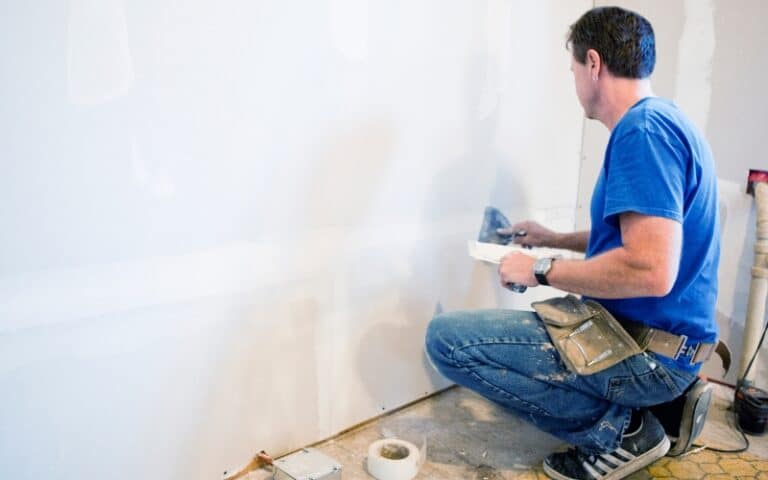
#2. Apply Joint Compound
Use a flexible joint compound to fill the joint between the cement board and drywall. You can use a drywall knife or a caulking gun to apply the joint compound.
Make sure to fill the joint. Also, allow the joint compound to dry per the manufacturer’s instructions.
#3. Sand the Joint
Once the compound has dried, use a sanding block or sandpaper to smooth out any bumps or ridges. The result yields a flat and level surface.
Be sure to wear a dust mask and eye protection while sanding.
#4. Apply a Second Coat
Depending on the size and depth of the joint, you may need to apply a second coat of joint compound.
Repeat applying and sanding the joint compound until you achieve a smooth and level surface.
#5. Prime and Paint
Once the joint compound is dry and smooth, you can prime and paint the transition area to match the surrounding drywall.
Following these steps, you can finish the transition between the cement board and drywall using a flexible joint compound.
Doing that creates a seamless and professional-looking surface.

