Pipes are common features of every home, serving some important functions, including drainage. Hence, one must encounter them while installing drywalls, especially in toilets.
Some pipes run along the walls, while others protrude beyond their thickness. Drywalling over the latter is more challenging and technical than installing sheetrock over flat surfaces.
However, it is possible to drywall over protruding pipes, and knowledge of the process makes it easy.
Installing drywall over protruding pipes requires cutting a hole in the sheetrock for the pipe. Measuring and cutting the space for the plumbing feature is the major detour of the process from normal drywall installation steps.
In this article, you’ll learn how to install drywall over protruding pipes and cover exposed ones.
Ready for a Drywall Quiz?
How To Install Drywall To Sit Flush Over Protruding Pipe?
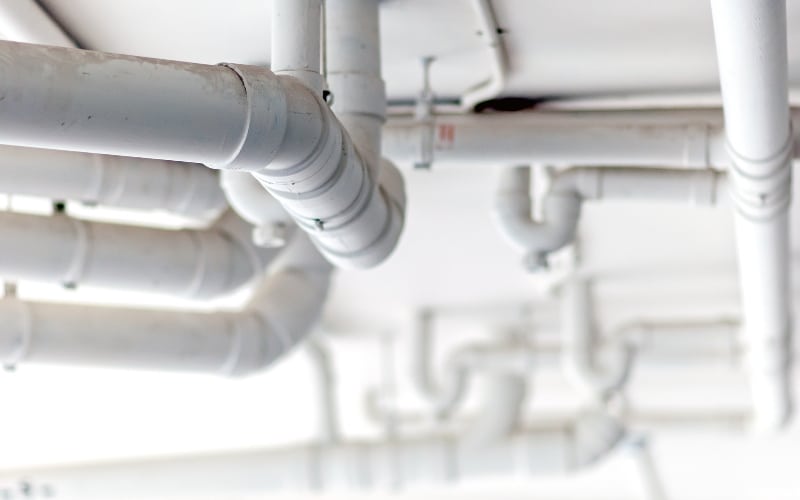
Pipes in walls may protrude vertically or horizontally. The angle of protrusion determines the ease of installing drywall over pipes.
It is easier to install drywall to sit flush over horizontally protruding pipes.
You can do so with the steps below:
- Measure the area’s dimensions and cut out a piece of drywall accordingly. To avoid drywall waste, use a piece of cardboard to get the measurements right.
- Measure the pipe’s edges and draw its radius on the cardboard template.
- Transfer the measurement to the drywall sheet.
- Cut out the pipe holes using a keyhole saw.
- Cut the drywall through the center of the pipe hole to divide it into top and bottom pieces.
- Screw the pieces onto the stud. If there are no studs in the area, use some strips of drywall or wood to make the build-out. It enables the drywall to sit flush with the surface.
- Apply mesh tape around the edges of the area.
- Apply joint compound on the drywall in coats sanding between each coat with 120-grit sandpaper.
- Finish to a consistent texture and repaint.
Installing drywall over vertical protruding pipes can be tricky. To blend the rock sheet over a large area, you will need to fix it.
It would help if you considered hiring a drywall taper to handle complex jobs to achieve the best result.
Can You Cover Exposed Pipes With Drywall?
Yes, you can cover exposed pipes with drywall. However, the possibility & ease of this task depends on the type of wall and the location of the pipes.
If you have a plaster wall, you must make the exposed area regular to let in the drywall patch. Areas of exposed pipes on walls made of drywall will likely have regular shapes.
Follow the steps below to cover exposed pipes with drywall if they are within or behind the walls:
- First, measure the width and length of the area with the exposed pipes.
- Then, transfer the dimensions to a drywall sheet and cut it out.
- Screw the drywall to the walls. Ensure you screw the rock sheet into the wall studs, not just the drywall. Line the edges with wood if there are no studs in the area.
- Mask the edges with a mesh.
- Apply joint compound over the screws and seams in coats sanding between coats with 120-grit sandpaper.
- Prime and repaint the area to match the rest of the wall.
It takes a new approach to cover pipes not within or behind the walls with drywall. It would be best if you built a drywall box over the pipes to cover them in this situation.
Follow the steps below to build a drywall box cover over exposed pipes:
- First, determine the size of the drywall sheets you will need. Next, you can measure the length, width, and height of the area around the exposed pipes.
- Cut drywall sheets using the dimensions you measured using this utility knife. You will need three sheets if the pipes are close to the wall. Otherwise, get four sheets.
- Screw the drywall sheets to the wall using a drill or a screw gun. Ensure that they are straight and level.
- Place another sheet over the sheets.
- Tape the edges of the sheets with drywall mesh.
- Apply joint compound to the box in coats and allow it to dry. Ensure to sand between coats.
- Paint the drywall box to match the rest of the wall.
- See alternative steps for building a drywall box for exposed pipes here.
A drywall box is a good way to cover exposed pipes. However, it comes with some disadvantages too.
The table below contains the advantages and disadvantages of this method:
| Advantages | Disadvantages |
|---|---|
| It hides pipes and gives spaces a cleaner and more finished look. | It requires additional material and labor to build, thus proving expensive. |
| It increases safety by preventing accidental contact with pipes. | It makes pipes difficult to access for maintenance or repair. |
| It insulates pipes and improves energy efficiency. | It may prove challenging to install, especially around pipes that are not straight. |
| It absorbs sounds from water pipes and reduces noise from such. | It reduces ventilation leading to condensation and corrosion problems. |
| It increases storage space. | Enclosing pipes in drywall boxes reduces their visibility and makes them difficult to identify. |
| It improves structural integrity by providing additional support for pipes. |
How To Fix Drywall After Repiping?
The degree of drywall installation required after repiping depends on the work done. Some repiping works require small areas of drywall installation, while others need larger areas.
Whatever the case, it is certain that repiping will leave exposed and likely protruding pipes.
Therefore you can follow the steps below to fix drywall after repiping:
- First, measure the dimension of the area that needs the drywall fixed.
- Cut out corresponding measurements on drywall sheets.
- Next, mark the positions of the pipes on the drywall and cut out the pipe holes.
- Attach the drywall to the wall with drywall screws.
- Mask the joints with mesh tape.
- Apply joint compound in coats. Ensure you sand between coats to get a consistent texture.
- Prime and repaint the area to match the rest of the wall.
How Fix Drywall Around Toilet Pipes?
Drywall installations in toilets should consider pipes, as these plumbing features abound in these areas.
This task requires cutting holes through the sheetrock to accommodate the toilet pipes.
The following steps will help you fix drywall around toilet pipes:
- First, measure the dimensions of the area where the drywall will hang.
- Measure from the side of the area to the centers of the pipes.
- Measure from the bottom or top of the area to the centers of the pipes.
- Transfer the measurements to the drywall sheet that you intend to use.
- Mark the intersection of the side and top or bottom measurements. This joint will give you the center of the pipe hole.
- Make a circle with that point as the center using a compass. Ensure that the circumference is slightly bigger than that of the pipe.
- Cut the holes using a keyhole saw or drywall saw.
- Attach the drywall to the area with drywall screws.
- Tape the edges with drywall mesh tape.
- Apply drywall mud in coats. Ensure to sand between coats with 120-grit sandpaper.
- Prime and paint the area to match the rest of the wall.
Following the necessary precautions for drywall, installations are important to ensure a seamless fix. Hiring a professional drywall taper is best if you doubt your ability to do the job.

