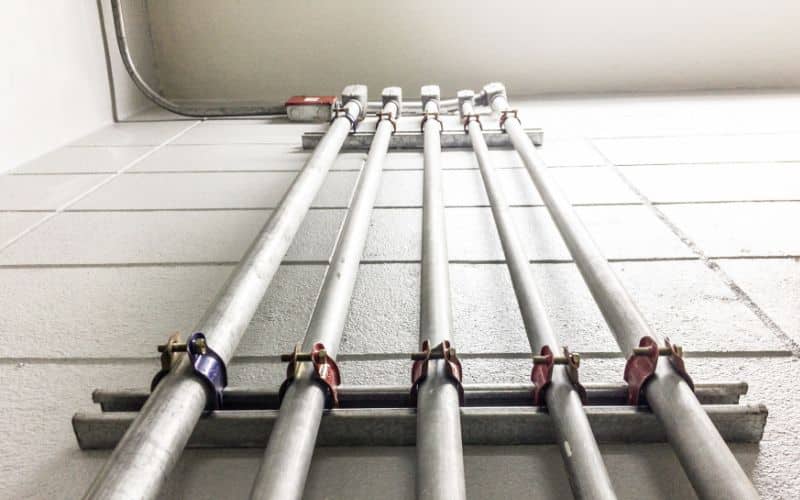
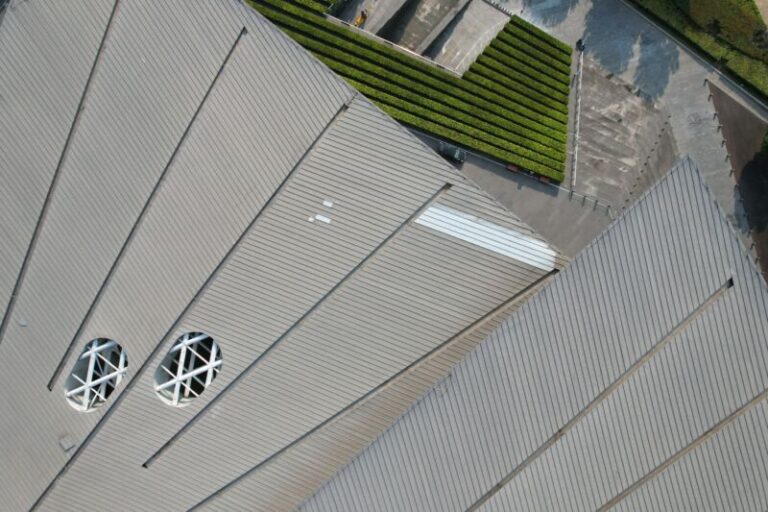
Sometimes your home wiring process may require cables going outside the building, including passing through the roof too.
However, leaving the electrical wires exposed to the sun’s heat or rainy atmosphere isn’t a good idea. For this reason, your wires need to go through electrical conduits to get adequate protection.
An electrical conduit can be rigid or flexible, but the rigid type is best for a roof operation. Furthermore, electrical conduits can be placed through roofs to help enclose and secure wires. Although to safely run electrical conduits through a roof, you’d need to follow the National Electrical Codes.
Ready for a Roofing Quiz?
Can You Run an Electrical Conduit on a Roof?

You can run an electrical conduit on a roof. In fact, you can place the conduit in almost any location outside your house. As long as exposed wires are on your rooftop, you’re permitted to use a conduit.
Nevertheless, not all types of electrical cables are needed to be in conduits. But if your wires ought to be shielded from heat and water, you should get something to protect it.
In addition, the rigid PVC electrical conduit is best for installation on a roof.
Further, a rigid conduit has a better chance of resisting the sun’s heat than a flexible conduit. Also, running an electrical conduit on a rooftop must be positioned according to the NEC.
So again, it would be best if you also considered the ambient temperature correction factor for installing electrical conduits on a roof.
Meanwhile, running an electrical conduit through a roof has its shortcomings. For example, engineers can encounter an electrical conduit during roof system maintenance or while attaching roof membranes.
Unfortunately, the conduit might be embedded within roof assemblies or wrongly installed under roof deckings.
This situation can be potentially dangerous in cases where you don’t notice the presence of an electrical conduit.
In addition, electrical items like the service entrance conductors and other cables can get subject to physical damage.
For these reasons, you should take note of electrical conduit positions and roofing assemblies that might be mounted together.
Similarly, an electrical shock or fire might occur when roofing membrane fasteners contact an electrical conduit. But, on the other hand, it would cost the owner of the building dearly.
Therefore, if an electrical conduit needs to be placed near the roof assembly, it’s recommended the conduit be positioned securely.
Electrical Conduit on Roof Code?
The National Electrical Code, in chapter 3-Wiring Methods and Materials, addresses the wiring method.
Further, the electrical conduit code accurately describes how to place conduits to affect conductor ampacity positively.
Let’s look into some of the NEC sections that relate to an electrical conduit on a roof.
#1. Number of Conductors That Can Fit Into a Conduit
#1. Adjustment Factor
Adjustment factor refers to a reduction of ampacity caused by the high number of conductors in a conduit.
For instance, when more conductors pass through the same conduit, they won’t dispel heat as quickly as fewer conductors.
In other words, conductors are reduced to lessen the ampacity due to extra heat in the conduit.
Having that in mind, a conduit containing more than three conductors would have a high ampacity.
That means the total ampacity must be reduced according to the percentages in NEC Table 310.15(B)(3)(a).
#2. Ambient Temperature
#1. Correction Factors
Correction factors are ampacity changes due to ambient temperature. However, the ambient air temperature around a conductor affects permitted ampacities.
Usually, conductors can safely handle higher ampacities in cold temperatures.
Meanwhile, permitted ampacities can go lower in hotter temperatures. Nevertheless, standard air temperature is between 78-86 degrees Fahrenheit according to the 2017 NEC.
Therefore, if the temperature shows otherwise, the conductor ampacity must be corrected based on the percentages in Table 310.15(B)(2)(a).
#3. Conduit Level Above the Roof
The position of a conduit above your roof is significant in calculating rooftop conductor ampacity. Based on Section 310.15(B)(3)(c) in the 2017 NEC, a conduit must be at least 7/8 above a rooftop.
If not so, you must add 60 degrees Fahrenheit to the ambient temperature correction factor.
According to the exception in 310.15, (B)(3)(c) NEC book, Using the Type XHHW-2 service entrance conductors can avoid the addition of 60 degrees Fahrenheit correction factor.
#4. Section 300.4(E)-For the Protection of Cables, conduits, or Boxes Installed Under Roof Decking
The code states: You should not install a cable, raceway, or box in exposed or concealed locations under metal-corrugated sheet roof decking.
However, a rigid metal conduit and intermediate metal conduit are exceptions to the 300.4(E) code.
Installation of Conduit Across the Roof
While installing the conduit is better left to professionals, it can also be a DIY task. You can follow the procedures below to place a conduit across your roof.
#1. Install Flashing
Use a flat bar to loosen the shingles that the flashing will slide under at any desired location. Then, drill pilots on the marked places.
Afterward, backfill each pilot hole with roofing sealant, and apply the sealant under the raised shingle in a U-shape form.
Now slide the flashing under the raised shingle, aligning with the flashing hole.
However, pilot holes are not required when installing flashing directly to the roof deck. But while installing into a rafter, be sure to drill a 3/16 pilot hole.
#2. Install Conduit Mount
Place conduit mounts onto flashing so that the pre-installed EPDM grommet properly sits against the raised hole in the flashing.
Once the mount is in place, insert the lag screw through the mount and flashing into the pilot hole. Then, tighten the screw until the EPDM in the sealing washer bulges, and be sure not to over-tighten.
#3. Install Conduit
Lay the conduit into the conduit mount. After this, snap the cap into place to secure the conduit. Doing this would hold the conduit firmly to the roof.
How Do I Properly Use Conduit Across Roof Shingles?
You’d need to install a conduit penetration flashing to use the conduit across your roof shingles properly. First, that would keep the dripped holes on the roof shingles safe from water intrusion.
Secondly, the flashing also makes placing different conduit sizes through your shingles quick and convenient.
Here’s how to install conduit penetration flashing. First, locate your conduit penetration point adjacent to a rafter and drill a hole.
Then, gently break the seal on the course of shingles that the flashing will slide under.
Now, slide the spun cone aluminum flashing under the shingle and position it over the hole. Ensure to cut the shingles as to the shape of the cone flashing.
With your conduit penetration flashing location determined, remove the flashing.
Having done that, apply a sealant to the underside of the shingle around the hole. Afterward, slide the flashing to its proper position and add another line of sealant to its top.
At this point, you can now run your conduit through the roof.
Further, you’d have to fasten the conduit to the rafter below the roof. Also, nail down the flashing in the top left and right corners. Equally important, add a dab of sealant to the nail heads.
Finally, slide the EPDM collar onto the conduit. Apply sealant to the point where the collar meets the conduit at the top and the flashing at the bottom.
By doing this, your conduit installation will be more resilient to water.
Conclusion
Most times, the heat coming from the sun can damage the exposed wires or cables outside a building. Nonetheless, you can protect the wires that run through your roof by enclosing them in a conduit.
On the other hand, you would have to place the conduit according to the National Electrical Code.


