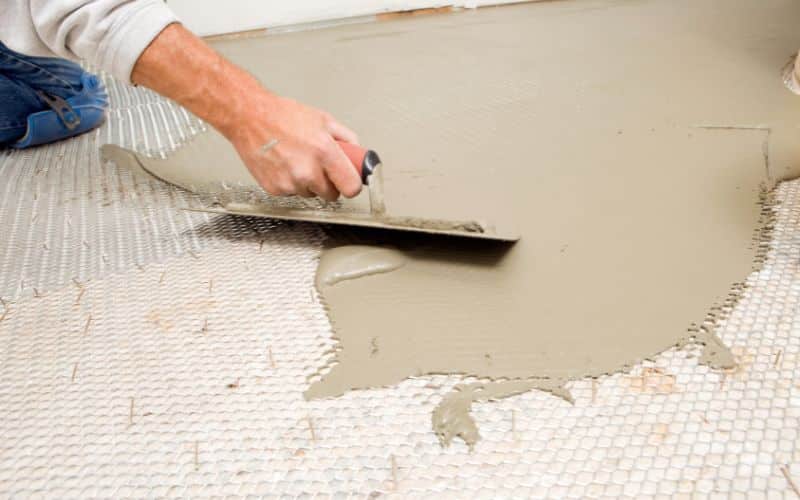
Some people subscribe to gluing their underlayment to the subfloor with adhesives, while others protest strongly.
Although gluing your underlayment to the subfloor with adhesives might stick so well.
When you think about that moment, you will realize that gluing will bring you so much discomfort after some years.
Gluing the underlayment to the subfloor and into the joists makes the underlayment stick to the subfloor better than it would have been with screwing. Nonetheless, replacing it would be a huge disaster when it becomes overdue since glued holds them together.
Ready for a Roofing Quiz?
Should I Glue Plywood Underlayment To Subfloor?

While it may be true that using a subfloor adhesive (or subfloor glue) breeds a hidden disaster, it is the best way to avoid floor squeaks.
A standard subfloor adhesive will enhance a stronger bond with the underlayment. Glues lessen the possibility of movement at the panel-joist-connection.
Therefore, gluing plywood will be a great idea because the glue forms a stronger and more durable surface with no inconsequential callbacks.
Underlayment supports a subfloor with some bend to form a stable footing for your floor.
However, if you apply an adhesive in cold weather or on wet or dirty wood, you will alter the performance of the glue.
Among other adhesives, the PL400 subfloor adhesive is the best choice for protecting sub-flooring panels from joists.
PL400 enhances better adhesion; it doesn’t matter whether you are indoors or not.
Remove Underlayment Glued To Subfloor
If you wish to remove the plywood in one piece, you’ll have to be cautious. If you no longer want your plywood glued down as an underlay on top of your subfloor, then you’ll have to take the risk of removing it.
But if you follow the steps below, then removing your plywood won’t be the said disaster after all.
It will be faster to extract large slabs than tear them into tiny particles. Remember, you can’t boast of having all the pieces you had installed.
#1. Remove All Screws
To remove the screws from the plywood, you can use any screwdriver, but it will be more efficient to use the wireless screw gun.
Remove random nails, at least any nail that is removable with a hammer or plier. Please don’t bother with nails thrust deep into the wood; they are too tight to remove.
#2. Hit The Tip Of A Flat Pry Bar
Hit the pry bar at the tip where two pieces of plywood intersect. Employ a hammer to hit little by little while driving the pry bar’s concave edge beneath one of the pieces from the point of intersection to create a little space to open up the plywood.
#3. Lift The Edge Of The Plywood
Prying down the bar, lift one of the plywood ends off the meeting point. Even if it takes, don’t panic, but pull out the bar, and take it in some inches farther, so you can pry again to be spacious enough to lift it with your hands.
#4. Raise The Loose Section To 30 Degrees
Hold tight the loose part with your hands and raise it; by doing so, the plywood will break loose. Continue doing so until you finally lift the sheet to 30°.
It might break, so please dispose of the broken pieces, and continue with your work until you finally release the opposite side and pull it off the floor.
#5. Repeat the Process for the Next Piece
Move the pry bar under the next piece like you did in the first place. Try to create a little bar opening to lift the following piece.
If you observe any impedance or it starts to break, put the chisel’s tip beneath the edge.
And move the chisel beneath the plywood using the hammer, cutting off nails or any glue fastening them together.
#6. Split the Plywood
Use your hand to jerk up on the plywood to remove it singly. If it still starts to break, implore the means you used before.
Drive the chisel following the plywood’s line, which is fastened to the joist or floor.
Remove and thrust it further to loosen it by hitting the hammer on the chisel. At this spot, when there’s room to grab, grasp it firmly using both hands, and move it up, pulling out a complete sheet.
#7. Place Loose Piece Of Plywood Over the Joist
Place all loose pieces over the space you realized between joists so you can walk on. As did before, continue in that fashion to remove subsequent pieces.
Keep adjusting the position of the plywood you removed until all the plywood comes out of the floor.
#8. Pull All Exposed Nails From Loose Plywood
After removing all the plywood, even if you don’t want to pull out the visible nails from that pile of plywood to avoid accidents.
I advise that you pull those fastened to the floor. Use your hammer to push them back before you pull them out.
Make sure you leave no nail untouched until you’ve completely pulled all the exposed nails from the floor, and if any nail breaks in, use the diagonal plier to remove it.
Should I Glue And Screw Underlayment To Subfloor?
If you want a firm grip, you can glue and screw your underlayment provided you don’t have plans to remove or replace it since gluing plywood underlayment fastens it to the subfloor.
Some people don’t bother gluing down their plywood underlayment; they rather prefer to screw and nail the panels to the subfloor.
There’s no point gluing your underlayment if you have plans to change it anytime soon because sooner than later, you will have to fight a war of your own.
Besides, screwing and nailing fasten the underlayment, the difference being its deterioration after some time.
But can never trust some adhesives, too: they tend to lose performance after encountering water or solvents.
Related: How To Measure Floor Deflection!
Comparing Gluing And Screwing/Nailing
There has always been a debate on which method is best for installing plywood underlayment. Table 1 outlines a fair comparison of both methods.
Therefore, to install plywood underlayment, first consider the comparison below.
| Gluing | Screwing/Nailing |
|---|---|
| Sticks underlayment to the joists firmly | Sticks fairly |
| It’s smart and leaves no visible sign on a piece | Compromises beauty with visible signs |
| Difficult to disassemble | Easy to disassemble |
| Efficient | Impedes efficiency |
| Has high a risk | Has low risk |
How Do I Glue Underlayment To Subfloor?
If you want to glue the underlayment to the subfloor, you should avoid a shitty job because that will cause more harm than good.
Before thinking of gluing your underlayment, ensure to fulfill the following.
#1. Provide Good Underlayment Material
A wet or frozen plywood underlayment won’t stick properly, and that’s where you will have to glue thoroughly screw, and nail to be sure the panels don’t slide or shake.
To avoid that, you must provide a good dry plywood underlayment.
#2. Use A Good Glue
Not every glue can survive water encounters, but a good adhesive should do that. PL400 subfloor adhesive is promising in this regard.
#3. Apply The Glue Thoroughly Along The Joist
Some people use the zigzag pattern of applying adhesive along the joist, while others rub thoroughly even though that might be all that efficient.
In truth, running a specific amount of adhesive in the sub-flooring panel improves stiffness.
Conclusion
Due to the relevance of underlayment, mode installation has become a major concern.
Underlayment is not limited to a particular material but depends on the floor covering needs. The floor covering underlayment provides a smooth, flat surface.
Gluing is not the best idea, but it serves the purpose at the moment. Moreover, always check the instructions of the underlayment for proper installation.


