There are several decisions that homeowners have to make that are costly. One of them is roof replacement.
Ideally, you should have peace of mind after a roof replacement that you would not have to incur any roof repair expenses for at least a few years.
However, that is not always the case, as a roof replacement can prove to be a nightmare if the craftsmanship is not up to the mark. In this article, we will take a look at how to perform a roof inspection after a roof replacement.
Homeowners usually do not have the expertise and knowledge to perform a roof inspection. For this reason, I have compiled a list of easy checks to determine if the roof replacement job you received is shoddy or rushed.
Here is how to spot quality roof work:
Ready for a Roofing Quiz?
Check For Proper Sheathing
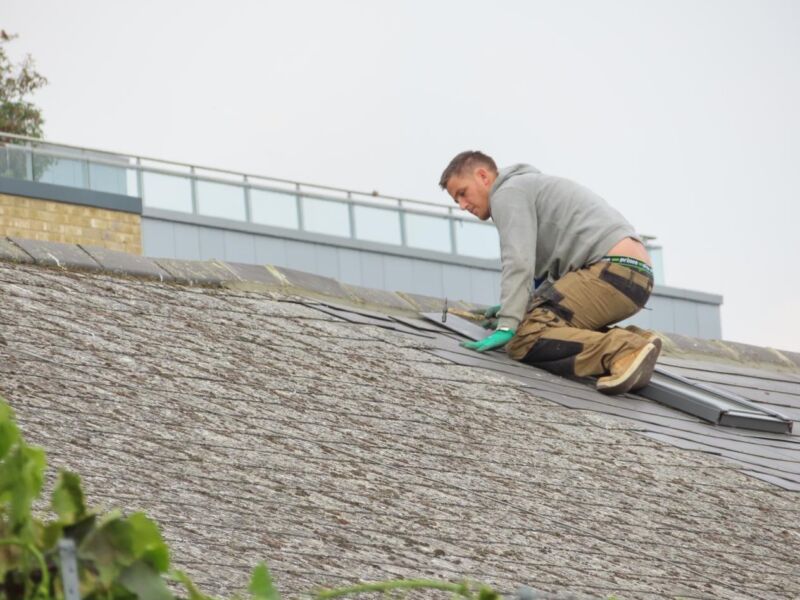
One of the most important components of a roof inspection after a roof replacement is to check for proper sheathing.
The sheathing of the roof should be corrected by roofers before they start replacing the roof.
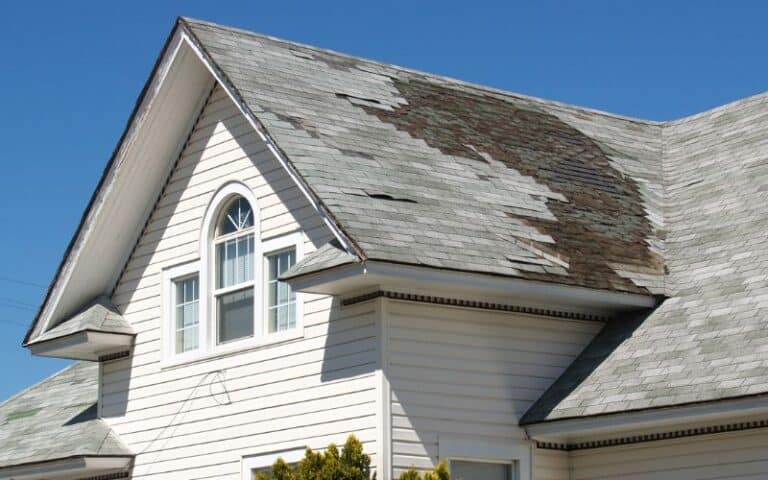
If the entire section of the roof’s sheathing is not properly nailed or inadequate nails are used, it may become loose in a short period of time, resulting in popping out of nails, creating holes that either crack the shingles or blow them off.
The easiest sign of incorrect nailing of sheathing to spot is the formation of unattractive buckles in the roof. Another consequence of popped-out nails is potential roof leaks.
Check the Cleanliness of the Job Site
A major characteristic that all professional and expert roofers share is tidiness. Small details like the cleanliness of the surrounding area of the work site speak for the quality of work performed.
Good roofers make sure that they leave a clean and intact landscape for homeowners.
It is common for roofers to use boards or cardboard sheets to keep the lawn around a home from getting damaged.
They clear the yard of any scraps and excess materials after getting finished with a roof replacement.
Experienced roofers typically bring a dumpster to the job site to make sure that no leftovers, such as nails, shingles, and other harmful materials, remain around the house.
Check For a Proper Underlayment
Another crucial step in a roof inspection after a roof replacement is to check for proper placement of protective underlayment.
The roof’s sheathing and shingles should have an underlayment material placed in between them to protect ice and water from forming at the roofline.
This is especially important in states that are prone to harsh winters as snow tends to create ice dams on the roof when it melts or refreezes.
Check if the shielding underlayment is well placed, so the water is kept from flowing underneath the shingles.
Houses in areas that receive too much snow and have a history of the buildup of ice on roofs should be installed with two layers of underlayment protection or a unique ice barrier.
Improper installation or absence of underlayment material can cause leaks on the walls and underneath the roof.
Strategically Placed Nails
Roof replacement is not as simple as placing nails after every other or few shingles.
To keep shingles secured and in place for a long time to come and protect them from becoming loose or getting blown off, they have to be nailed in a strategic manner.
Improperly and incorrectly nailed shingles expose the nails to staining and cause the roof to leak. So make sure to check that the nails have been well anchored.
Ideally, nails placed on shingles should be driven deep using a hammer. However, if the roofers that carried out the roof replacement job for you used a pneumatic nail gun, make sure that each nail is set into an adequate depth.
Check For Properly Installed Shingles
The most common type of material used in roof replacement is asphalt shingles. But even though it is commonly used, many roofers out there are unable to install the shingles in a proper manner.
What it does is that it increases the risks of cracking, leaks, and other costly roof issues. Check to make sure that the shingle columns have enough overlap, as the inadequacy of it can result in significant damage over time.
Another check you want to include in your checklist of roof inspection after a roof installation is observing the alignment of the shingles.
Check if the butted joints on the three-tab shingles are on the same plane (horizontally) and whether the cutouts are vertical or not.
Pay Attention to Minute Details
Paying attention to minor details while carrying out a roof inspection after a roof installation is a key to identifying issues that can lead to future problems. Check the roof’s flashing that shields it from water leakages thoroughly and carefully.
Make sure the roofers installed it around the chimneys and skylights as well as around the wall intersections. Roof flashing is made of steel or aluminum.
There are several roofers out there that prefer placing putty or tar instead of flashing. This technique is highly prone to cracks and leaks.
Another thing you need to pay attention to is the drip edges that are typically made of galvanized steel.
Drip edges need to extend over the gutter in order to ensure proper and smooth flow of water down the roof and into the gutter and away from home.
Read more: Structolite Drying Time (Things You Should Know)
Final Thoughts
A roof inspection after a roof replacement is crucial to make sure that the job is carried out correctly and properly.
Even though homeowners should not have to get repairs on their roofs right after a roof replacement, it is better to get them if you notice poor craftsmanship to prevent major damages and costly future repairs.
A roof serves as a shielding powerhouse and should always be constantly monitored and properly maintained.

