Drywall installation involves applying drywall over surfaces to give a smooth finish. The installation process involves several steps before the final result appears.
Let’s say you want to drywall a house from scratch. You may wonder how long it takes to complete a drywall application process on the house.
It should take about four to six weeks to drywall a house. However, you should know that the time may vary with certain factors. Some factors include the house’s size, the height of the walls and ceilings, etc.
In this article, I’ll explain how long it takes to drywall a standard room and how much drywall you can install daily.
You’ll get details on the issues that may slow you down when carrying out the drywall installation process.
Ready for a Drywall Quiz?
How Long Does It Take to Drywall a House?
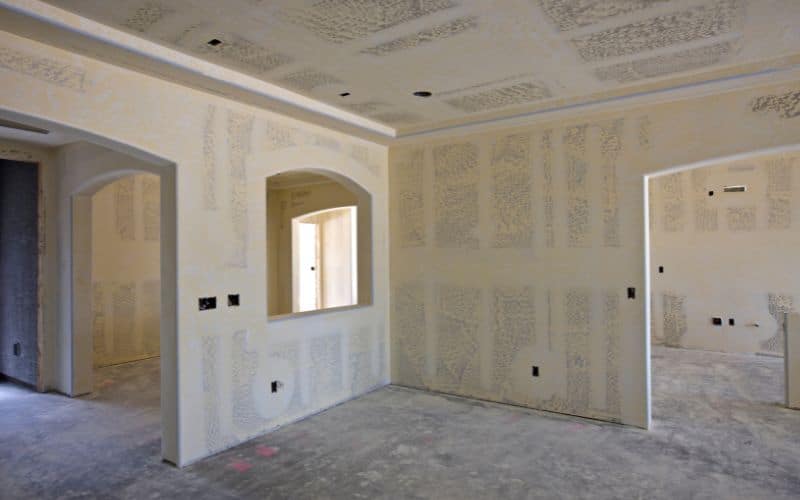
It can take about four to six weeks to drywall a house completely. The time may vary depending on the house’s size, the framing’s complexity, and the height of walls/ceilings.
Drywall application comprises various processes you must carry out with adequate time for a smooth finish.
Here is a list of the processes involved in drywall application:
- Measuring and cutting process
- Drywall paneling process
- Mudding process
- Drywall taping process
- Drywall sanding process
How Long to Drywall a 2000 sq ft House?
It may take about four weeks to install drywall in a 2000 sq ft house. The time may be shorter if more than one person completes the installation process.
Drywalling a 2000 sq ft house may involve about 8000-9000 square feet of drywall panels. The estimated total drywall cost for a home of 2000 sq ft is $4,200-$7,800
How Long Would It take to Drywall a Standard Room?
It can take about two hours for a person to hang drywall in a standard room of about 12 by 16 feet.
To drywall a standard room in minimal time, you must know the correct procedure and possess some specialized tools.
Here is a table to show the tools you’ll need to drywall a standard room and their uses:
| Tools | Uses |
|---|---|
| Electric screwdriver | To secure the screws in the drywall panel |
| T-square | As a guide to cutting out the right size of the drywall panel |
| Drywall saw | To cut through the drywall |
| Step ladders | To get up to the ceiling |
| Utility knife | To score out the drywall panel |
| Measuring tape | To measure out the dimension of the ceiling and walls |
Here are some tips you need to know before drywalling a standard room:
- Divide the total square foot of the walls by 32 to determine how many drywall sheets you’ll need
- Ensure to have one or two more drywall sheets than what you need in case you make any mistake
- Ensure to shield the electrical cables from the screws and nails
How to Hang Drywall in a Standard Room?
Step One: Measure the Size of the Ceiling
Measure the size of the first panel with a measuring tape and then make a mark. Place a T-square along the spot to serve as a guide when scoring through the panel.
Use a utility knife to score the drywall panel and snap it open with your hands. You should mark the top plates to know where the nails and screws will go.
Step Two: Hang the Drywall on the Ceiling
Place the cut-out drywall panel in one corner of the ceiling with the edges perpendicular to the joists. Ensure that the ends of the board hang tightly to the ceiling.
The marks you made on the top plates should be your guide when aligning the screws. Leave a distance between the screws and the edges of about ½ inch or more.
Ensure you don’t drive the screws too deep to avoid breaking through the paper. Cut out another drywall panel if the first one doesn’t completely cover the ceiling.
Step Three: Measure the wall and Hang the Drywall
Use your measuring tape to get the measurement of the wall of your room and jot down the measurements.
Transfer the measurements onto your drywall panel sheets and cut them out with a utility knife. Place the drywall panel on the wall and drive the screws into the studs.
Step Four: Taping Process
After screwing the drywall to the wall surface, you must carry out the taping process to secure the drywall. A joint compound is necessary for the taping method.
The two types of joint compounds are hot mud and premixed mud. Pre-mixed mud is also known as a ready-to-use joint compound.
For premixed mud, you do not need to go about the mud-mixing process before you use it. Hot mud, also known as quick-set mud, requires mixing before using it.
Here are steps to mix hot mud:
- You’ll need to buy buckets, drywall quick-set mud, and a mud mixing drill.
- Open up the drywall mud from the plastic bag to reveal its content.
- Pour out the contents into your bucket.
- Some drywall, like CGC, is dry. This is a good replacement for a quick set where it is unavailable.
- Add water into your bucket and break it down using a mixing drill.
- Hold down the bucket and spin the drill down the bucket.
- Pause between spins, working your way from the bottom up.
- Add water as you spin closer to the top to smoothen the mud.
- Once it is smooth, use it to prefill the joint.
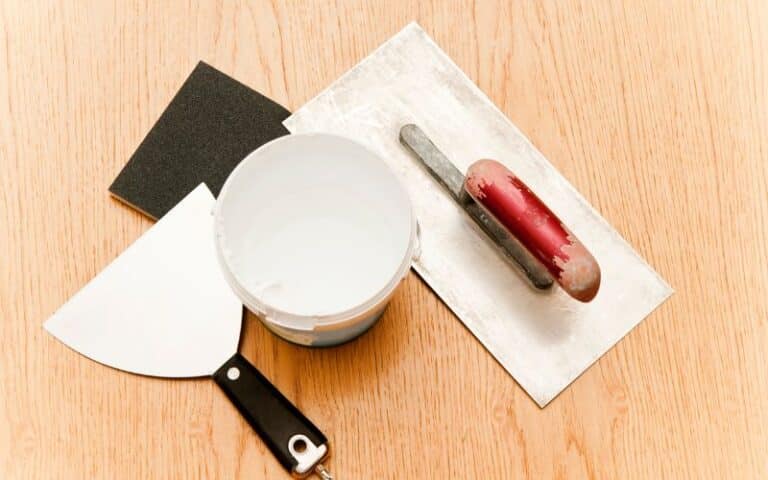
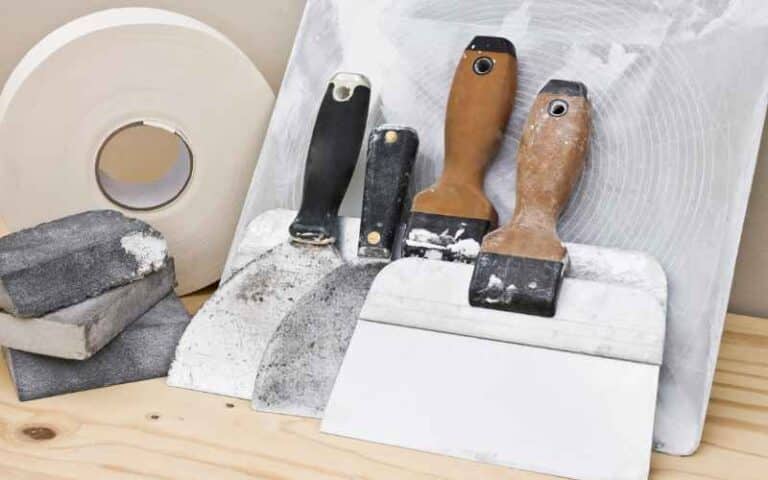
Before you start with the application of the joint compound and tape on the drywall, here is a table for sizes of knives to use:
| Task | Knife Sizes |
|---|---|
| Tape and cover nails and screws | 4”-6” |
| Black coat | 8”-10” |
| Final coat | 10”-12” |
Here’s how to apply the joint compound on the wall properly:
- Use your knife to pack up a joint compound that is a quarter of its capacity
- Stroke the knife along the wall vertically for a while
- While stroking the blade, flatten it up the knife gently
- While smoothening the joint compound on the wall, maintain the knife position at a 45-degree angle to prevent air pockets from forming.
- Keep stroking the knife along the surface to ensure it is smooth.
For the taping process, there are alternatives in case you don’t have drywall tapes.
Here are some of the other options for drywall tapes:
- Paper tapes
- Thin fiberglass tapes
- Mesh tapes
- Metal tapes
- Flexible tapes
- Perforated tapes
- Rolled tapes
- Inside corner bead
Here’s how to properly use tape on a drywall joint:
- The first step is to open up the tape
- Place and hold the tape at one end and draw it over to the other. Avoid pushing the video into the space in between the joint.
- Flatten it out with a tool with a smooth surface.
How Much Drywall Can Be Installed in a Day?
A person should be able to install about 90-96 drywall sheets within twenty-four hours. However, some issues may slow down the installation process.
Here are some issues that may slow you down when installing drywall:
- When you cut out a drywall panel with inaccurate measurements. You’d have to spend extra time recutting a new drywall panel for installation
- Drywall sheets may crack if you work with up to 12-inch sheets.
- When you didn’t cut the opening for power outlets right.
Does It Take Longer to Drywall over Paneling?
Yes, it takes longer to install drywall over paneling.
You’ll spend time marking out the studs hiding beneath the paneling. You’d also have to ensure that the thickness of the drywall and paneling matches the window and door framing.

