Before you decide to texture your drywall, you’ll need to prepare the wall. Preparation of the drywall involves different processes, one of which is sanding the drywall.
That said, how smoothly does your drywall need to be before texturing?
Your drywall needs to be very smooth before you carry out the texturing process. You can achieve maximum smoothness either through power sanding or hand sanding. Hand sanding involves using sandpaper and a pole, while power sanding involves using a rotary tool.
In this article, I’ll tell you how to prepare your drywall for texturing and how to create different textures on your drywall.
Ready for a Drywall Quiz?
Do You Need to Sand Drywall Before Texturing?
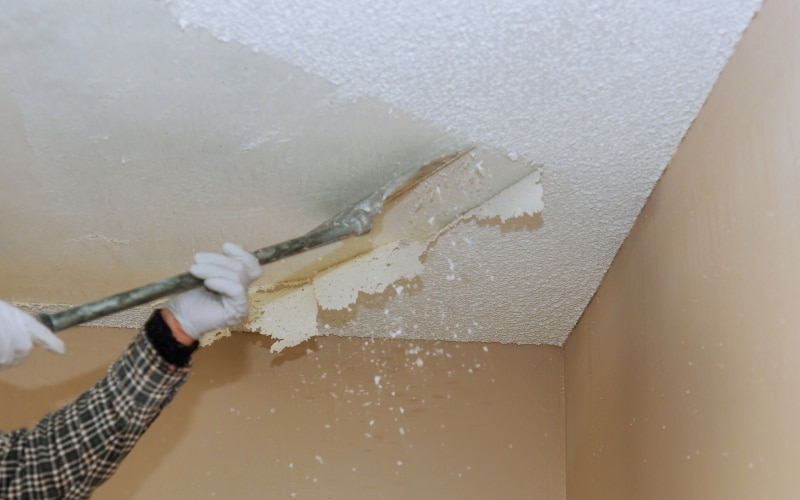
Yes, it would be best if you sand your drywall before texturing. Sanding is part of the drywall preparation process.
It is important to sand your drywall to provide a smooth surface for texturing. There are two types of ways to sand surfaces: hand sanding and power sanding.
Hand Sanding: It involves attaching sandpaper to a pole sander to sand the surface of the drywall.
Power Sanding Involves using a rotary tool like an orbital sander to carry out the sanding process. As a result, sanding through power sanding is usually quicker and easier.
How Thin Should Drywall Mud be Before Texturing?
The mud should be thin enough to apply evenly over the drywall and thick enough to spill from the wall.
Here are steps to thin drywall mud for texturing:
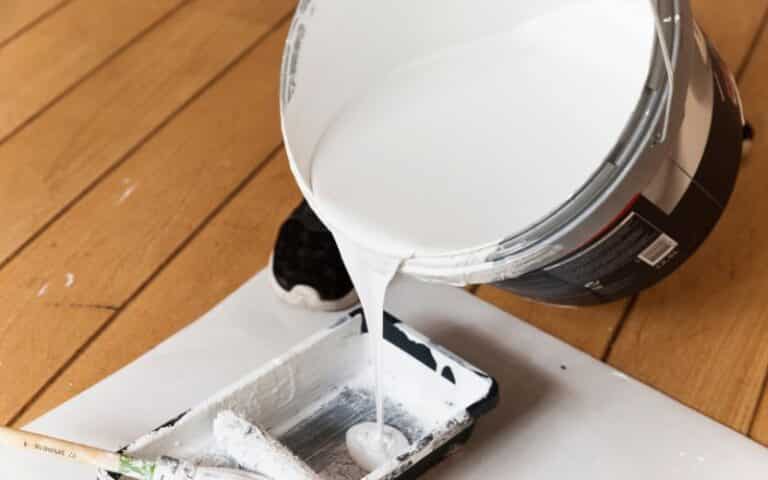
- First, pour the drywall mud into a bucket. If the mud comes in a bucket, then remove a cup of mud from it so there will be enough space for water.
- Pour a cup of water into the bucket of mud.
- Use an electric drill or a drywall mud masher to mix the mud until it becomes smooth.
- You can add about ½ cup of water if the drywall mud is not smooth enough. Next, you can put the cup of mud you removed into the bucket.
- Remove the mud masher when you finish.
How to Prepare Drywall for Texturing?
Here are the materials you will need to prepare your drywall for texturing and its functions.
| Materials | Functions |
|---|---|
| Dust mask and safety goggles | To protect you from particles moving through the air. |
| Orbital sander and fine grit sandpaper | To smoothen out your drywall. |
| Sanding spongeTo smoothen out drywall corners. | |
| Waterproofing primer | To protect your drywall against moisture damage. |
Here are steps to prepare drywall for texturing:
Step One
The first step in preparing your drywall for texturing is to sand your drywall. Before you begin this process, wear protective gear like a dust mask and safety goggles.
Put an orbital sander with fine-grit sandpaper on a sanding pole and use it to smoothen out your drywall.
Next, use a sanding sponge to smooth out drywall corners that are difficult to sand with the sanding sponge or get more detail.
Avoid applying high pressure on the drywall with the sander so as not to alter the texture of the drywall.
Step Two
After sanding your drywall, the next step is to apply primer on the surface. Ensure to move valuable items from the scene and cover up the ones that are not movable with a heavy cloth.
Primers stick to surfaces and are most times difficult to remove. Ensure to use a high-quality primer and one that is waterproof to give your drywall protection against moisture damage.
After preparing your drywall, the next thing to do is to take proper steps to texture your drywall.
Here are the common textures you can achieve with your drywall:
- Orange peel texture
- Sand swirl texture
- Slap brush texture
How to Create an Orange Peel Texture?
Here are steps on how to create an orange peel texture with your drywall:
Step One
The first step to make the orange peel texture on your drywall is to prepare your drywall compound. You can use premixed or hot mud for the texturing process.
Premixed mud does not require any specific mixing process before you use it, while hot mud does.
Here are steps to mix hot mud for the texturing process:
- You’ll need to buy buckets, a mud mixing drill, and drywall quick set mud from a brand like CGC lifeline or the USG, plus three for the drywall mud mixing.
- Open the drywall mud from its packaging by unfolding the box and tearing open the plastic bag containing the content.
- Transfer the content carefully by turning it over into a bucket, then dispose of the bag.
- If you purchase drywall mud from a brand like CGC, you will notice the mud is dry.
- The dryness of the mud makes it good enough to use in place of the quick set in case you can’t find one available.
- Pour some water into the bucket of mud and use the mixing drill to break it down for a while.
- Hold the bucket between your legs, and allow the drill to spin at the bottom.
- Pause the drill in between spins as you slowly work your way to the top of the bucket
- Add more water into the bucket and lift the drill to the top to spin. The mud will get smoother as you spin the mud.
- Once the mud is smooth enough, you can use it for drywall texturing.
Step Two
You’ll need a hopper gun and an air compressor to carry out this step. Fix your hooper gun to the air compressor and fill it with drywall mud halfway.
You can check the owner’s manual to learn how to operate the equipment. Set the air pressure for your air compressor to an average level, not too high or too low.
Get a board to test out the setting of the air compressor and note down the one that works for you.
Step Three
Spray your drywall with the drywall compound. Ensure to spray continuously and also in a sweeping motion. Then, you can spray the mud in whatever pattern works for you.
After texturing the drywall, you should leave it to sit and dry. After the texture has dried, you can apply another primer coat and paint your wall.
How to Create a Sand Swirl Texture on Your Drywall?
Step One
The first step is to gather the materials you’ll need to create a sand swirl texture on your drywall.
The materials you’ll need to create a sand swirl texture are a 7-inch wide brush, a drywall compound, and fine-grit sandpaper.
Step Two
Once the materials are ready, you can load the 7-inch brush with drywall mud and a scrap of the excesses.
You can start applying the mud from the point near the ceiling and drag it horizontally to the end of the wall.
When applying the drywall mud, grip the brush so that your hand touches the bristles.
If you hold the brush by the handles, you won’t have maximum control of the brush. Allow the mud to dry, apply a coat of primer, and paint the walls.
How to Create a Slap Brush Texture?
Here are steps to create a slap brush texture with your drywall:
Step One
The first step is to gather the materials you will need for this process. Such materials include paint roller brushes and texture brushes.
Step Two
The next step is to load the drywall mud on your roller brush and layer it evenly on the drywall. You can also use a hooper gun if you have one available.
Step Three
The slap brush texture is rough, so you should carry out this process accordingly. First, fill your texture brush with as much drywall compound as it can carry and stamp it on the drywall.
Keep stamping the brush on the wall as you pull it down through different sections. Next, use a taping knife to carry mud and smoothen the drywall’s edges.
Leave the drywall for the mud to dry, and apply a coat of primer on the wall before you paint it.

