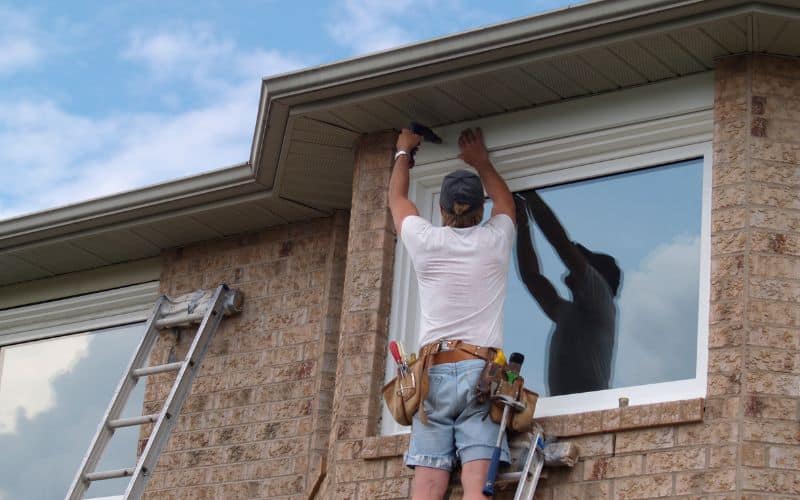
The window designs add to the beauty of your home exterior and interior. However, your window trim and siding are the primary parts that contribute to your window’s overall beauty.
Not only does the trim contribute to the beauty, but it also covers the gaps and jambs of the window frame. In addition, the exterior trim serves to frame and give style to the window.
People usually have a lot of questions when it comes to getting the best for their houses. This article will focus on window trim installation with the siding.
Yes, you can put window trim over siding when installing your windows; however, it is rare to see such a thing. The trim is generally installed before the siding, which covers the gaps more easily.
Ready for a Roofing Quiz?
Can You Install a Window Trim Over Siding?

Yes! You can install window trim over siding. Some states’ building codes and mandates make it the required way to install window trim.
In general, there are two methods: cut the siding to fit into the side of the trim, or install the trim over the siding so it overlaps.
On the contrary, most window installers do not find installing window trim over siding preferable. They would instead go with first installing the trim and then the siding.
In addition, it’s easier to butt the window frame’s siding, run the trim over the siding and then seal the gaps. In this way, the trim overlaps the siding prominently to give its design.
In conclusion, it all depends on whichever installation procedure you choose. Either way, you’ll have an attractive window exterior design to your taste.
How Do You Install Window Trim Over Siding?
Leave the installation of your windows and all the different exterior and interior components to professional window installers.
However, you may know specific procedures and choose to install your window trim or siding. Therefore, it is not a big deal, especially if you have prior experience or knowledge.
It would help if you got the necessary tools and equipment and followed the laid down procedure judiciously.
Required tools:
- A zip tool or pry bar (siding removal tool)
- A pair of tin snips
- Galvanized finish nails
- Window trim/casing of your choice
- Molding
- Measuring tape and pencil
- Roofing nails
- Claw hammer
- Miter saw
- Face mask and hand gloves
Procedure:
- Carefully remove the J-channel using the prybar.
- Next, remove the flashing attached to the windowsill with the tin snips.
- Securely fit a new windowsill and attach the edges firmly.
- Install your window casing in line with the sill. Do this for the vertical and horizontal sides accordingly.
- Cut the molding and fit it on the casing smoothly. Trim it to size and lock it.
- Install new J channels in the same position as the old ones you removed.
- Trim your siding to fit the casing and install it. Use nails to fasten it.
Employ the services of a certified window installer if you need to learn about window installation.
Is Window Trim Usually Installed Before Siding?
Yes, ideally, window trim is usually installed before window siding. One primary purpose of the window trim is to cover the spaces between the wall and your window.
Therefore, when you install the window trim, it covers those gaps before the siding gets installed.
In this manner, you easily prevent the issue of water seeping into your house through those spaces.
However, when installing the siding before the trim, you must use flashing to cover the gaps.
Primarily the window trim and siding are supposed to act as a barrier against water entering your house. Therefore, no matter how you install both, there must be no space left to let in water.
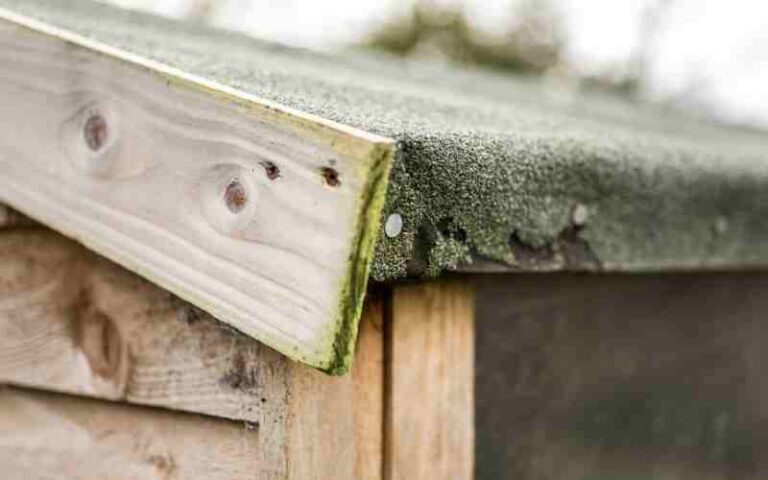
The gaps left in between because of the trim installed over the siding tend to collect water. This water residue often rotates, especially if your trim and siding materials are wood.
To prevent further damage from these gaps, it would help to use sealants or flashing to cover the spaces.
However, installing the trim before the siding is more advisable to avoid the entire issue.
How Do You Replace Windows without Removing Siding?
Typically, windows are installed before siding. However, some people decide to install the siding before your windows, which can be tricky.
However, replacing your windows without tampering with the siding is possible. If you don’t need to replace your siding, it can be left intact when replacing your window.
It’s best to save yourself the stress if the siding isn’t damaged and leave it in place. Before you start any work, you must get the required tools; for a window replacement, you’ll need:
- Hammer
- A small pry bar
- Measuring tape
- Flashing tape
- Sealing foam
- Safety gear (face mask and hand gloves)
Once you’ve got all your tools, you can proceed with the window replacement. All you have to do is follow these steps:
#1. Inspect the Window Frame for Damage
The first thing to do is thoroughly inspect your window frame. If you’ve confirmed that the frame has no damage, you can leave the siding in place and go ahead with your window replacement.
However, if the frame is damaged, you may have to remove the siding before proceeding.
#2. Take the Window Measurements
You’ll have to take measurements of the current window to know what you’re working with.
First, measure the window’s width, length, and diagonal, excluding the frame. You can then proceed to cut a window replacement with those exact measurements.
#3. Remove Trim and Window
Next, you must carefully remove the window trim if you intend to reuse it. Once the trim is removed, you can remove the nails holding the window.
Then, remove the seal around the window; you can now easily remove the window.
Be careful not to damage the frame or siding when removing the window. If any of these get damaged in the process, you’ll have to get a replacement.
#4. Fix Flashing Tape
Proceed to fix the flashing tape in the spaces to block out water.
#5. Install the Window
Fit the window and confirm there’s a little gap around its edge before you can install it.
Once the window fits, install it and fasten it with nails or screws. Add sealants to the gaps and let them dry to complete the installation.
#6. Fix the J-channel and Casing Where Applicable
The casing and J-channel are not compulsory, but if you choose to, you must carefully fix them and ensure they are sturdy.
#7. Final Touches
These involve inspecting the window edges for any spaces and sealing them with a caulking gun.
The sealing must be done thoroughly to prevent future damage to your window. Then, open and close the window; if you do a good job, it’ll open and close easily.
Although replacing a window without removing the siding can be tricky, if you follow these steps accordingly, it’ll be a bit easier.
Pros And Cons of Wood Siding And Trim
Wood siding and trim have some upsides and downsides; here are a few:
| Pros | Cons |
|---|---|
| It has a beautiful design. | Needs flashing tape to cover gaps |
| Easy to repair | Gaps not adequately sealed can let in water |
| Keeps out water | Expensive installation |
| Variety of materials, e.g., wood, PVC, vinyl | Some materials aren’t durable |
Final Thoughts
Considering a design or dimension for your windows would help avoid being carried away by attractiveness.
However, you must remember that window trim and siding are not just for decorative purposes.
If you need clarification on which installation will work best, you can always get professional help.


