Rubbermaid commercial products are a good brand, with food storage containers and sheds being one of their famous brand commodity.
These shed roofs are made of double-wall construction and plastic resin to protect them from weather hazards and insects.
Still, it isn’t entirely exempt from damage; after all, most sheds are kept outside, and their roofs are constantly vulnerable to ravaging elements.
However, it isn’t impossible to repair damaged shed roofs; let’s go over that.
Rubbermaid roofs can be repaired in the early stages, and you can start by identifying the damaged part, the cause of the problem, and the suitable material for replacing it. After that, you need to use a sealant or plastic roofing cement to repair minor cracks or cut out plastic parts and rejoin them with the damaged area.
Ready for a Roofing Quiz?
Rubbermaid Shed Roof Leaking
Rubbermaid shed roofs may have extra layers for protection against weather hazards, but even the best shed roofs take a beating.
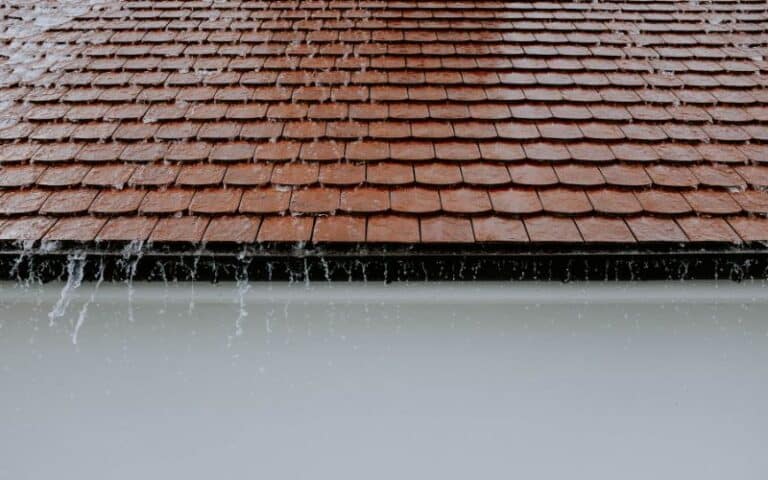
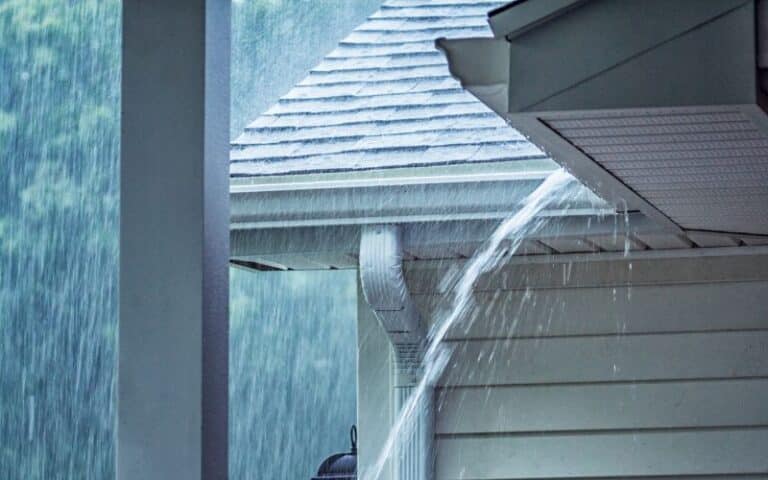
These leaks are caused by any slight tear or cracks and removed roofing material components.
If not handled on time, they could lead to worse problems, and eventually, you’ll need a complete roof replacement.
A sealing tape is one of the many components preventing water leaks, but you can fix this quickly with a few tools. Below is a guide to help you repair a leaking shed roof.
Firstly, you must locate the leaking area and clean it thoroughly to eliminate dust and dirt. After that, allow it to dry for a few minutes and apply Silicone.
Silicone coating works best on a leaking shed roof as it is durable and thoroughly coats Rubbermaid’s shed roof with its dense content.
Also, It doesn’t only stop leaks since it is waterproof but is also environmentally conducive and affordable.
Additionally, Rubbermaid sheds are made of Plastic polyethylene, and Silicone is suitable for plastic.
You only need to use a paintbrush to apply the liquid all over the leaking area and place a sealer coat on it for an extra layer of protection.
Aside from this method, you can consider using other materials on your Rubbermaid roof or replacing the missing shed pieces responsible for the leak.
Such material could be asphalt or synthetic tar bitumen to be covered with seal tape or original parts from the manufacturers.
How to Repair Rubbermaid Shed Roof?
Rubbermaid sheds are durable due to their double-wall construction technique, but unfortunately, the damage is inevitable. Here are instructions to guide you in repairing them.
Rubbermaid shed roofs don’t follow a similar repair method as other sheds because of their plastic make-up.
Applying sealants is a valid repair method, but plastic welding is more effective. Here are the steps to conduct plastic welding.
#1. Step 1
Since your Rubbermaid shed has a double-wall construction, you can cut out some inner parts and use them to fix the exterior part.
Start with melting the polyethylene at a temperature of 550 degrees Fahrenheit.
#2. Step 2
Recall to verify your thermal output before welding the plastic and use your welding rod. Then, when you reach the right rod temperature, the softness and stickiness are all the proof you need.
#3. Step 3
Using the hot gas welding method, melt both PE plastics and join them when they become soft. After that, allow them to cool.
Remember to maintain the appropriate welding temperature range and use the same polyethylene rod.
Remember that repairs might not work all the time. If you’ve tried all practical steps to repair your shed’s roof and it doesn’t work, you will need a replacement.
How to Seal Rubbermaid Shed Top?
The best sealant for a Rubbermaid shed top is the silicone coating. It provides many benefits, such as waterproofing and UV repelling.
Constant UV reflection on a plastic polyethylene roof results in cracking, but Silicone isn’t vulnerable to breaking down in the presence of ultraviolet rays, protecting your roof.
To apply this sealant on your shed top, you must choose between using a silicone gun or a can.
Whichever method you pick, the steps remain the same:
- Start cleaning your roof with isopropyl alcohol to remove dirt and moisture, allowing the sealant to bond well to your shed roof.
- Apply a silicone metal primer for stronger adhesion on the plastic’s surface.
- Cut the silicone tube inserted inside a gun and apply it to selected areas.
- Use your wet finger or any other wet flat material to level the sealant and allow it dry.
Rubbermaid Shed Roof Repair Techniques
Just like the Rubbermaid food storage containers, the sheds are also made of plastic polyethylene, meaning there are a limited number of repair techniques you can follow as plastic has a non-stick surface and is selective in bonding.
Therefore, the most effective strategy is plastic welding, aside from silicone coating and sealants.
Using sealants is as easy as applying them to the damaged surface and smoothening them out; then leave them to dry.
The downside to this technique is that you can only fill so much, which might not be as helpful as you wanted.
The final process is plastic welding, involving melting another plastic part and using it to join the damaged part. This effective method can save you the money you would have used for replacement.
Rubbermaid Shed Roof Repair Kit
Generally, Rubbermaid doesn’t come with standard roof repair kits. So if you need any part, you’ll have to call their customer support or send them a mail to order a new replacement part is available.
But you can have a DIY Rubbermaid shed roof repair kit at home. Components like:
- Silicone plastic sealants or plastic roof tar
- Isopropyl alcohol for thorough cleaning of roofs
- Sealant primer for stronger adhesion between the plastic shed top and silicon
- A sturdy ladder for climbing
- Wrenches for removing tightened screws and nuts
- Hammers for fastening the screws and nuts
Can You Repair Rubbermaid Shed Roof Yourself?
Having the right shed roof repair kit will enable you to repair your Rubbermaid shed roof yourself. After all, all Rubbermaid commercial products like sheds are easy to assemble.
You can build these sheds from scratch as they have a detailed guide, so repair won’t be so intricate.
But remember that your DIY technique is limited if you don’t have proficient skills to help you do so.
Handling damages in your resin storage shed will be more effective in dealing with minor complications and roof damage.
But if you realize that things are too complex, you should call in a professional repair man.
A do-it-yourself patch-up job might be sufficient for minor damages or with an expert on standby but may not work for leaks involving welding due to the polyethylene component of a resin storage shed.
Further, trying out repairs might improve your skills in roof sheds but could also cause more problems if you make mistakes.
After all, you wouldn’t want to ruin a big shed with a 53 to 467 cubic ft storage capacity; it would result in more losses.
Summary
Rubbermaid sheds are easy to assemble and are weather-resistant. You can also build the shed from scratch alone.
However, while their construction technique is durable, it’s still vulnerable to damage, but fortunately, only minimally.
Indeed, you wouldn’t want such a shed with sufficient storage cubic capacity to go to waste due to a damaged roof; ensure to properly maintain it.

