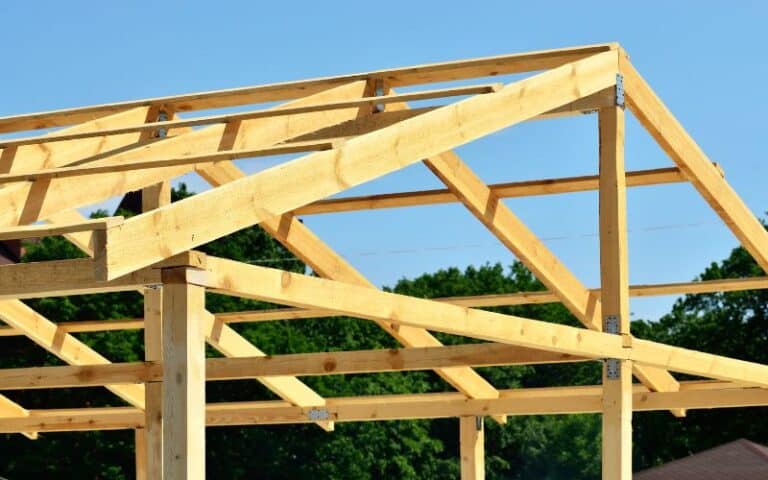
Tying into an L-shaped roof can be a bit of a complex process for anyone. The basic knowledge of carpentry and woodwork skills can be an added advantage in fastening or attaching an L-shaped roof.
You might require the assistance of a friend or an expert in getting this done.
Calculate and install the rafters before trying them into an L-shaped roof. Strong wind regions benefit greatly from these roofs since they offer shade around the house. Since they don’t have as many peaks in the roofline as gable roofs, installing gutters on them is also simpler.
Ready for a Roofing Quiz?
How Do You Tie Into an L-Shaped Roof?
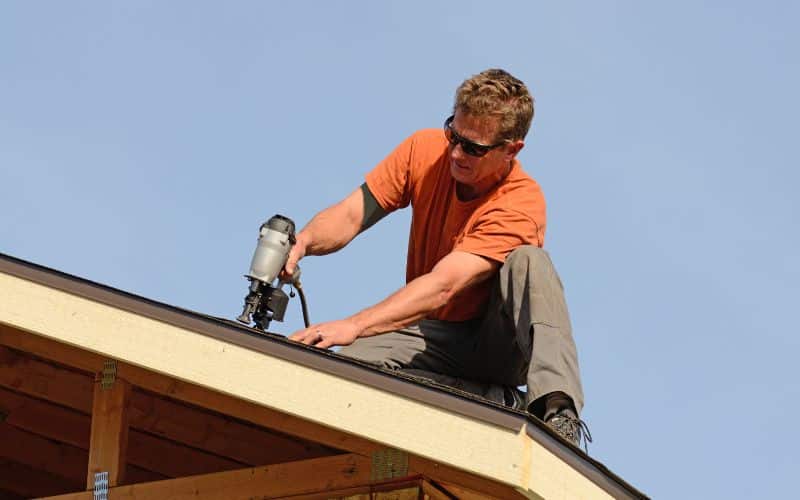
The installation of the ridge boards is the first stage of tying into an L-shaped roof.
You should fasten the parts to the shed framing at both ends before assembling them. Check if the ridge board is precisely level by placing a spirit level on top of it.
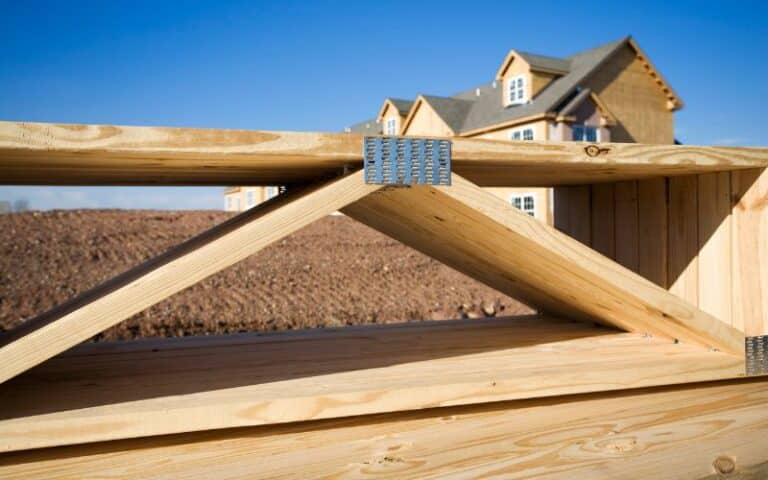
The valley rafters can easily fit into the ridge boards with the right tools and techniques. To properly fit into position, first angle-cut the rafter’s ends.
The rafters should then have pilot holes drilled into them before being secured with galvanized screws.
If you have all the necessary materials and arrange them evenly, installing the remaining rafters won’t be challenging.
However, align the parts at both ends if you want excellent results. To support the structure, install a rafter every 24″ in the center and secure the bottom rafters.
Using the right blueprints, high-quality materials, and equipment will simplify connecting the roofs.
It would help if you used a round saw with a sharp blade to enhance the components to the proper size after marking the cut lines on one piece of 2 by 4 lumber.
Attach intermediate rafters to the roof gable ends to support the siding adequately.
How Do You Tie in a Hip Roof to an Existing L-Shaped Roof?
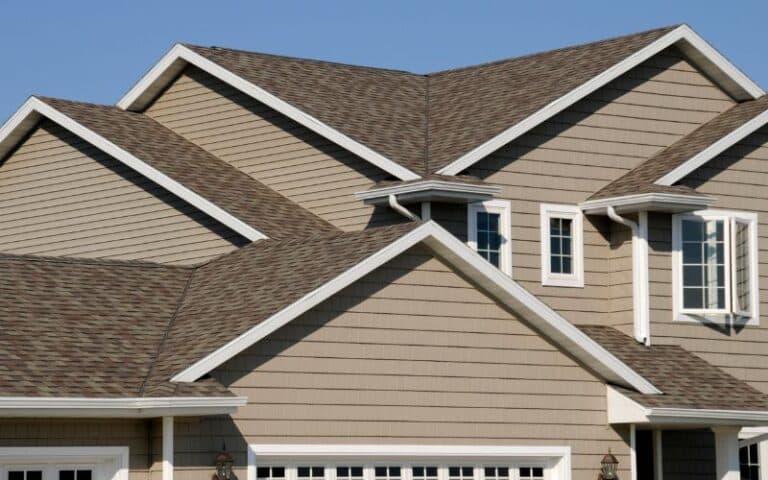
To tie a hip roof to an existing L-shaped roof, you must first divide the building’s width by two to determine the length of the common rafters.
Then, you deduct the ridge board’s width from that number to get the roof pitch. A cross-hipped roof is a suitable hip roof type for an L-shaped house.
To determine the length of each rafter installed on the roof’s short sides, enter the measurements into a roofing calculator.
Instead of width, this will have a reduced ridge board length. Afterward, trace the lines for the ridge cutting on every board using a pencil and carpenter’s framing square.
Either end of every rafter will be where the lines for the birdsmouth are cut. Use a circular saw to make all your cuts. After that, cut rafters enough to allow for installation every 20 inches.
On the highest flanks of your building, parallel to the ridge board, nail four to six centering rafters. After that, fasten the ridge board between the rafters that are centered.
Then, along the longest walls, nail in more frequent rafters on each side of the roof at the building’s corners, and nail 4 hip rafters to the ends of the ridge board.
The leftover common rafters should be added, after which you add the hip rafters, jack rafters, and walls on the other sides of your roof.
To calculate the required amount of plywood sheathing, measure the roof’s area on each of its four sides. When putting plywood sheathing, begin at an intersection.
Place a tack through the first sheeting. Next, place the second sheet, aligning the edges to the fascia.
Put the sheets in position after making sure they are straight. Continue until all of the sheathings have been connected. Add drip edges, roofing paper, and shingles to finish the new roof.
As much as hip roofs are a common feature of L-shaped bungalows or cottages, they have benefits and drawbacks.
The table below shows the pros and cons of a hip roof.
| Pros | Cons |
|---|---|
| Hip roofs give buildings a sturdy choice. | The cost of constructing a hipped roof is higher. |
| It efficiently directs precipitation away from the building. | Finding adequate ventilation on a hipped roof is difficult. |
| The hip roof can hold the gutter in each of the roof’s lower sections. | Some hip roofs may be vulnerable to leaks. |
| Hipped roofs can be covered with a variety of shingles or roofing materials. | There are fewer options to exploit natural light with hipped roofs. |
How Do I Add a porch to an L-Shaped Roof?
To fully appreciate a home’s exterior space, the porch is crucial. It improves the home’s aesthetic appeal. Several porches are available for various roof shapes nowadays.
The porch provides an intriguing and practical design element to the entire house and blends nicely with any home shape.
However, it promotes the beauty of L-shaped houses. You can take in the outdoors’ splendor from a porch while remaining inside your house.
We are all aware that L-shaped houses have more tiny porches. The correct kind of porch addition can raise a house’s value.
The list of points below is a way to add a porch to an L-shaped roof.
#1. Get the Required Equipment
It takes a lot of equipment to build a porch. Here is a list of equipment, including a hammer, an electric drill or manual post-hole digger, a chalk snap line, a laser and bubble level, a ratchet set, a cordless drill with bits, and a variety of other items.
#2. Select a Location
To add a porch, it is essential to select a fitting location. For example, you must choose the front of the house if your house is L-shaped.
On the other hand, if you choose, you may add a porch to the end of the L-shaped home.
Before building a porch, it is essential to take daylight into account. For instance, the front porch in the living room and the back porch of the house can both let in light.
#3. Select a Porch Style
The style of the house determines the kind of porch appropriate for a particular residence. You should pick a basic porch if your house’s exterior is too bland.
You can make a porch in a variety of ways. If the porch is tiny, it is possible to build a bolstered roof that hangs vertically above the porch. If you like, you can completely cover your porch.
#4. Lay the Groundwork
It would help if you started by laying a foundation after deciding on the porch’s design and location.
But, first, you must drill the foundation to a sufficient depth to provide stability. The foundation’s depth may be greater or less, depending on the soil type.
Remember that if the foundation is not deep enough, it could lead to more harm. If you reduce the depth of the foundation hole, you won’t be able to place a heavy object on the porch.
On the other hand, the foundation’s depth does not need to be in excess if you want to construct a fairly straightforward open porch.
#5. Create a Moisture-Proof Surface
Maintaining a moisture-proof membrane on the porch is crucial after the foundation has been laid.
It keeps the floor of your porch from growing and getting wet. Normally, a tree grows little by little after being cut down.
Similar to this, after a few days, we saw fractures in the floor where we cut down a tree and did construction work.
The growth of the tree is primarily the cause of this. Nonetheless, there won’t be any cracks due to the tree’s growth if you employ a water-proof membrane while building your floor.
#6. Subfloor Addition
To create a floor with a water-proof membrane that will serve as a subfloor, spread concrete on top. If you prefer to build a wooden floor, attach joists to hold it.
When constructing the subfloor, keep it high to support auxiliary flooring materials.
Since this is not your porch’s primary level, it is crucial to make it more attractive. Your floor will become stronger and survive longer as a result of this.
#7. Begin Putting Bricks
You must raise your porch’s flooring to the level of the main building’s water-proof course now that it is complete.
As a result, the bricks were laid out uniformly and evenly up to the porch’s DPC level. Therefore, working on the floor is impossible until the bricks are laid.
For the porch, make sure to utilize high-quality bricks. Also, hire an experienced contractor to do the bricklaying work. The design and durability of the porch may be affected by improper bricklaying.
#8. Floor Covering
The type of porch you go for totally depends on your budget. Well, you can always utilize the normal tiles to minimize costs.
However, these tiles must match your house’s flooring. Although when picking a porch, many people go for wooden flooring because of its strength and slickness.
It’s fine to utilize regular ties if you are reasonably priced. Notwithstanding, it needs to match the flooring in your house.
Most prefer wooden floors for the porch since they look slick, fashionable, and strong.
Using porcelain and ceramic tiles allows you flexibility in inclement weather. Well, if you like, you can choose a floor made of vinyl or concrete.
Whatever type of flooring you select, make sure to weigh it down with bricks and span the floor to minimize the danger of damage due to weather, impact, and construction.
#9. Build the Roof
The roof can be built by laying bricks and completing the floor work. There are numerous ways to construct a porch roof, so pick one that improves the style of the house.
To create a roof, you must first build a wooden framework. After the building is complete, put up a roofing membrane with pores.
The slate or tiles and roof battens should now be placed. Be careful not to damage the floor when constructing the roof. Consult a seasoned contractor if you lack roofing experience.
#10. Insert Gutters
You should add the guttering to guarantee efficient drainage after the roof structure construction process and minimize water loss on the porch.
Over time, it aids in long-term water damage avoidance, drainage improvement, and flooding risk reduction.
A 4- or 6-inch gutter should be added to the roof’s end. Otherwise, the roof could be harmed by the buildup of debris and precipitation. Various gutter choices are available depending on your budget.
What Patio Cover is Best for an L-Shaped Roof?
The flat roof system is the finest portion cover for an L-shaped roof. However, the patio roof design for an L-shaped house or structure deviates from the Western world’s norm.
As the name suggests, a flat roof is completely flat rather than having a discernible slope.
Logically and aesthetically, the flat roof system has a lot of unexpected advantages. Additionally, it would cross over the two main roofs’ eaves, where water problems would be less likely.
Conclusion
In conclusion, rafters support roofing materials on top of overlapping beams when tying into an L-shaped roof.
The roof is designed with hipped roofing to create an extensive roof that stretches over the entire outside structure. When stability is your top priority, you should think about this alternative.

