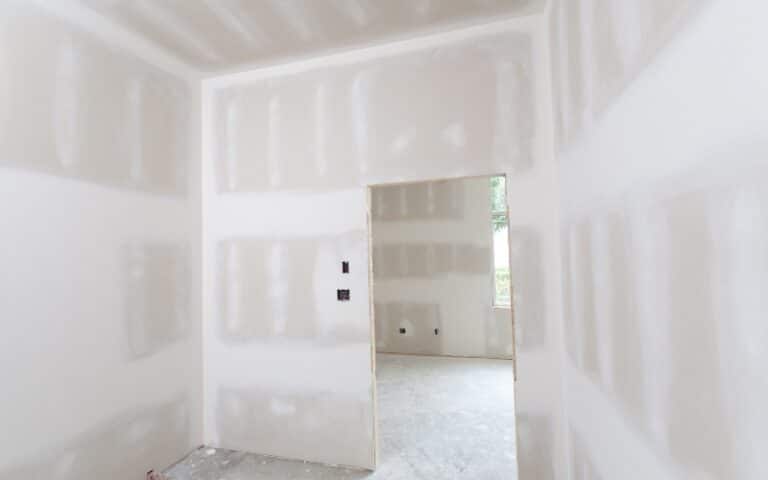
Covering up your walls and surfaces with panels helps to give them a smooth finished look. There are several types of panels you can attach to your walls, and one of them is a wood panel.
Using a wood panel for a long time will loss of value because it is prone to rot and deformation. So you may decide to replace the wood paneling with something like drywall.
When making changes to your home, you must always consider building codes. Therefore, you may wonder if you need a permit to replace your wood paneling with drywall.
No, you do not need a permit to replace your wood paneling with drywall. You can carry out the replacement process solely on your terms. For example, you’d only require a permit if your decided to attach drywall to walls that never had panels attached to them.
In this article, I’ll explain how to successfully replace your wood paneling with drywall. You’ll also get the breakdown of the cost outline for replacing wood paneling.
Ready for a Drywall Quiz?
Do I Require a Permit to Replace Wood Paneling with Drywall?
No, you do not require a permit to replace your wood paneling with drywall. Therefore, you do not have to worry about going against building codes when replacing your wood paneling with drywall.
When applying drywall to walls and surfaces that never had attached panels, you should only worry about a permit.
How Much Does it Cost to Replace Wood Paneling with Drywall?
The cost of replacing wood paneling with drywall usually depends on time. The average cost of replacing wood paneling per square foot is 2-4.50 USD, varying with several factors.
Some factors that affect the price include time, location, size of paneling, condition, etc.
Here is a table showing the average cost outline for replacing wood paneling with drywall:
| Details | Quantity | Cost |
|---|---|---|
| Remove paneling and replace with drywall | Per square feet | $2 – $4.50 |
| Remove paneling and replace with drywall | 12 x 12 room | $288 – $648 |
| Paneling removal cost per square foot | Per square feet | $0.50 – $1.0 |
| Paneling removal cost per room | 12 x 12 room | $72 – $144 |
| Cost to replace two rooms | Two rooms | $576 – $1296 |
| Cost to replace three rooms | Three rooms | $864 – $1944 |
| Cost to replace four rooms | Four rooms | $1152 – $2592 |
| Cost to replace 1,500 square feet of house | 1,500 square feet | $3000 – $6,750 |
| Labor cost | 1 hour | $60 – $100 |
| Labor cost | 12 x 12 room | $200 – $600 |
How Do You Replace Wood Paneling with Drywall?
Replacing wood paneling with drywall is simple once you know the correct procedures.
Here are steps to follow on how to replace wood paneling with drywall:
Step One
The first step is to remove the wood paneling from the surface. Removing wall paneling can be tricky when you don’t know the correct procedures.
Here is a table showing the tools you’ll need to remove wood paneling and their functions:
| Tools | Function |
|---|---|
| Pliers | To remove loose nails |
| Flat-head screwdriver | To get in between the baseboard and the wood paneling |
| Plastic or canvas drop cloth | To protect your furniture from stains |
| Drywall putty | To patch up holes |
| Fine grit sandpaper | To get rid of residual glue |
| Heat gun | To soften the glue |
You might create a mess when removing the wood paneling, so protecting your furniture from stains is best. Use drop cloths to cover up your furniture.
After safeguarding your furniture, you must remove light switch plates, baseboards, and outlet covers.
Here’s how to carry out the removal process:
- Use a flat-head screwdriver to get in between the wood paneling and the baseboard and create a quarter-inch space.
- Get rid of the nails with a plier.
- After getting rid of the nails, gently remove the baseboard from the wood paneling.
- Take out the outlet covers and light switch plates by unscrewing them.
- Keep those items safe because you’ll need to return them once you’re done.
The process for removing nailed wood paneling is different from the process of removing glued wood paneling. First, you must determine whether you have nailed or glued wood paneling.
Here’s how to determine whether you have nailed or glued wood paneling:
- Use your pry bar to get into a corner near the flooring
- Hit the pry bar with a hammer to get it to the part where the two walls meet and loosen out the wood paneling
- Get rid of loose nails with your plier and get into the panel to see if it is glued on or nailed to the wall studs.
Once you find out whether you’re working with nailed or glued wood paneling, the final step is removing the wood panel.
Here are steps on how to remove glued-on wood paneling:
- Gently use a chisel and a hammer to get rid of the panel until you get to the glued part
- Put your heat gun into its lowest setting and place it about 6 inches from the open panel
- To avoid burning the panel, move the heat gun around.
- Continue using the heat gun till the glue softens, and then gently pull out the wood panel
- Use a chisel to scrape out the residue of glue residue that you can
- Continue this process until you get rid of all panels
- Use fine-grit sandpaper to remove the rest of the glue residue.
- Patch up the holes with drywall putty.
Here are steps on how to remove wood paneling glued to studs:
- Use a pry bar and a hammer to get in between the panel
- Get rid of all the nails with a plier, and then remove the panels
- Continue this process until you get rid of all the panels
- Patch Up the hole with a drywall putty
Step Two
After removing the wood paneling, the next step is to apply the drywall.
Get the ceiling measurement and then cut out a drywall sheet with that measurement. Next, you can cut and break through the drywall with a utility knife.
Use 1 ⅝ inch drywall screws to attach the drywall sheet to the ceiling joints every 8 inches. Continue this process until you fully cover the ceiling with drywall.
Measure out the wall space to which you will apply the drywall, then score the measurements on a drywall piece.
Use a utility knife to cut and break out the drywall for the wall. Attach the drywall to the joints every 8 inches with 1 ⅝ inch drywall screw.
After successfully applying drywall to your wall, the next thing to do is to tape and secure the drywall. You’ll need to use a joint compound for the drywall taping process.
Here are steps on how to create an orange peel texture with your drywall:
There are two types of joint compounds, and they include premixed and hot mud. Premixed mud does not require any specific mixing process before you use it, while hot mud does.
Here are steps to mix hot mud for the texturing process:
- You’ll need to buy buckets, a mud mixing drill, drywall quick set mud from a brand like CGC lifeline or the USG, plus three for the drywall mud mixing.
- Open the drywall mud from its packaging by unfolding the box and tearing open the plastic bag containing the content.
- Transfer the content carefully by turning it over into a bucket, then dispose of the bag.
- You will notice that the mud is dry if you purchase drywall mud from a brand like CGC. The dryness of the mud makes it good enough to use in place of the quick set in case you can’t find one available.
- Pour some water into the bucket of mud and use the mixing drill to break it down for a while.
- Hold the bucket between your legs, and let the drill spin at the bottom.
- Pause the drill in between spins as you slowly work your way to the top of the bucket
- Add more water into the bucket and lift the drill to the top to spin. The mud will get smoother as you spin the mud.
- Once the mud is smooth enough, you can use it for drywall texturing.

