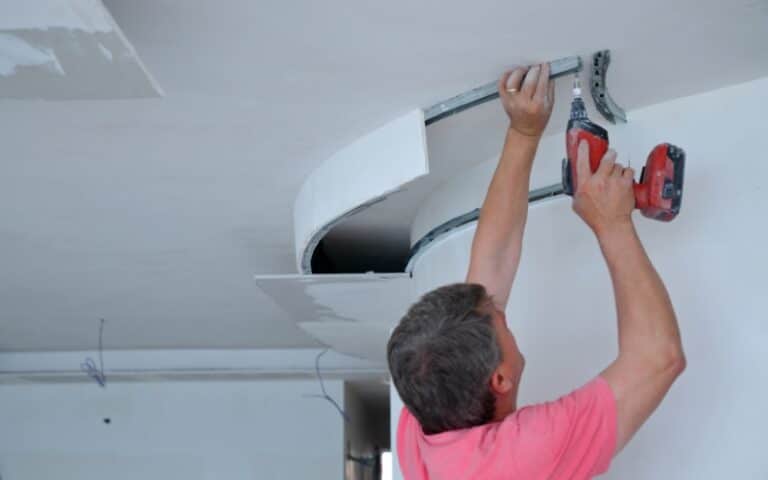
Several homeowners love drywall because of its ease of installation. However, drywall is a source of concern for others because it is delicate, and water can easily damage it.
If the roof of the house is leaky, the rain can easily affect the drywall on the ceilings or walls. Therefore, contractors advise homeowners to use waterproofing during construction. But, the waterproofing can get damaged, leaving drywall vulnerable to rain.
If you’re installing drywall in uncertain weather, this article will tell you if it damages your drywall, how much damage it can cause, and how you can protect it from water damage.
Ready for a Drywall Quiz?
How Much Rain Will Ruin Your Drywall?
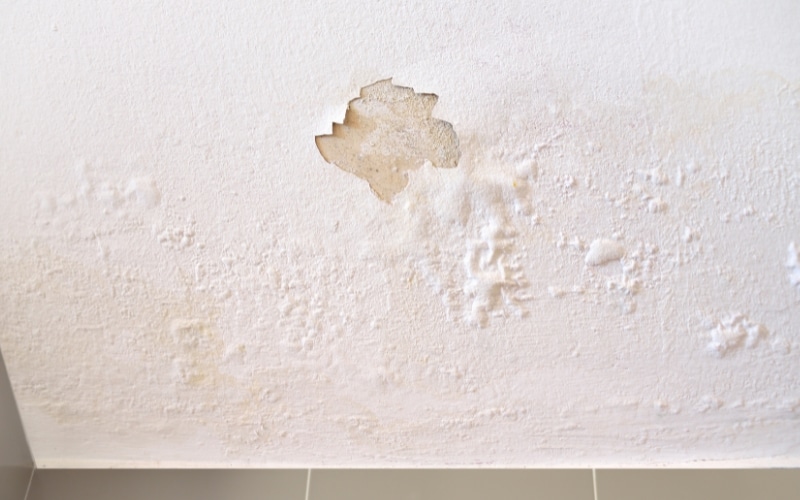
The drywall looks sturdy but does not do well with rain exposure. Prolonged rain exposure can damage your drywall.
The issue is how long it rains on the drywall. If you address the issue quickly, you will still be able to salvage the drywall. But, if you leave it for too long, it will become completely damaged.
Moisture from rain will compromise the drywall’s structural integrity, the drywall will become soft and weak, and mold will begin to grow in the drywall. In severe cases, entire walls fall out.
However, how much damage the rain will cause is linked to how long you leave the drywall in water. You can save the drywall if the rainwater completely floods the wall.
You can take the following steps to assess the quantity of moisture the drywall has been exposed to;
- You can use a non-penetrating moisture meter to assess how much rainwater has seeped into the drywall.
- You can remove a few boards and use a screwdriver to poke holes into the drywall.
- However, if the screwdriver goes in quickly, the moisture is in excess, and you need to replace it.
- You can use a penetrating moisture meter to check the interior of the drywall. Make a hole in the drywall and assess the level of moisture on the studs.
- You can also check the insulation to see if the moisture has affected it.
What Happens if Drywall Gets Wet During Construction?
If drywall gets wet during construction, it’ll most likely soak up the water and become deformed and soft.
In time, it may dry up, but mold will begin to grow on the drywall if the water damage is extensive.
You’ll also notice stains, swelling, and peeling. Then, the drywall will begin to disintegrate like regular paper.
In some cases, the weight of the water will cause the drywall to disintegrate and fall.
Whether or not you’ll be able to save your drywall from total damage depends on how much water it’s exposed to and for how long the drywall stays in the water.
If drywall gets wet while construction is still ongoing, the drywall will become soft and susceptible to damage, and mold could begin to grow in the drywall.
In some severe cases, drywall ceilings can collapse due to drywall exposure to water.
So, if drywall absorbs water during construction, it’s better to address the issue before you continue with the building.
If drywall is exposed to water, the structural integrity of the entire drywall is compromised, even the parts that the water didn’t touch.
However, if you’re constructing your drywall, you can use covalent waterproofing to protect the drywall from any water damage.
Also, you can use unique boards for rooms prone to water disturbance or high moisture.
These particular boards are called green boards, and you can use them in the kitchen, bathroom, and laundry rooms to prevent any damage from water.
Can You Install Drywall in the Rain?
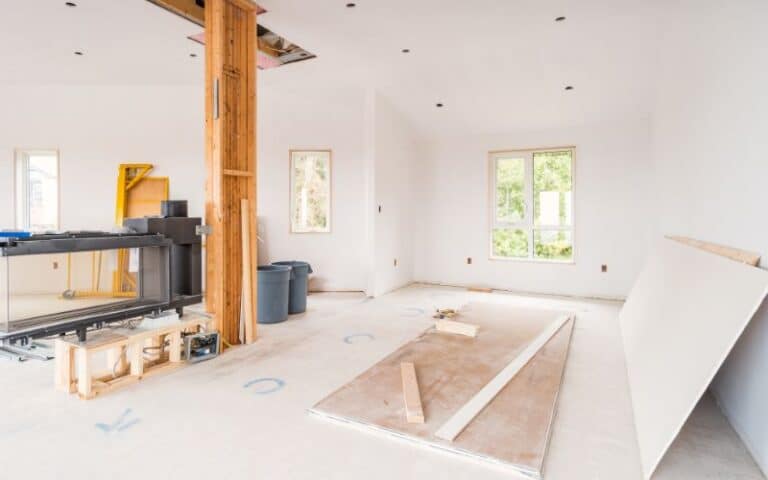
You can install drywall in the rain, but the building has to be dry and the drywall too. Also, the room has to be heated to room temperature to keep any moisture away.
However, you can install your drywall while it’s raining, but don’t transport drywall in the rain as that will weaken the drywall. It’ll be fine if the roof isn’t leaking onto the drywall during the rain.
If you’re working during heavy rain, close the doors and windows and check for leaks in the roof so that water doesn’t touch the drywall.
However, if you install drywall in the rain and it rains on the drywall, don’t just continue with the job, as the structural integrity of the drywall may be compromised.
You can replace any wet parts of the drywall with dry drywall. Touch the drywall to ensure no part is mushy and wet. If it is, replace it.
Also, check the insulation. You can make about 3 inches wide holes in the insulation to check if the insulation is wet. If it is wet, you’ll have to replace it too.
Also, check the wood. If the wood is wet, you’ll have to wait for it to dry before you continue the construction.
If you continue with wet insulation or wood, the insulation will remain wet for a long time, and it will cause mold to grow in the drywall.
However, if the damage isn’t extensive and the insulation is dry, you can continue with the construction.
Finally, if you can’t protect the drywall from rainwater, you should wait until the rain stops to install the drywall.
What to Do With Rain-Beaten Drywall?
Rains are likely to ruin your drywall. Usually, if only a little water touches drywall, you can manage it. But heavy rain can irreparably damage drywall.
Still, it’s best to check so that you can be sure. For example, if your home’s roof is leaky and the drywall becomes waterlogged, you can fix it. Otherwise, it would be best if you replaced it.
Here are the steps to take if your drywall gets beat by rain.
#1. Repair the Leaky Roof
More likely than not, roof leaks are responsible for wet drywall. If you fix the drywall without fixing the leak, you may give a temporary solution to a more serious issue.
So, make small holes in the wet section of the drywall to check for the leak. Once you find it, get professionals to fix it for you instead. Either way, repair the leak first.
#2. Replace the Sagging Drywall
Constantly exposing drywall to rain and other sources of moisture can make the drywall lose its structural integrity very quickly. In addition, some water in the drywall will ruin it completely.
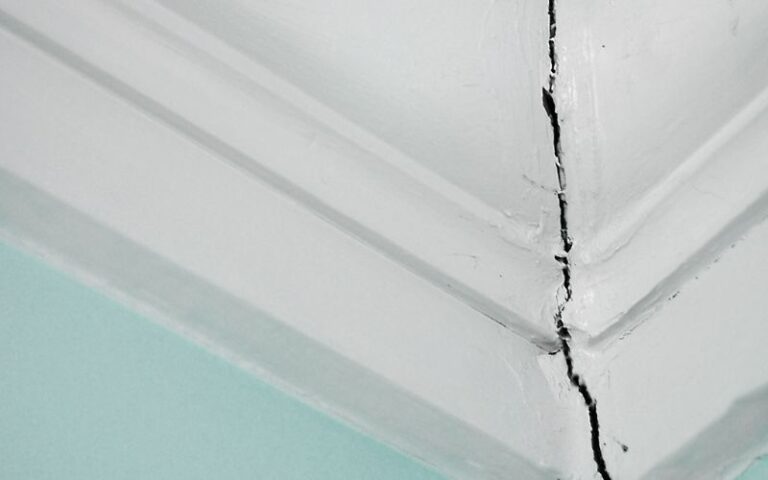
While you’ll need to replace cracked drywall, you will need help to save blistered, swollen, or sagging drywall.
You will have to replace every portion of drywall that is sagging, swollen and blistered.
Also, check for the insulation and studs behind the cut piece. If they’re not completely dry, you’ll have to wait before installing new drywall.
Wet insulation and studs may appear like a small problem at the time, but if you don’t allow them to dry, the new drywall resting against it will become compromised.
Mold will also grow on the new drywall. Wait for a few days after repairing the leak so that the inner wall will dry up completely before you install new drywall.
#3. Remove Mold
Moist drywall is very porous. Therefore, it is a good environment for mold to grow and thrive. If the drywall is not damaged but mold has infested it, you’ll need to remove it by scrubbing it.
Use an undiluted bleach solution, which will kill the mold completely without causing any damage to the drywall.
Also, the bleach will remove any visible signs of mold within a day or two.
#4. Cover the Water Stains
If it rains on your drywall, the water will leave some stains. You’ll have to cover up the stains. First, use a paint scraper to remove all the loose paint.
Then, use medium-grit sandpaper to seal the walls until you achieve a smooth surface. You can then prime the surface of the drywall and paint it when there aren’t any more issues.
Do You Need to Replace the Installed Drywall That Got Wet?
In some cases, especially in cases of severe rain or flooding in your home, it is nearly impossible to repair drywall and get it back to its original condition.
If you don’t completely replace the drywall, it can compromise your home’s structural integrity, and before you know it, entire portions of drywall will be falling over.
The best thing to do when water destroys your drywall is to replace all of it.
To replace drywall, you’ll need the following tools and supplies:
- Utility knife
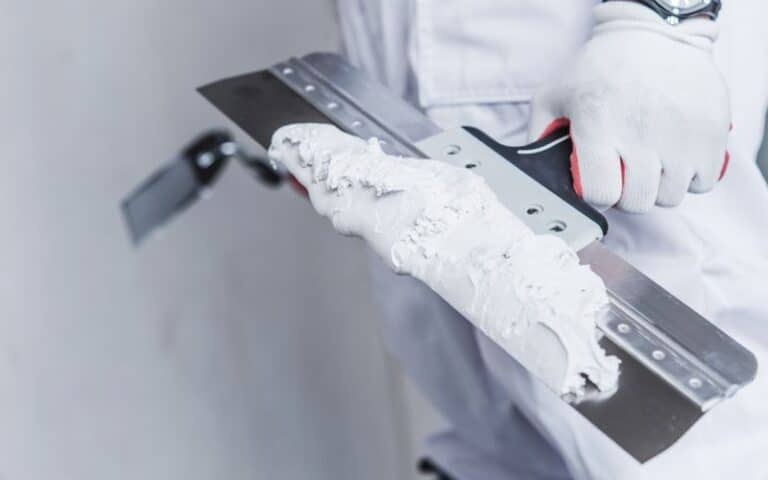
- Joint and taping knives
- Sandpaper
- Rag or sponge
- Saw for removing damaged gypsum
- Premixed joint compound
- Joint tape
- Handi panel or sheetrock
- Wood for anchoring or drywall repair clips
When you have all your materials ready, you can replace the drywall:
- Remove the baseboard with a pry bar, and then unscrew all the electrical cover plates on the cover sheets using a screwdriver.
- Remove the tape covering the seams up to the ceiling. Then, take a utility knife and cut the ends of the tape connecting the sheet to the ceiling.
- If you used screws, remove them with a drill and Philips bolt. If you use nails, pull them out with a clay hammer.
- Remove the damaged drywall and place it atop the new one on the floor so you can mark the electrical fixtures.
- Line up the edges of both drywall sheets and mark the fixtures with a pencil. Then, cut out the holes with a drywall saw.
- Put the new sheet in the right position. Ensure the edge is flush against the ceiling and fasten it with drywall screws.
- Tape and mud all the edges, and cover the exposed screw heads. Finally, apply a fresh paint coating to the entire wall or ceiling.
Some people prefer to repair and not replace their drywall when it’s damaged.
The table below will help you assess the damage level and decide whether to repair or replace the drywall.
| Completely Damaged Drywall | Repairable Drywall |
|---|---|
| Discoloration | Swollen drywall |
| Stains and water spots | Peeling paint and wallpaper |
| Sagging and crumbling drywall | Bubbling paint |
| Cracks on the drywall | Moldy, stale smells from drywall |

