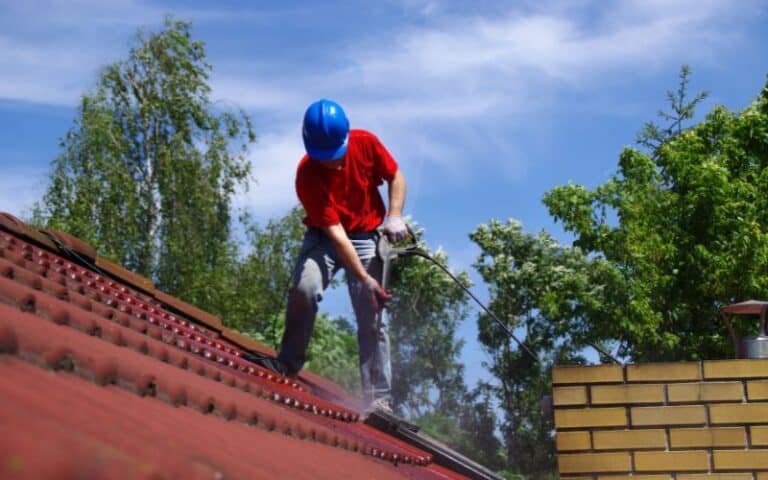
Building codes require that homes have drip edges to protect the roof components from possible water damage.
Thus, even homes that didn’t have drip edges are now required to install them.
Whether you install drip edges yourself or hire a contractor, having the technical know-how will come in handy.
With this comes questions such as whether drip edges should overlap.
To get adequate protection for the roof and walls of your building, always ensure that the next drip edge overlaps the first by at least an inch. You must nail drip edges high on the shingles to cover the nails and ensure no gaps between drip edges.
This article aims to highlight the importance of drip edge in a home, guide you on how to overlap it, and answer all your drip edge-related questions.
Ready for a Roofing Quiz?
Is It Okay To Overlap Roof Drip Edge?
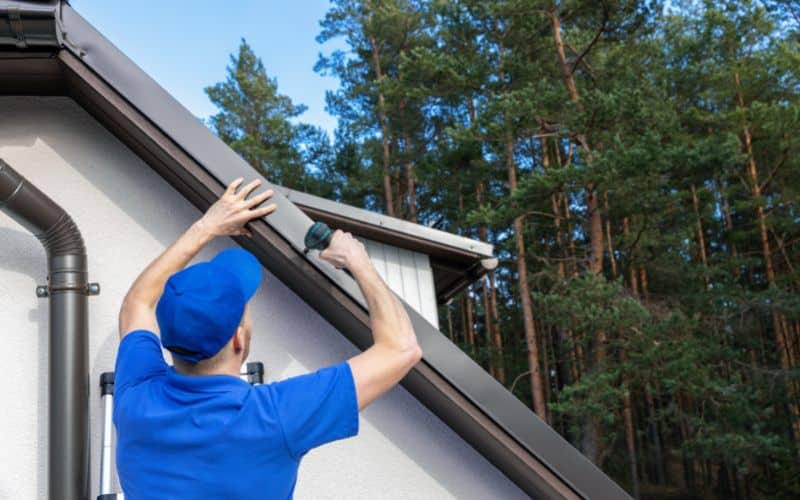
It is okay to overlap the roof drip edge. Some building codes recommend that you overlap drip edges by at least 2 inches (51mm).
Different States have various building codes that the contractors have to obey.
The building codes are in place to ensure the roof is in line with the State’s requirements.
According to the 2018 IRC, there must be a drip edge at the gables and eaves of shingle roofs.
And not only do you need a drip edge on your roof, but you must also install it properly and comply with the State code.
The code is the proper way of installing drip edges. The proper installation requires that during the installation, you should overlap the adjacent pieces by 2 inches at a minimum.
According to the code, overlapping drip edges is a requirement. The drip below the roof decking can extend to a minimum of half an inch and upwards to 2 inches.
You must also install underlayment over drip edges along the eaves and beneath the roof’s underlayment.
In some cases, roof contractors will neglect to install drip edges or fail to install it properly.
Either way, the roof will not pass a State authorized building inspection because it isn’t up to code.
Additionally, if you don’t fix a drip edge on the roof of your home, rainwater will enter the roof and cause damage not only to the roof but the entire home.
How Far Can You Overlap Drip Edge?
Adjacent drip edges should overlap by a minimum of 2 inches. While installing the adjacent drip edge, stick to the minimum overlap length of 2 inches.
You don’t have to leave a lot of space for the overlap. On the other hand, asphalt shingles should overlap the edge by ⅓ to ¾ inches.
The overlap length for asphalt shingles is less because if asphalt shingles extend too far, the wind can damage them.
However, always check your State’s building requirements before starting any roofing project.
The goal is to extend the roof so that any runoff water or snow drains into the roof gutter.
However, if the overlap is not long enough, the water will not flow into the water. Instead, the water will drip behind the gutters and not into the gutters.
That will cause the roof sheathing and fascia to rot. It can also cause erosion and make the basement flood.
So, in addition to leaving the 2-inch or ¼-¾ inch, you should also ensure the outer edge extends over the gutter. That way, the water will flow right into the gutter.
Should There Be A Gap Between The Roof Drip Edge And Fascia?
When installing the drop edge, you should leave a small space between the fascia board and drip edges, and the gap shouldn’t be too wide.
It should be about a fingerbreadth. Also, your shingles should overlap a drip edge of about 3/8 to 1/2 of an inch.
The correct way is to place drip edges on the exterior cover of the roof between the fascia board and sheathing.
That will create a drainage space between the fascia board and drip edges, and the gap will then increase the flow of water, protecting your roof from any damage.
That is the importance of the gap between the roof drip edge and the fascia. The gap allows the water to drip without affecting the roof.
Without the gap, the flow of water will be poor and could result in water damage.
What Is The Proper Way To Install Drip Edge On A Roof?
Your home may not originally have a drip edge, but because of how important a drip edge is to the roof, many building codes in North America now require that your home has a drip edge.
So, you can get a contractor to install drip edges on your roof for you. Or, you may install drip edges on your roof alone.
If you choose to go with the latter, below is a step-by-step guide on installing drip edge on your roof.
Before you begin, it’s important to note that the process of installing drip edge differs for rakes and eaves.
You have to install drip edges on the roof before you install underlayment. But, for rakes, you only install drip edges after you’ve installed underlayment.
Here’s the proper way to install drip edges on your roof;
- First, fix a drip edge on the eaves. Put drip edges line down, and always align drip edges so that it drips into the gutters when water gets into them.
- Point a drip edge’s end (the part with the flare or the flange) downwards, moving in the direction opposite the roof.
- Secure drip edges with roofing nails. Place the nails on drip edges to hide them beneath the shingles.
- The proper way to secure drip edges is to nail them at 12 inches intervals. Don’t leave more than 16 inches between nails, and allow the next piece to overlap the previous by 2 inches.
- When you get to a corner where a rake edge and an eave meet, you’ll have to cut, so that drip edges fit perfectly.
- Place drip edges on a rake edge and identify where your drip edge overhang begins. Also, make another mark one inch from the overhang.
- Cut out drip edges from where you made the second mark, so it will only hang past the eaves’ ends by an inch. Afterward, cut out the top portion by the first mark.
- Then, make a perpendicular cut and remove a square from the drip edges.
- Next, install drip edges as you normally would. Then, bend the flap to make a corner.
- After you cover the eaves with a drip edge, proceed to install the underlayment. The underlayment will be under drip edges on the rakes but over on the eaves.
- Proceed to install drip edges on the rakes and use nails to hold them in place.
- When the rake and eave meet in a corner, install the rake’s drip edge on top of the flap you left before.
Additionally, always check the local building codes to check if there are any guidelines you must follow as you install drip edges.
Drip edge is a great addition to your roof in many ways, but there are a few disadvantages.
| Advantages of Drip Edge | Disadvantages of Drip Edge |
|---|---|
| They support shingles | Several contractors don’t include them in roofing projects |
| They protect the roof from ice or water damage | It isn’t easy to install them on an already-completed roof |
| They’re cost-effective | |
| They keep animals from entering your attic. |
FAQs
#1. Do you Fix a Drip Edge Around the Whole Perimeter of the Roof?
A drip edge should be installed around the roof’s whole perimeter, creating a tight seal around the roof’s edge. So, it should cover the entire roof edge.
#2. Do I Need Drip Edge?
Building codes recommend installing drip edges on your roof, regardless of your roof type. They protect your roof and entire home from damage.
#3. What is the Use of a Drip Edge?
A drip edge helps guide water flow away from your fascia and protect the other components from water damage.
Conclusion
Always overlap drip edges by at least 2 inches when installing. The next drip edge is always supposed to overlap the first by a few inches.
However, when installing your drip edge, always check the building codes for that area so you don’t make any avoidable mistakes.

