Gable roofs are the most common and unique type of porch roof you’ll find around. Most homeowners like gable roofs because they’re seemingly cheap to construct, spaced, and efficiently sloped.
This article will guide you through the process of attaching a gable roof to your house.
First draft a construction design for attaching a gable porch roof to a house. After you’ve come up with a preferred design, the construction will begin. To attach the gable roof, construct a building support column or post, and fasten the ground plate to the support post, then set up the rafters. Subsequently, frame the entire roof with roofing material.
Ready for a Roofing Quiz?
How To Connect A Gable Porch To House?
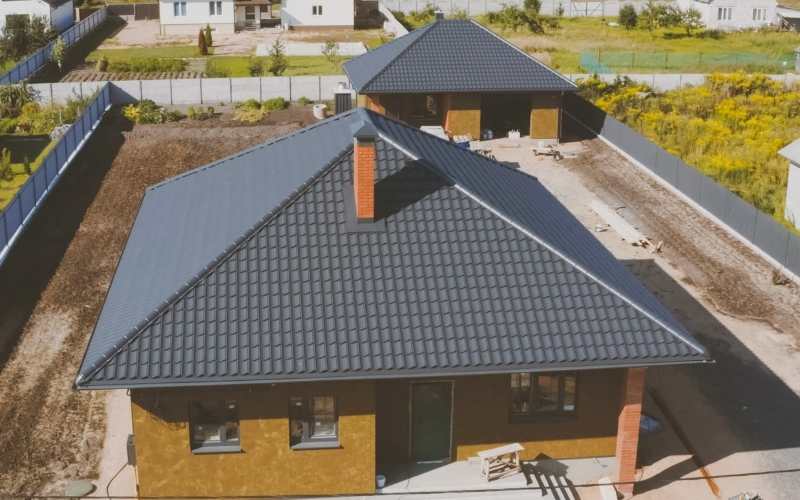
To attach a gable porch roof to your home, get your preferred design and the necessary tools ready. Next, after you’ve made ready these two things, set up a support post.
Then, fasten the ground plate to the support post and install the rafters. When you’re through with installing the rafters, frame the entire porch roof; install the sheathing and roofing material.
Note that the process of attaching a gable porch roof to your house requires patience and almost concentration.
The necessary tools or materials you might need include; rafters, OSB boards or plywood sheathing, roofing felt, a tape measure, and a wooden beam(ridge).
Follow the procedures below to attach a gable roof to your house.
#1. Construct Support Columns Or Posts
The first step in attaching a gable porch roof to your house is constructing support columns or posts. Support Columns are concrete supports that offer stability to the porch.
Always set the support columns according to the main house’s design.
If you plan the porch to be six by six feet, your support columns should be placed around that measurement.
However, apart from column support, there exists another type of support. This support is called simple post support.
Most homeowners utilize the simple post support because they have a simple installation method.
Subsequently, if you intend to use the simple post support, decide where you want the gable roof to be.
When you’ve finalized your desired location, do some markings on the ground with a stalk. Mark the specific spots where you wish to dig the pits for the placement of the posts.
After marking each spot, dig a pit on every marked spot. Then, place the post inside. Posts are wooden supports that provide stability to porches.
To make the post firm in the pit or hole, produce a concrete mixture. Be sure to mix it properly, then pour it inside the pit.
#2. Set up The Valley Boards
After constructing the support posts, the next step involves setting up the valley board. You should place the valley board on the existing roof and nail it down.
Gable designs typically don’t need many valley boards. Valleys boards, in general, act as firm nailing exteriors, on which you’ll set up some rafters.
I highly recommend the use of roofing cement in the valley board area. This cementing will eliminate the possibility of leaks.
#3. Fasten The Ground Plate
Fasten the ground plate immediately after you attach the valley board. Fastening the ground plate largely depends on the new gable roof.
You ought to affix the ground plates on the surface of the supporting post, which you’ve fixed; it should sit directly on the simple posts.
Additionally, ground plates are also called sill plates. They serve as a connection for the supporting post.
Ensure to measure both the existing house roof and the supporting posts, taking their measurements to assist you in ascertaining the rafters’ sizes.
#4. Fix The Rafters
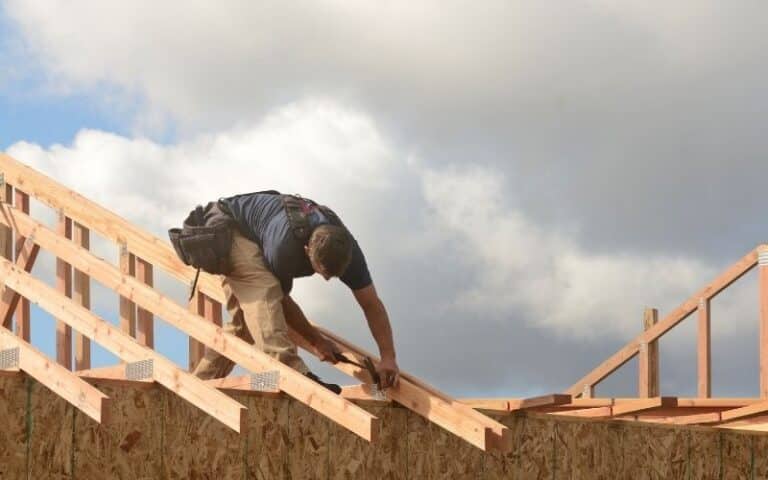
Subsequently, fix the rafters. Rafters are wooden structures that tilt down from the roof’s apex. They serve as assistance to roof shingles and other interrelated loads.
To fix rafters, nail the first end of it to the corresponding valley board or sill plate, as the case may be. Consequently, nail the other end to the ridge(wood beam)
#5. Frame The Roof
Framing is a process that merely requires the use of the rafters to cover the roofing construction. Add the rafters till the while framing is full. Be sure to extend them 1ft more than the porch wall.
Though not necessary, you can implore the use of fascia boards on the front side of the roof. You can fix the fascia boards by nailing them against the rafters with galvanized nails.
Not to forget, you should likewise utilize framing pieces like trusses and joists. If you wish to put on the trusses, nail them on the framing.
#6. Use Plywood To Cover The Roof
Here, embody all the roof surface frames with sheathing. I highly recommend the use of ½” thick wood sheathing.
My recommendation is that ½” thick wood sheathing has a good moisture-retaining capacity. It’s likewise sturdy enough to serve the function of a roof covering.
To effectively fix the plywood, lay it down and attach it to the roof trusses or rafters. Again, you can implore the use of ⅝” nails.
#7. Cover The Sheathing With Shingles
After covering the roof framing with Plywood sheathing, embody the sheathing with shingles (roof felt). Nail the shingles down to the plywood sheathing.
For a coordinated appearance, utilize the same shingles on your existing house roof. Again, be sure to overlap the felt layers.
The whole process was so straightforward. Now, before you try it out, it would be nice to take note of some considerations. They include;
#1. The Use Of Building Codes
Generally, before you start any building project, it’s always good to consult your local building codes; this roofing project is not an exception.
They advise and give you ideal alternatives on roof retrofitting and renovation. Building codes likewise provide safety precautions during construction.
As a matter of fact, in most cases, the building code office must inspect your building project and permit you. Without their permission, you won’t be able to begin any project.
During the inspection, what they typically do is, try to check your plan. If the construction plan doesn’t meet the community standards, you may have to redraft and plan everything from scratch.
Your plan must always include measurements and material types you’ll use in the construction process.
#2. The Evaluation Of The Existing House And Its Roof
Here, you need to evaluate the space where you’ll attach the gable roof. Frequently do this evaluation because it’s so essential.
The evaluation inspects the existing house roof, whether it’s adjustable with a roof addition or it is not.
The evaluation likewise helps you know the strength of the existing roof, If it can hold the new gable porch roof.
Occasionally, if you discover that the addition of the gable roof will result in any impairment, think twice about the decision. I’m sure you wouldn’t want any damage.
In addition, you Likewise need to inspect the house to which you’re attaching the gable porch roofs too. Yes. You ought to ensure that every part of the house, especially the house’s roof, is in good condition.
The house’s roof needs to be without rots or leaks.
Nonetheless, if you discover any damages during the evaluation, fix them before beginning the gable porch attachment.
Lastly, eliminate any hindrance that could make the project seem difficult or impossible. These hindrances may include cable wires, nearby trees, and branches.
Conclusion
Gable roofs are essential porch roofs. They offer shelter and create a conducive atmosphere. Attaching this type of roof to your house is no big deal also.
Be sure to follow every procedure as given above. Don’t forget to consult the local building code and call the attention of a roof technician for proper clarification if the need arises.

