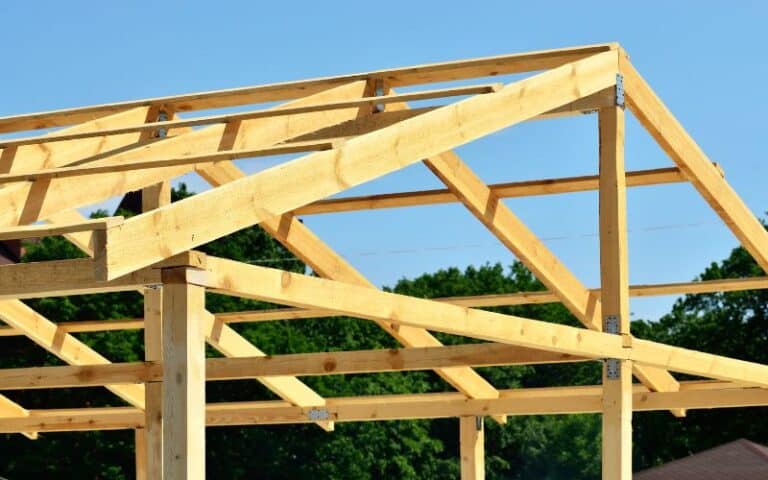
Ledger boards provide much of a building’s support. So, If you ever plan on installing a ledger board as an addition to your building, you must do it properly.
It would be best if you go for one which has unmatched strength and is reliable. And, for a secure attachment, ensure your house is in the best condition.
Thus, in this guide, you’ll find a step-by-step approach to installing ledger boards in metal buildings.
To successfully fasten a ledger board to a metal building, outline where you’ll place the board. Next, you’ll need to determine the outside dimensions of the building by taking accurate measurements. Lastly, you’ll need to slip in the flashings.
So, below is a more detailed procedure on how you can install ledger boards to a metal structure.
Ready for a Roofing Quiz?
How to Fasten Ledger Board to Metal Building
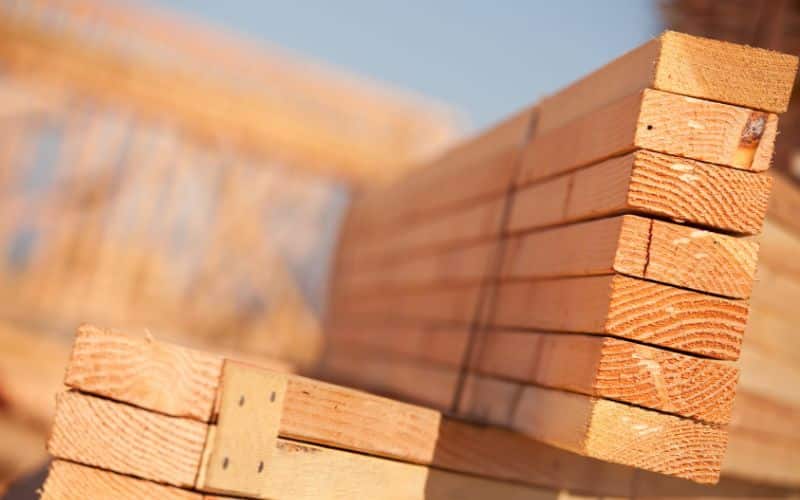
You can use several procedures to install a ledger in your building structure. And they may differ depending on the particular structure.
#1. Fasten the Nailer to Your Building
Using the nail gun to the side of your building is always best, where you’ll have to attach the rafter’s upper end.
You can do this by attaching the gun to your metal structure. Also, you can use drilling screws with threads that can lock the nailer.
Try nailing from the side and into the frame members of your building if possible.
Regardless of your chosen method, it’s always best to ensure that you fasten the member securely to your building.
Doing this is critical because the nailer has to be strong enough to support the roofing, your building’s framing, and the weight of the person performing the fastening.
#2. Rafter Spacing Layout
You’ll have to continue laying out the spacing between the rafters, following the nailers.
Afterward, beginning at one end, measure the span you’ve calculated with your building’s design. Be sure to mark out each space.
In the second place, mark the edge of the rafter (not the center) to ensure it’s visible after you position the rafter.
#3. Ascertain the Roof Pitch
Determine the roof pitch by hanging a line above the top rafter (where you’ll install the ledger board) and attaching a point underneath.
Again, hold a rafter square (also known as a rafter angle square, triangle square, or speed square) opposite the top nailer where you’ll attach the string.
Next, mark out the angle on the rafter square scale. In the same way, cut out that end of the rafter.
Unless you’re completely certain both nailers are aligned exactly, it would be best not to cut the rafter’s lower end.
However, you can do this after installing the rafters if cutting them out is necessary.
#4. Nail the Rafters
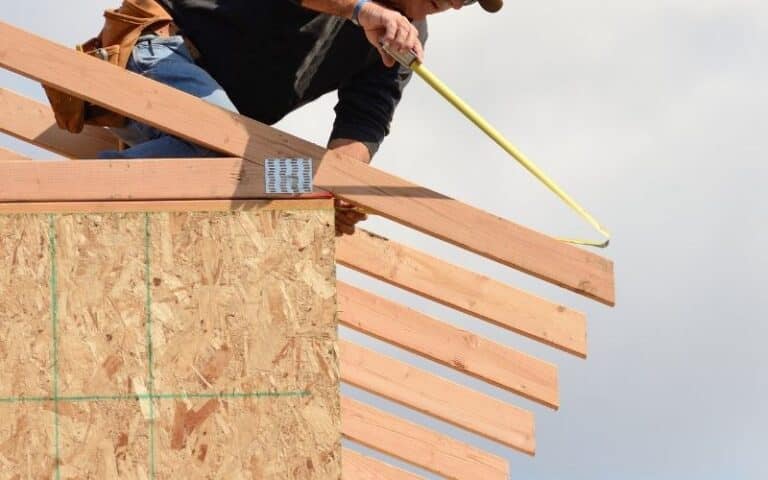
You’ll need to fix the rafters against the top nailers. Try using a metal bracket fastened to a ledger board for the best result.
Using a pencil, outline the position where your boards will merge.
Following the measurements, place the nail across the point of connection, and drive it straight through the rafter.
Be sure to drive the nail in until it pokes out slightly. Next, reposition the board to ensure an exact angle. Then, drive your nail completely through the rafter.
However, if this is unavoidable, you should first try pre-drilling the hole at the correct angle.
If you follow these procedures correctly, the next steps should flow in easily.
It’s unnecessary to delve deeper, as you’ll be working with the measurements you’ve taken.
#5. Install Your Metal Roof
Finally, you’ll need to fasten your metal roofing with a suitable ledger board. It’s ideal to use a 2×6 to hold one end of the roof rafter firmly.
Thus, mounting a ledger board to your building is fairly easy. Just be sure to follow the instructions carefully.
Can You Add Structures to an Existing Metal Building?
Yes, you can expand on almost any metal building to create more space for additional purposes, like storage, business, or accommodation.
If you already own a metal space or expansion, you know how economical, convenient and durable they can be.
There are many ways you can expand upon your current structure. However, there are several factors you need to consider before this expansion.
The factors are:
#1. Location
You first must consider if your current location is right for the addition.
Also, as a business owner, remaining in the same location means that you’ll be able to retain the same customer base.
And you’ll save yourself the inconveniences and business disruption involved in moving to a new building.
#2. Land
You must consider if your land fits the amount needed for the project you want to start.
And also if you’re satisfied with your space in terms of neighborhood, utilities, location, etc. A metal addition will be perfect if you’ve checked through all this.
#3. Local Laws and Regulations
It would be best to comply with local laws and regulations or have a permit for your new addition project.
However, you don’t need to worry; the process is the same as in your first building.
But be sure you comply with your city’s regulations before commencing this project.
Therefore, if you meet your location, land, and local requirements, you can go further on your journey to expanding your space.
There are various ways to add a structure to your current metal building. All are quite possible but require different processes for each.
So, here are the factors you should consider before deciding to add to your structure.
#1. Width
Adding width to your current building is an incredibly budget-friendly way to expand your structure.
If the roof line of your current building is high, then you have the option of installing lean-tos (as discussed earlier), which you can fasten to one or both sides.
Also, you can add more bays. Adding a lean-to will extend your roof line on each side, with a new frame attached to your original frame.
With this, you can keep your original walls. Or, if you’d like to open the bays, you can remove the walls and replace them with doors to make the space wider and open.
#2. Length
Here, the process is a bit different. However, you won’t be able to attach it to your original frame if the current construction of your metal building is post and beam style.
Nevertheless, you can start with a new end wall right next to the one of your current building.
And add the new addition’s secondary frame to the primary frame.
With this, you’ll be able to make your building as long as possible and add extra bays to the back as far as you have the foundation.
#3. Height
This method is a bit more tricky. It requires specific framing techniques, and you’ll have to add new frames to your old walls’ foundation for this project.
Also, you may need to remove some support beams before you can add bays and end walls.
Should You Add Flashing When Attaching Ledger Board to a Metal Building?
While you may overlook flashing in your building because it’s a metal product, the ledger board will need covering to protect it from weathering.
However, if you’ve cut out your siding to attach a ledger board, you must be careful, so moisture can’t enter your house.
Because invading rainwater can get in. Also, it’s always best to use special flashings ideal for metal buildings.
So, here’s a general highlight on how to apply a DIY flashing to your metal building:
- Cut a piece of flashing with tin snips.
- Score with a utility knife. However, you should avoid cutting it all the way through.
- Use a framing square (that your house can accommodate).
- Take an accurate measurement of the area for the flashing.
- Cut flashing
- Slip flashing below the siding
- Use a nail flashing above the top ledger board.
- Slip the flashing behind a trim that’s ideal for ledger boards.
- Be sure to use a gutter caulk or silicone sealer for the flashing
- Install the siding carefully.
Although flashing is good for weatherproofing your structure, it may not always be the best option for the following reasons;
| Pros | Cons |
|---|---|
| Flashing guarantees a good weatherproof system | Flashing materials tend to corrode over time due to a reaction with air. |
| It is durable | It will collapse if not installed properly. |
| DIY flashing is convenient and economical | If left unpainted, it’ll show signs of corrosion and rust. |
FAQs
#1. Should a Ledger Board Always be One Piece?
No, a ledger board doesn’t have to be a complete board. It can be a series of broken sections attached solidly, which may require extra bolts during installation.
#2. Are Nails Good for Ledger Boards?
Nails aren’t always an ideal choice for using on ledger boards. They’re not designed to hold a board and may withdraw over time.
Conclusion
Installing a ledger board as an addition to your building is relatively easy if you follow the instructions carefully.
However, if the process proves too much of a hassle, you should get a professional to do it.
Despite the downsides, flashing is good, as it helps protect your building from weathering.

