Roof pitches are crucial in any roof structure because they help preserve the roof’s lifespan.
However, roof pitches must suit the climate conditions of their location. Therefore, the builder must create a roof pitch that can withstand such conditions.
Each roof has its unique roof pitch that effectively works for the building. However, you may be wondering if a roof can have unmatching pitches.
Roof pitches do not have to match. Some building structures do not require matching roof pitches. The structures would not align properly or last long if you tried to create matching roof pitches on them. Also, different roof pitches give your roof the advantage of easy water and snow running off.
Ready for a Roofing Quiz?
Can You Have Different Roof Pitches?
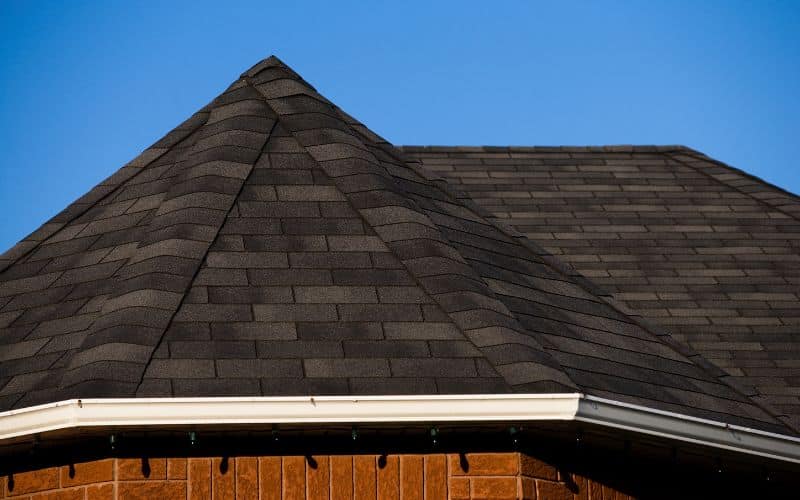
You can have different roof pitches, although it makes your roof have a complex appearance.
Roofs with different pitches are mostly due to the structure of the building below. However, some building structures have varying shapes that could be complicated.
Therefore, a professional builder must develop roof pitches that perfectly align with the building.
The resulting pitch must be able to create the perfect drainage for the building. There are two types of roofs with different pitches that builders commonly use.
The construction and structure of both roofs distinguish them. Each roof has a unique quality and benefit.
Here are the two types of roofs with different pitches.
#1. Double-Pitch Roof
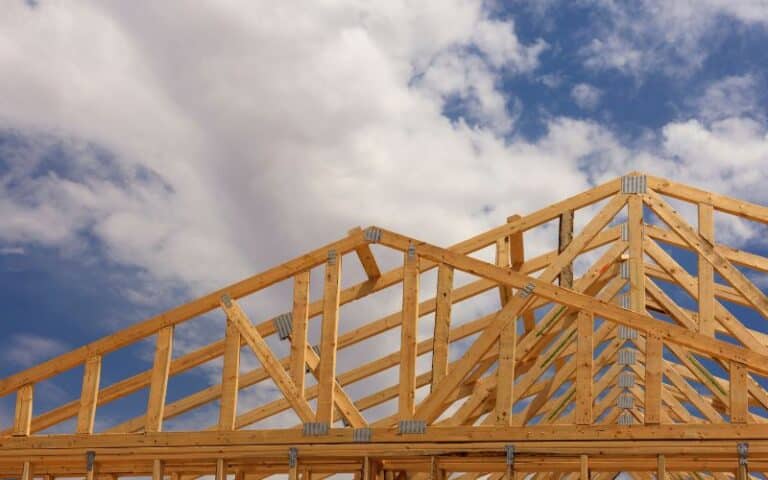
Double-pitch roof is the most popular type of roof that builders use. The roof combines two pitches extending in different directions and connecting at the top with a ridge.
The two roof surfaces lie on supporting walls to form a triangle. Builders refer to the resulting triangles as gables.
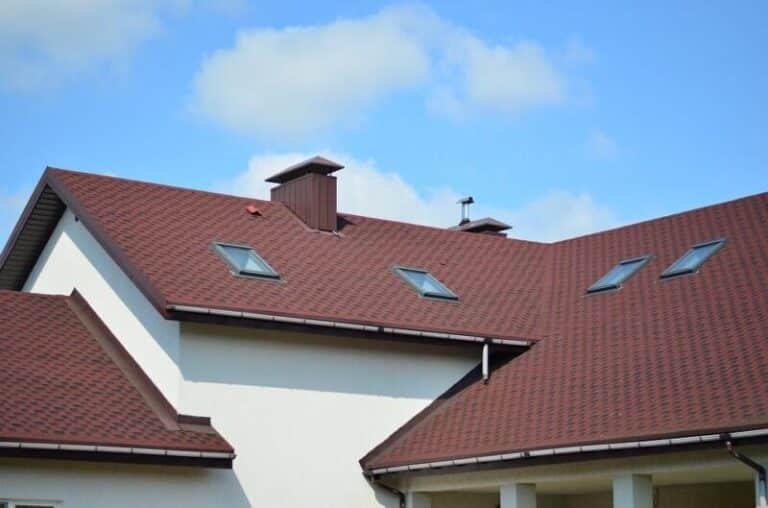
Most roofs have windows to allow light inside. However, you can decide to cover the roof if you want.
#2. Multi-Pitch Roof
The multi-pitch is more complex because it consists of two or more different roof shapes. The roof shapes all have individual pitches connecting in ridges.
The roof shapes can be on different parts of the building. For example, buildings that need to make the attic taller often use multi-pitch roofs.
The builders raise the roof in some places and install windows to let natural light into the rooms.
Is It Expensive to Change the Pitch of a Roof?
Changing the pitch of a roof is quite expensive. The cost of changing the pitch of a roof should be between $15,000 to $20,000. However, the cost would be higher if the roof is larger and more complex.
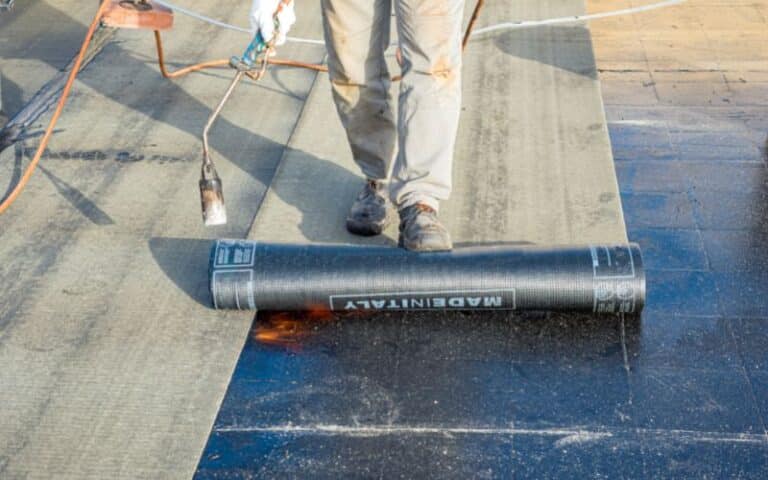
Also, it is essential to know the amount of money you spend on the roof depends on several factors such as the cost of materials, underlayment, building permit charges, and installation charges.
Therefore the cost of changing your roof pitch could be higher than your budget.
However, before considering all the factors, you can plan a budget using the price range below.
| Factors | Prices |
|---|---|
| Tearing off the roof | $1,500 to $3,000 |
| Roofing material | $3,300 to $10,800 |
| Underlayment | $792 to $1,704 |
| Roof trusses | $2,000 to $6,000 |
| Roof decking | $1,050 to $1,575 |
Why Do Some Roofs Have a Different Pitch?
Roofs have different pitches for several reasons. However, the most common reason is to create more room for the building.
Some buildings do not have enough space for an attic. Therefore, the builders include roof pitches to create room for the attic.
The pitch could be in several roof parts, depending on how much room you need. Another reason for some roofs having different pitches is the size of the building.
Larger buildings would require more pitches to enhance drainage. Snow and water may accumulate on the different parts of the roof if they are not properly pitched.
However, creating different pitches would help snow and water leave those roof parts sooner.
What Are Common Roof Pitch Angles Used by Builders?
The common roof pitch angles builders use fall between 4/12 and 9/12. The roof pitch within this angle is “medium slope roof pitch .”
The angle makes it easy for water and snow to run off the roof. Also, it allows the builders to walk on it easily.
However, builders use different roof angles according to the type of pitch they want to achieve.
Standard roof angles range from 2/12 to above 12/12. A flat roof pitch angle is 1/12 to elevate it a little bit.
Even flat roof pitches need some elevation to allow the water to drain from them. Additionally, the low-slope roof pitch has an angle between 2/12 to 4/12.
Furthermore, the steepest roof pitch is above 9/12. As the angle implies, the common name for this roof pitch is steep-slope pitch.
How Do You Make a Hip Roof With Different Pitches?
Making a hip roof with different pitches is quite different and more complex. One of the difficulties is getting the two pitch planes to meet at the hip.
You need to create an angle that can effectively join the pitches together. Another difficulty is getting the fascia of the pitches to align.
However, follow the steps below to make a hip roof with different pitches.
#1. Drawing the Roof Plan
Create a scale drawing of the roof indicating the exterior walls, rafters, and ridges.
The drawing would guide you through the roofing process. It would also help you to know the number of roof materials you need.
#2. Creating the Roof Plane Pitches
Calculate and establish the pitches of the roof planes. Base your calculation on the second pitch’s total rise and full run to the main roof.
Then calculate it with the formula: 12 inches ÷ (total run x total rise) = unit rise in inches.
#3. Line Up the Fascia
Line up the fascia while you keep the overhang equal. You must ensure the roof layout begins inside the top edge of the fascia.
Also, it would help if you built the wall plate under the secondary roof because it is steeper. The wall plate should equal the difference between the unit rise of the two roof pitches.
#4. Finding the Pitch of the Hip
Find the hip angle and unit run of the hip to get the pitch of the hip. To get the hip angle, draw a diagonal line between the main roof’s run and the secondary roof’s run.
You can get the unit run of the hip with any of the roofs. However, you need only one of the roofs to calculate the pitch angle because the hip rafter is not at the standard 45 degrees.
#5. Laying Out the Hip
Locate the centerline of the hip rafter on your drawing before measuring it on the roof materials.
The centerline of the hip rafter should be at the corner of the intersecting fascia boards. Next, you should extend the centerline back towards the wall plate.
The centerline would then extend beyond the wall plate. The resulting hip would be on the wall plate with a steeper roof pitch among the two.
#6. Backing the Hip
Determine the line of backing on both sides of the hip by using the hip rafter pitch and framing square.
To determine the backing line, position the framing square of the side of the hip rafter facing the main roof.
Then, measure the distance along the unit run and mark it as the backing line. You must repeat this procedure on the side of the hip facing the secondary roof.
It is best to indicate both backing line measurements as “A” and “B” for easy identification.
#7. Placing the Jack Rafters
First, lay out the jack rafters’ position by finding the first jack’s run and the cheek cut angle. Next, find the common difference to locate the remaining jacks.
Next, step off the run of the first jack using the main roof hip pitch and mark the plumb line as the centerline of the first jack.
Next, using the hip pitch of the secondary roof, step off the jack’s run to get the centerline and continue with the common difference.
#8. Finishing the Roof
Lay out the roof valley, so the hip roof rafters sit on the outside corners. Then, attach your roofing materials and shingles to your roof. The hip roof with different pitches is now complete.
Conclusion
Roofs with different pitches are the most common type of roof builders use these days. It is mostly because of the roof’s durability and longevity that makes them a preferable option.
Laying out dual or multiple pitches is not difficult if you follow the proper guidelines. However, it is best to always draw it out before starting the process.


