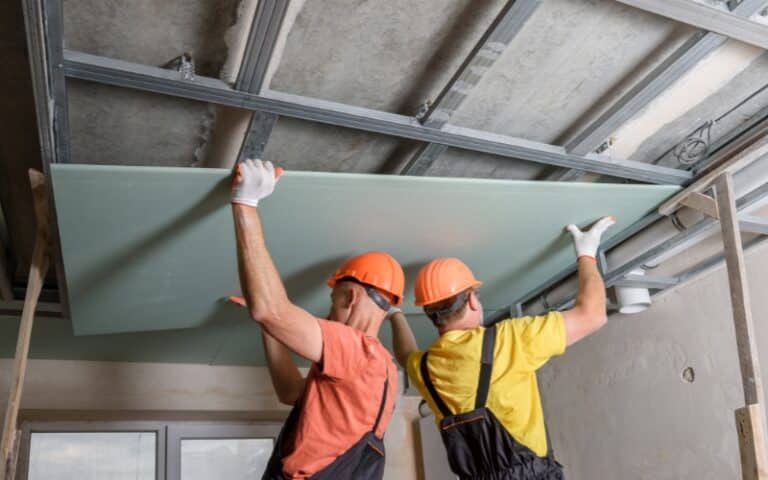
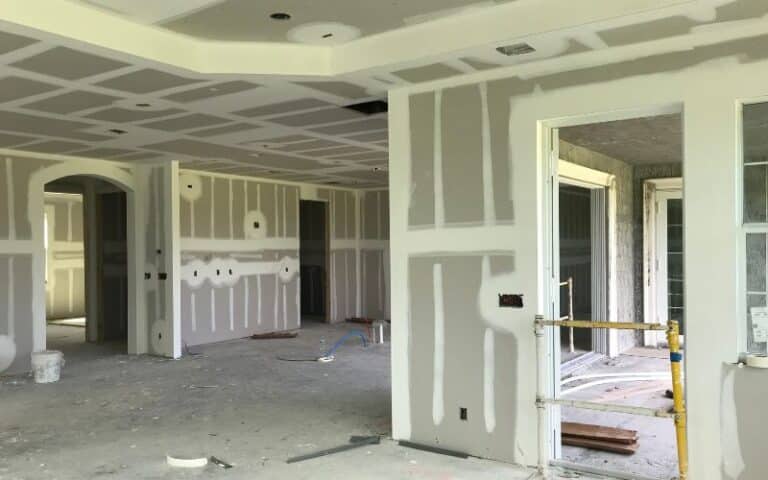
When your drywall gets damaged, you must replace it with a new one. You can choose to install the new drywall panel over the existing one.
Installing new drywall over an old one can be tricky because the new drywall may not flush with the old one. This issue is the reason people usually choose to replace the old drywall completely.
But what makes the new drywall not flush with the old one during installation?
One main reason new drywall may not flush with the old one is when you use drywall with the wrong thickness. For the new drywall to sit flush, it has to have the same thickness size as the old drywall. Another possible reason why drywall may not sit flush is when the studs are uneven.
In this article, I’ll explain how to fix uneven drywall and repair drywall to sit flush with older ones. You’ll also get to know how to fix uneven drywall after painting.
Ready for a Drywall Quiz?
Why Does My New Drywall Not Sit Flush With the Old One?
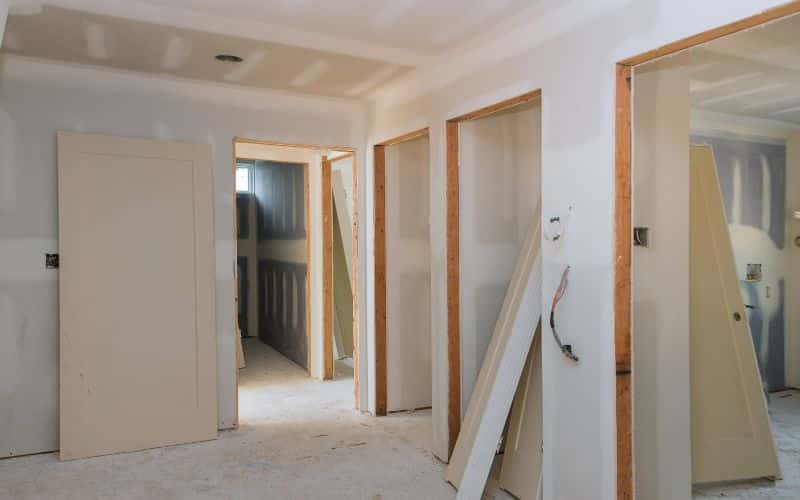
There are several reasons why your new drywall may not sit flush with old ones, and some of those reasons include the following:
#1. Installing Drywall with the Wrong Thickness
When installing a new drywall to an existing one, thickness is an essential factor. You have to ensure that the new and old drywall is the same thickness size.
The new drywall will only sit flush with the old one if they have the same thickness size.
#2. Uneven Wall Studs
The drywall will only sit flush if the wall studs are even. Wall studs serve as the framework of your wall.
When the wall studs are uneven, one part of the drywall seams will likely protrude, making it not sit flush.
How to Fix Uneven Drywall?
Here is a table to show the tools and materials you need to fix uneven drywall:
| Tools and Materials | Uses |
|---|---|
| Sanding pole | To get to the top of the drywall |
| 120 grit sandpaper | To sand the drywall |
| PVA primer | To seal out pores on the drywall |
| Joint compound | To cover up visible seams and flaws |
| 10-12 inch drywall knife | To spread the joint compound on the drywall |
Here are the steps on how to fix uneven drywall:
Step One
The first step is to sand the drywall. To ensure that you remove all bumps, use 120-grit sandpaper. You can attach the sandpaper to a sanding pole to get the top of the drywall.
After sanding the drywall, use water and trisodium phosphate to clean up the dust.
Soak a sponge in the mixture of water and trisodium phosphate and wipe the drywall until clean. Please leave it to dry for a few hours.
Step Two
After sanding your drywall, the next thing to do is apply a PVA primer on the wall. Use a paintbrush or a roller as a medium for the primer.
You can use polyvinyl acetate as a primer sealer for your drywall.
Step Three
After priming your drywall, the next step is to prepare your joint compound. You can use premixed mud, so you don’t need to carry out the mixing process.
If you decide to use hot mud, ensure you mix it until it is consistent enough for usage. Use a mixing drill to get the amount of consistency you desire.
Step Four
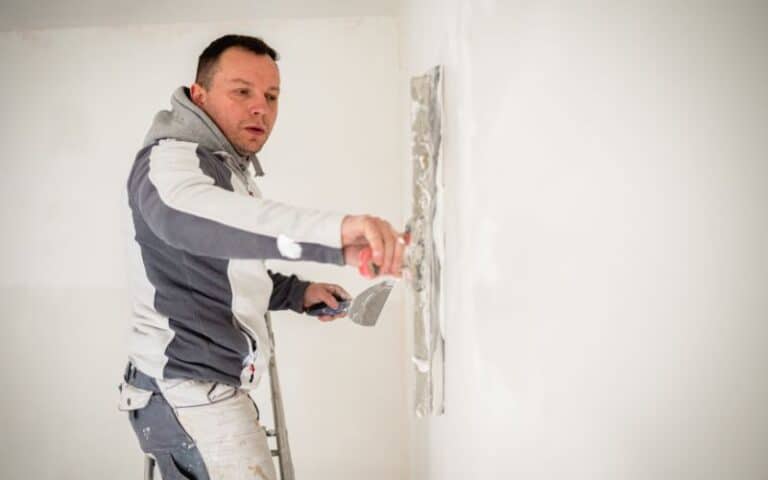
Once the joint compound is ready, apply it to your drywall. Use a 10-12 inch drywall knife to spread the mud onto the drywall.
Ensure to get in between visible seams and flatten out the mud. You can apply as many coats of joint compound depending on the flaws you must cover-up.
Apply a coat of joint compound and then sand the surface before you apply another coat of mud. Continue this process until the wall surface is at the same level as the highest seam.
Once the final coat of mud dries, you should sand the wall with 120-grit sandpaper and then prime it with a PVA primer.
How to Repair Drywall to Sit Flush with Older Ones?
There are three common ways through which you can repair your drywall to sit flush with older ones, and they include:
- Shim the wall studs
- Hammer in a piece of wood on the drywall seams
- Use joint compound to cover up the uneven seams
#1. Shim the Wall Studs
Here are steps on how to shim your wall studs to repair drywall when it doesn’t sit flush:
- You should purchase cardboard shims for your wall because they are easy to work with
- Measure the drywall seams you need to cover up and cut out the cardboard shims using the measurements
- Set the cut-out cardboard shim in place and secure it with some screws. Ensure that the screws are not too close to each other and that they don’t go too deep in the shim.
- Use 1 ½ inch screws to secure the cardboard shim in place.
#2. Hammer in a Piece of Wood on the Drywall Seams
You can easily even out the drywall seams by hammering them till they line up together. Use a thick piece of wood when beating not to damage the drywall.
#3. Use Joint Compound to Cover up the Uneven Seams
One way to fix drywall that does not sit flush is to cover up the uneven seams with joint compound.
Here are the steps on how to use joint compound to repair drywall that does not sit flush:
- The first step is to prepare the joint compound you’re to use. Make sure to use a mixing drill to mix the compound well before you use it.
- Pour some joint compound onto a pan and then use a drywall knife to scoop and spread the mud on the wall.
- Allow the first coat of joint compound to dry before you sand it with 120-grit sandpaper. Keep spreading more coats on the wall until it evens out.
How Do I Even Out My Drywall After Painting?
Here is a table showing the materials you’ll need to even out your drywall after painting and their uses:
| Materials | Uses |
|---|---|
| Sponge | To clean the drywall |
| Detergent | To ensure you get rid of dirt while cleaning |
| Paintbrush | To spread the primer on your drywall |
| Drywall primer | To get rid of pores on the drywall |
| Joint compound | To even out the seams and cover screw heads |
| 120 grit sandpaper | To sand and smoothen out the joint compound |
| 4, 6, and 8-inch drywall knives | To spread the drywall compound on the drywall |
Here are the steps on how even your drywall even after you painted it:
- First and foremost, you need to prepare the wall by cleaning it. Use a sponge and a mixture of water and detergent (trisodium phosphate) for the cleaning process.
- Use a paint scraper to remove any loose drywall mud between the seams. You can take off the separated paper with a utility knife.
- Apply a primer to the drywall to cover up the pores. You can use a paintbrush or roller to apply the primer.
- Prepare your drywall compound and use a 4-inch drywall knife to apply a coat of mud on the seams.
- Lay drywall tape on the drywall compound and then apply another coat of the mud before you apply drywall tape again.
- Use a drill and No. 2 Phillips bit to replace the nails with 1 ½ inch drywall screws. Ensure to drive the screws only about 1/16 inch into the surface.
- Apply a coat of joint compound over the drywall seams to cover the screw heads.
- Leave the mud to dry overnight. Recoat the same area and spread it out with a 6-inch drywall knife.
- Allow that coat of mud to dry before applying drywall tape on the seams to secure them.
- After taping the drywall, apply a final coat of joint compound with an 8-inch drywall knife.
- Once the final coat of the mud dries, use 120-grit sandpaper to sand the drywall. Wear a dust mask or a respirator to prevent the dust from getting into your lungs.
- Apply texture to the drywall and then use a primer on it.

