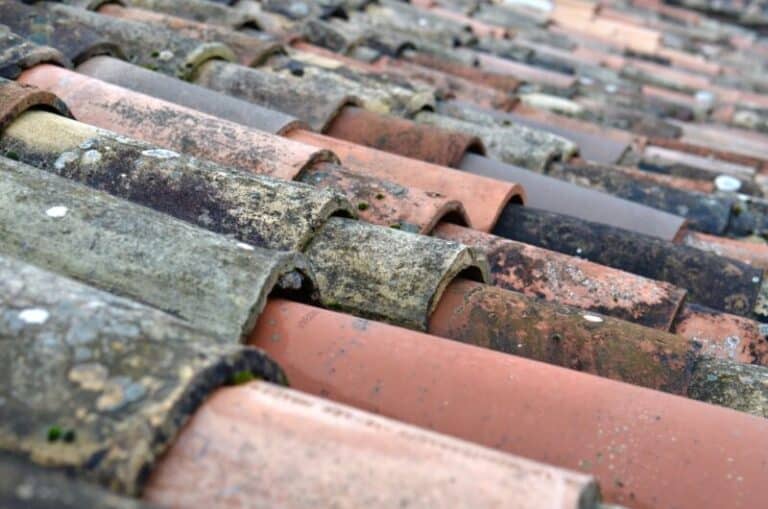
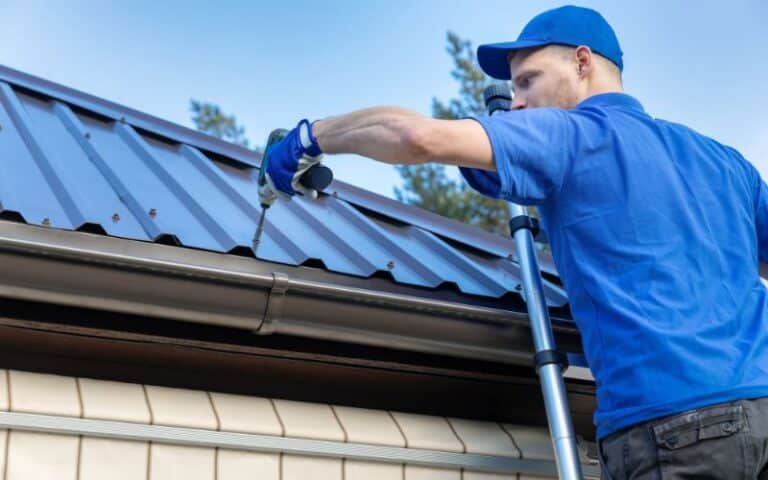
Roofing felts are used to seal flat roofs, gable roofs, and pitched roofs. It lies under the roof tiles of residential buildings and consists of a mixture of cardboard and tar or bitumen.
Coarse material is to increase abrasion resistance and UV resistance. You may know roofing felt products by their durability, resilience, and compatibility with health and the environment.
Commercially, roofing felt is usually sold in a roll and comes in sizes one meter wide and ten meters long. In addition, rolls of felt are 36″ wide x 144′ long for #15 and 72′ long for #30.
Ready for a Roofing Quiz?
What Is The Difference Between 15 and 30 Felt on a Roof?
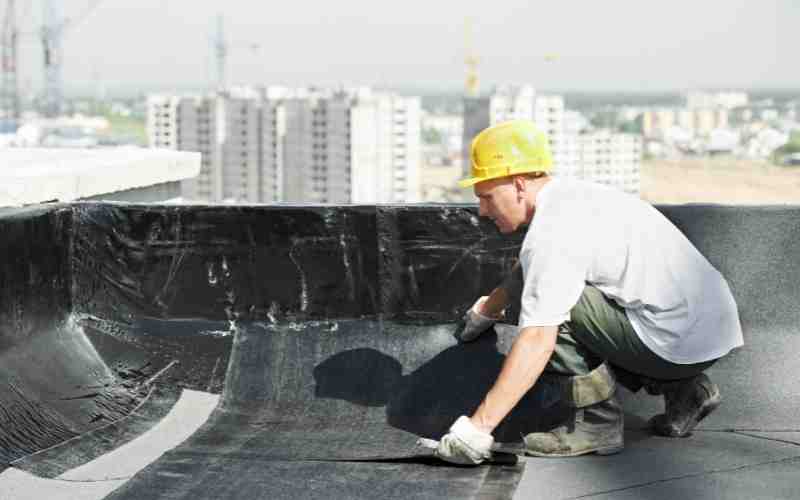
Because 30-pound felt is thicker and stiffer than 15-pound felt, it is more resistant to damage during installation and can protect your roof for a more extended period if exposed to the elements such as rain, wind, hail, and snow.
While #15 is a good choice for most roofing projects, #30 is preferable for steep and flat roofs since it provides more protection and performance.
If your roof isn’t steep, you can use #15 instead. The felt weight is a fantastic deal if you have a standard roof.
If your roof is steep, #30 will be more fitting since it is thicker and rips less during installation.
You get a thicker layer of protection and underlayment with #30 felt. Even if there is a lot of moisture present, it will struggle to penetrate through the thickness of #30.
The thickness of the #30 felt improves traction for workers on a steeply pitched roof.
In general, if your roof is over a specific pitch, you’ll need the #30 pound felt, and if it’s below that pitch, you’ll need the #15 pound felt.
Your felt is typically an industry standard; most customers do not get to pick the felt they want, and roofers will follow code based on the roof’s specifications.
What Is The Right Weight For Your Project?
Roofers have been using saturated asphalt felt under shingles for many years, and it used to come in two standard weights: 15 pounds per 100 square feet and 30 pounds per 100 square feet.
The 15-pounder was designed for lightweight tasks, while the 30-pounder provides more protection.
The actual weights have not changed, but the classifications have.
#1. For 15-pound felt;
- For lighter projects and steeper pitched roofs, use only one application of this thinner product (which allows water to run off more quickly).
- A synthetic coating is a substitute in some instances.
- Many professional groups advocate and many construction standards demand this minimal weight.
#2. For Thirty-pound Felt
- Apply one or two coats of paint.
- Use especially under slate or flagstone tiles.
- Be aware of slopes between 2:12 and 4:12, as these tend to receive wind-driven rain.
Regardless of the roofing project, you are working on, using a felt coating is always encouraged.
Related: Steepest Roof Pitch To Walk On
How To Calculate How Much Roofing Felt You Need?
First, the area that the roof pitch will cover, commonly known as the roof’s square, must be measured. Next, enter the attic or any other home area where the roof framing is visible.
Next, measure and mark a 12-foot section of the floor in the same direction as the roof’s slope. Then, at either end of the 12-foot span, measure the height of the ceiling above the floor.
Take the smallest height measurement and subtract it from the tallest height measurement. The slope of the roof is to compute the difference.
Every 12 feet of distance, roof pitch is usually stated as a change in elevation. If you calculated a three-foot difference in step four, your roof pitch is 3/12.
Calculating the roofing area is essential to know how many rolls of felt topping to use or if you need to buy more.
Calculate the Roof Area
Using a tap, find the width and length of the structure at ground level, but keep your measurements in feet. Then multiply the results to find the entire area of the roof.
However, if the building does not have a regular shape, break the building’s structure into multiple rectangles and measure every one as a separate entity.
Multiply the total area you got by a correction factor which accounts for the slope of the roof. This correction factor considers the high roof area because of the slope.
For example, for roof pitches with values of 3/12 or 4/12, you should multiply them by 1.25.
On the other hand, if your roof pitches ranging from 5/12 to 7/12, employ a factor of 1.3. Use the factor, 1.4 for a 9/12 pitch. Also, you can use an element of 1.5 to 1.7 for higher tones, although there will be less precision.
Multiply your result by 1.10 to tackle the error due to waste. If the roof has crazy valleys and hips, add another 10 to 25 percent to deal with the effect of added area. Divide the result you get above by 100.
Then, take the nearest whole number to change square feet to squares. Keep in mind that these materials are always in squares, with one square representing 100 square feet.
Related: 5/12 Vs. 6/12 Roof Pitch (In-Depth Comparison)
How to Apply Roofing Felt?
- First, carefully prepare the subsurface. Get rid of all elements that could damage the roofing felt, such as sharp edges, sharp stones, and wood splinters. Let the surface dry well and sweep it properly—repair damaged areas on the roof before laying the waterproofing.
- For larger underlayment felt pieces, always work with rolled-up material, which is easier to handle. Then, cut the individual strips with the cutter knife.
- In the case of sloping roof areas, start your work at the bottom edge. In the case of a flat roof, at any narrow side. Leave the roofing felt overhanging the edge by about 2 cm. If you have a framed roof, fold the overhang upwards.
- You can use an electric tacker to secure a laid membrane initially and then use exceptional roofing felt nails for the final attachment.
- Lay the next strip so that it overlaps the first by about 10 cm. Use as few nails as possible and as many as necessary, as each nail will puncture the roof membrane and cause a small leak. Ensure that the individual strips overlap from top to bottom so that no water runs.
Our tip: Avoid stepping on a strip of roofing felt that is loose, as this often causes the material already laid to slip. There is also an increased risk of falling on sloping roofs.
- On chimneys, bay windows, and other protruding roof formations, you have to pierce the roofing felt and, in some cases, also insert relatively small individual parts. Ensure that the roofing felt never ends directly on the edge, but always wrap it around corners a few centimeters.
- Finally, welding the overlaps with the gas burner is worth soldering to achieve the most effective waterproofing possible. To do this, briefly heat all the edge zones to fuse.
How Many Square Meters is a Roll of Roofing Felt?
A roll of roofing felt usually has an area of 10 m². Remember that the material should protrude about 10 cm at the edges and buy an appropriate amount when shopping.
Conclusion
Roofing felt in any form is a very reliable roof covering and is also relatively inexpensive.
In principle, it is the only option for flat roofs, whereby welded bitumen roofing felt is typically used here, also laid in at least two layers.
The average roofing felt comes in sizes one meter wide and ten meters long.
`

