Bringing electricity to your shed isn’t as difficult as you think. You can wire your shed like a pro with technical know-how and the proper tools with proper research.
The total amount of current needed at the shed electrical mains will determine whether you need a Subpanel or not.
An electrical Subpanel fitted in a shed is an excellent way to protect the shed’s electrical appliances. There are different types of subpanels on the market, each with a separate current rating. Therefore, the maximum power drawn from the shed’s equipment should be a significant factor when Selecting its electrical Subpanel.
Ready for a Roofing Quiz?
How to Wire Subpanel For Sheds?
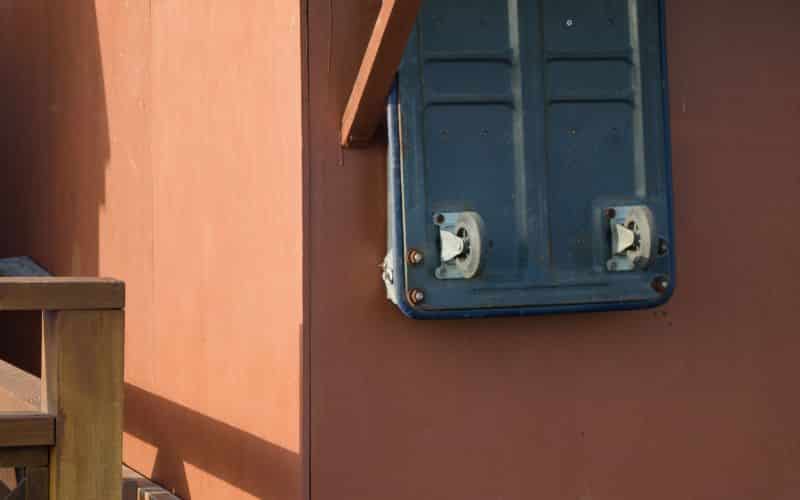
Before you can effectively wire a Subpanel For sheds, there are different things you must do.
First, you must understand the total requirements and power draw before wiring a Subpanel.
#1. Calculate Theoretical Power Draw Of the Shed
The type of tools you plan to use in your shed should affect your choice of suitable Subpanel for the shed.
A 60 amps Subpanel should be enough to meet your power requirements. Appliances in the shed should not exceed the amp rating.
#2. Locate the Mains Supply
You have to find the central panel of your house and determine if there’s enough space to add a Subpanel. The power rating of your main board should be higher than that of your Subpanel.
#3. Wire the Subpanel
After determining the power draw and location of the main supply, it’s time to wire the Subpanel. For a 60 amps Sub Panel a 5 Gauge (AWG) wire should be used when drawing power from the main panel.
In addition, it is best to install a separate 60 amp circuit breaker for the Subpanel. This circuit breaker will protect the Subpanel from short circuits and prevent the main circuit breaker from tripping.
#4. Dig the Trench For Laying the Electrical Conduit
After wiring the Subpanel, you must dig a trench to lay the electrical conduit. This conduit should be a weathering-resistant PVC pipe wide enough for the wires to pass through.
You must check in with 811 before attempting to dig so you don’t hit any utilities. If burying your wire deep into the ground, you can use a trenching machine.
#5. Lay the Conduit Into the Trench
With the trench completed, you will lay the PVC pipe into the channel and bury it. When closing the groove, pour sharp sand as a buffer between the pipe and the soil.
Next, you should use an electrician fish hook to pass the wire through the conduit.
#6. Connect the Subpanel To the Conduit Cable
After burying the conduit and placing the wires through the pipe, connect the wire to the Subpanel. You should install a circuit breaker to protect the shed from short circuits and overloading.
#7. Install Electrical Outlets And Lights
After the connection is complete, you can install electrical outlets and lights. You will need a smaller-sized wire to connect to the sockets and electric bulbs—a 12 Gauge wire for sockets and 14 Gauge for bulbs and switches.
With the wiring and installation appropriately done, flipping the circuit breaker should bring power to your shed.
What Size Subpanel For Shed?
There are different sizes of Sub Panels you can install in a shed. Before selecting a Subpanel for a shed, you should know the power draw of all the equipment in the shed.
Appliances consume different amounts of power. Some consume as low as 20 watts and others as high as 1.5kw.
Different sheds require different Sub Panel sizes. For example, if you plan on running heavy appliances in the shed, you will need at least a 60 amps Subpanel.
On the other hand, for light loads like light bulbs, mobile phone chargers, and a mini-fridge, a 40 amps Subpanel is enough.
Make sure the circuit breaker in the shed is a bit higher than the recommended current rating of the Subpanel. Doing this will prevent the breaker from tripping when working on full load.
Here are some points that can help you choose a suitable Subpanel for your shed;
- Know your total estimated power draw.
- Ensure your main house panel has a higher amp rating than the shed’s Subpanel.
- Do not install a subpanel with a lower amp rating than the power draw of your appliances.
- Avoid cheap Subpanels and brands with a bad track record.
- Ground the shed’s electrical wiring separately from the house.
Do I Need a Subpanel For My Shed?
Electrical Sub Panels are secondary power distribution points in a building that distribute electricity to the outlets of another building.
There are different situations where you might or might not need to install a subpanel for your shed.
The type of appliances you are planning to use will determine whether a Subpanel is needed or not. For example, light loads such as light bulbs and wall sockets might not need a Subpanel.
But if you are planning on running heavy appliances like power drills and equipment with high wattage, a Subpanel is needed.
Here is a list of the pros and cons of installing a Subpanel in your shed;
#1. Pros
- Subpanels provide surge current and short circuit protection to the shed’s appliances.
- Subpanels act as a distribution board where you can share various circuits of different current ratings.
- Subpanels can act as a point for troubleshooting electrical issues in the shed.
- Subpanels with circuit breakers also act as emergency power stop in case of an emergency.
#2. Cons
- Subpanel installation is costly, with professional electricians charging up to $1500 for installation.
- Poorly connected Sub Panels can cause the breaker in your main panel to trip constantly, interrupting your electricity supply.
- Animals and small rodents can gain easy access to your shed and chew on your Sub Panel wires, causing a short and possibly a fire.
How Much Does It Cost To Add a Subpanel To a Shed?
Installing a Subpanel into your shed can be expensive or cheap based on your choice.
But, of course, calling a professional electrician will lead to significant expenses and higher charges, but it ensures a job well done.
Employing a professional electrician could cost anywhere from $1400 to $1750 for material costs and artistry.
However, it’s advisable to hire the services of a qualified electrician whenever you want an electrical subpanel installed.
That is because there are specific legal standards all electrical connections in the US have to obey.
If you want to DIY, you can purchase all the materials and wire them at a cheaper cost. For example, the Subpanel, breakers, some wires, PVC conduit, and wall sockets should cost around $500.
It’s best if you have some prior experience doing small-scale wiring so that you don’t make dangerous rookie mistakes.
In addition, watching tutorial videos of experts online will be very helpful in your DIY endeavor.
What Is the Smallest Subpanel For Shed I Can Install?
The amount of power drawn on your appliances should be the deciding factor in choosing the size of the Subpanel. The size of the Subpanel can be as small as 20 amps to as high as 80 amps.
You just have to ensure the Subpanel power rating is higher than the overall power draw of your shed equipment.
Using a Subpanel with a lower amp rating can lead to fires and potential loss of lives and properties.
It is better to spend a few extra bucks on a better Subpanel than spend thousands of dollars buying a new home.
Conclusion
Having a Subpanel in your shed is a positive investment that will give you good returns.
A Subpanel will protect your shed’s appliances from short circuits and automatically cut the power if there’s a power surge.
It would be best to use a sub panel with a higher wattage than the appliances in your shed.

