Belly band installation is one of the standard techniques that professional installers use to create a smooth and even finish in drywall installation.
Apart from finish purposes, belly bands also have numerous other uses. Meanwhile, as a DIY enthusiast, you may be curious if using a belly band in drywall is okay and easy.
Therefore, you are in the right place, as this article explains belly bands in drywall.
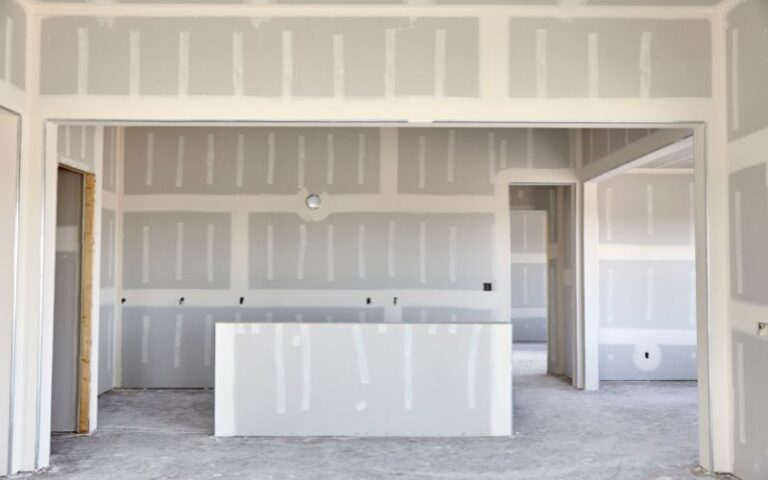
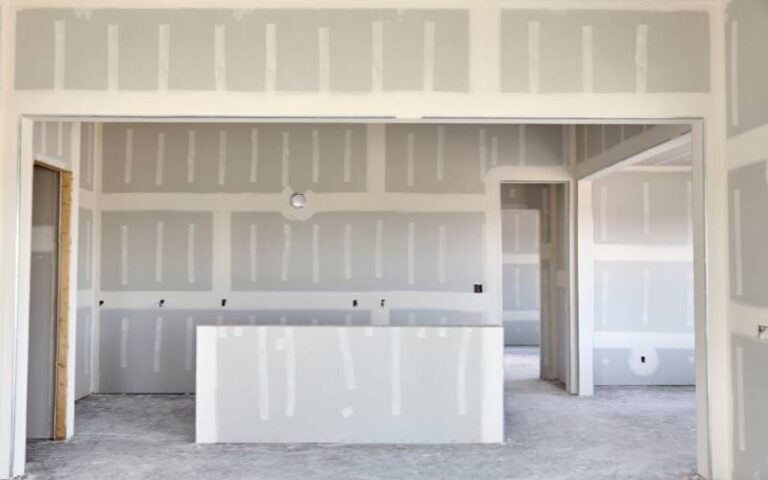
A belly band in drywall refers to a horizontal strip of drywall installed at a midpoint along the height of a wall. A Belly band has different uses, such as separating different types of drywall finishes (different textures or colors), creating a visual break in a large wall, achieving a seamless finish, etc.
This article will explain what a belly band means and its uses. I will also clarify if you can use belly bands in drywall.
In addition, I will explain the tricks and correct way of using drywall, and by the end, you will be able to install a belly band yourself without external help.
Ready for a Drywall Quiz?
Can I Use a Belly Band in Drywall?
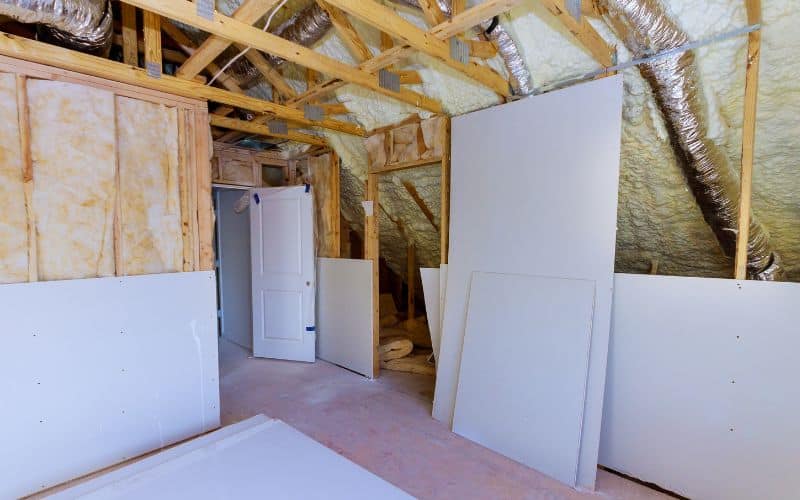
You can use a belly band in drywall. A belly band in drywall is a horizontal strip of drywall installed around the perimeter of a room at the same height as the top of the door.
Professional drywall installers often use a belly band to level out the walls if they are uneven and to cover the joint between two pieces of drywall to achieve a seamless and smooth finish.
Furthermore, you can also use a belly band to create a visual break between the upper and lower portions of a room.
Additionally, drywall installers commonly use belly bands when the wall height exceeds the drywall sheet’s length.
Also, a belly band provides additional support to the drywall and helps prevent cracks from forming.
It’s beneficial in rooms with high ceilings or areas with large walls where the drywall may be more prone to cracking or sagging.
Therefore, a belly band could be the perfect solution to achieve a professional-looking finish, especially if you are tired of struggling with uneven drywall joints that are difficult to hide.
Meanwhile, check out the table below to learn about the pros and cons of a belly band in drywall.
| Pros | Cons |
|---|---|
| It helps to create a smoother surface and reduces visible seams between drywall sheets. | Achieving a uniform and level installation can be challenging. |
| It offers a more aesthetically and professional-looking appearance. | It may not be suitable for all types of construction or architectural styles. |
| It allows more efficient use of drywall sheets by renumbering the number of cuts needed. | Belly band installation requires longer time and labor than traditional drywall installation. |
| It provides additional structural support and stability to the wall. | It can be more expensive than traditional drywall installation. |
| It can help to reduce sound transmission through walls. | It may require additional insulation measures to achieve the desired results. |
| It can help reduce the risk of moisture damage in areas prone to humidity buildups. | It may be less effective than other moisture barriers, such as waterproof membranes. |
| It offers greater flexibility in layout and design options. | It requires extra planning and coordination with other trades to ensure proper installation. |
Looking at the table above, you will discover that belly band installation has numerous advantages, making it suitable for drywall use.
Which Type of Drywall is Best for Installing a Belly Band?
When it comes to installing a belly band, selecting the right type of drywall is important. Drywall for ceiling thickness explained is crucial in ensuring proper installation. Opt for a drywall thickness that can withstand the weight and provide a sturdy support for the belly band. Consider consulting with professionals to determine the best drywall option for your specific project.
What Could Cause Pin Holes in Drywall?
Pin holes in drywall causes and solutions: Pin holes in drywall can be caused by various factors such as air bubbles during installation, incorrect nail or screw placement, or inadequate sealing of seams. To prevent these tiny holes from appearing, ensure proper installation techniques and use a high-quality primer before painting. For existing pin holes, apply spackle or joint compound, sand the area, and re-paint.
How to Correctly Use Belly Band in Drywall?
Using a belly band in drywall installation is relatively straightforward. However, you may find it challenging, especially as a first-timer.
Hence, belly band installation involves a few steps to achieve a beautiful and professional-looking result.
Therefore, below are the step-by-step instructions on correctly using belly bands in drywall:
- Your safety comes first. Hence, you should wear safety gear such as gloves, eye protection, etc.
- Next, identify the wall area where you want to install the belly band.
- Next, measure the wall length where you want to install the belly band.
- Cut the belly band to the appropriate length using a saw or a pair of tin snips.
- Locate the studs in the wall where you want to install the belly band and mark it with a pencil.
- The next thing is to position the belly band on the wall where you want it to be installed, ensuring it levels and aligns with the marked location of the stud.
- Next, create pilot holes through the belly band and into the studs or wall framing using a drill.
- Secure the belly band tightly to the studs or wall framing using drywall screws.
- After securing the belly band, you can now attach the drywall sheets to the belly band using drywall screws.
- Ensure the screws are driven through the drywall and into the belly band.
- Repeat steps 4-8 for any additional sections of the belly band you need to install until you cover the entire wall.
- Finish the drywall installation by taping and finishing the seams and corners.
Tricks for Using Belly Bands in Drywall
Depending on the specifics of your building project, it’s necessary to know the tricks for using the belly bands to achieve professional-looking results at the end of the installation.
Therefore, below are some tricks you need to consider when using belly bands in drywall installation:
#1. Consider the Thickness of the Drywall
You may need thicker belly bands to provide enough support if you use thicker drywall. Check the manufacturer’s recommendations for your drywall’s proper belly band thickness.
#2. Plan the Placement of the Belly Bands
You need to determine where exactly you need to install them based on the size of the drywall panels you will be using.
It’s essential to note that the ideal location to install belly bands is either at the top and bottom of the drywall panel or at any vertical joints where two panels meet.
#3. Use Proper Measurements
Measure and cut the belly bands accurately to ensure they fit appropriately between the studs. A level is recommended to install the belly bands straight and even.
#4. Install Belly Bands at the Same Height
Another trick to consider when installing belly bands is to ensure all the belly bands are installed at the same height. This consideration will help ensure the drywall panels sit on the belly bands.
#5. Use Adhesive
Apply construction adhesive to the back of each belly band before screwing it in place; this will help hold it firmly and prevent it from shifting during installation.
#6. Screw the Belly bands in Place.
Use screws long enough to penetrate both the belly band and the stud but not so long that they protrude through the drywall panel. The screw spacing should be about 6 inches apart.
#7. Leave Enough Space for Electrical Wiring
If you plan on running electrical wiring through the wall, leave enough space between the studs for the wiring to run.
You can do this by notching out a small section of the belly band where the wiring will run.
If you follow these tricks appropriately, be assured that your drywall installation will come out sturdy and seamless, with minimal cracking or sagging over time.

