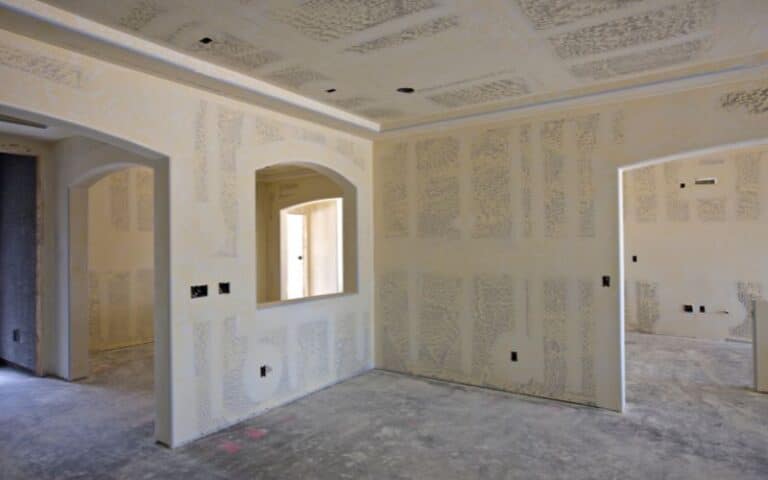
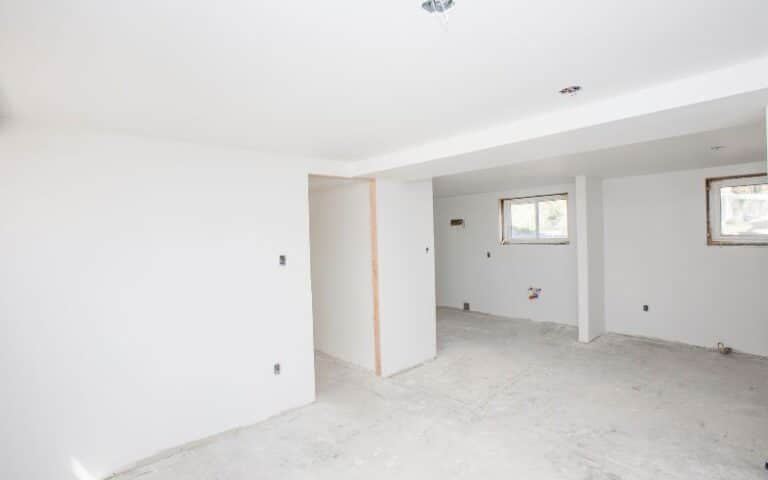
Applying drywall on your wall gives the wall a smooth finish and hides the seams on the wall.
Unfortunately, you might encounter some problems during this process, and one of them is drywall flashing.
Before you start the application of drywall, you must be aware of this problem to avoid it. That said, what is drywall flashing?
Drywall flashing is the uneven texture of your drywall outcome from different light angles. Some reasons why drywall flashing occurs include improper sanding, failure to prime the wall, etc.
In this article, I’ll give you detailed information on how to fix drywall flashing, the causes, and ways to prevent the occurrence.
Ready for a Drywall Quiz?
What Is Drywall Flashing?
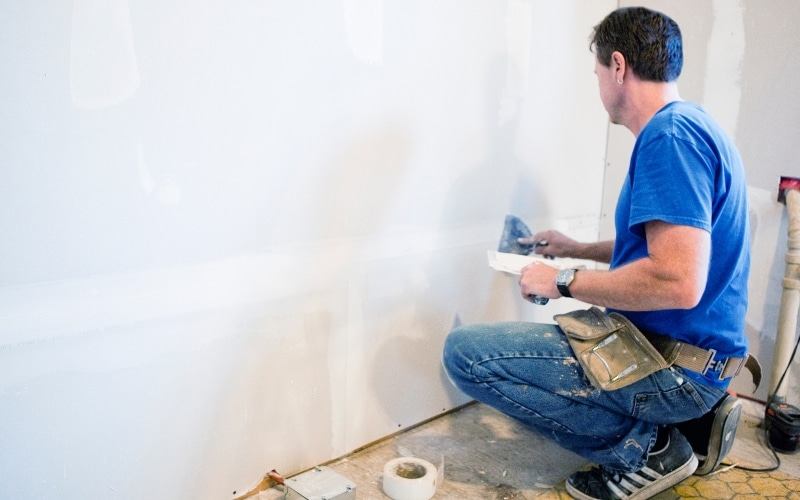
Drywall flashing occurs when you notice that the texture of your wall is uneven after applying drywall.
This defect is because your attempt to smoothen out patches on your wall was unsuccessful.
Thus, the different layers of patching become visible when you paint the wall.
Drywall flashing might not be visible at a glance from one angle, so you have to examine the wall from different angles of light.
Once you examine the wall and notice drywall flashing, you can quickly fix it before you paint it.
What Causes Drywall Flashing?
There are several reasons why your wall will experience drywall flashing. One must be aware of these reasons to avoid repeating the mistake.
Below are the causes of drywall flashing.
#1. Drywall Repairs
Drywall flashing is mostly due to repairs, especially if you didn’t fix them correctly. Also, too many patches can cause the texture of your wall to be inconsistent.
When making repairs and patches on your drywall, use enough topping compound to cover it up. Also, use a sander to smoothen out the compound on the wall.
For the sanding process, start with a 150-grit sander for the imperfections and then end it with a 220-grit sander for a smooth finish.
#2. Absence of Primer
Ensure to use a primer on your wall after sanding the topping compound. The primer will help to further smooth out the patches on the wall and prepare it for the colored paint.
Make sure to use a primer of good quality and a ⅜” or 1/2 ” nap roller to get the best outcome after priming.
However, if you still notice visible patches after priming, apply another coat of topping compound, sand it, and then prime the wall again.
#3. Inconsistent Painting
Inconsistent painting can cause paint flashes on your wall. For example, if you start painting your wall with a roller brush, paint everywhere with the same roller brush.
Switching between tools when you’re painting can cause paint flashes.
How Do You Fix Drywall Flashing?
Discovering drywall flashing on your work after painting can be quite frustrating. However, there are processes to follow to fix the drywall flashing.
Here are four steps to follow to fix the drywall flashing.
Step One: Use Topping Compound to Cover the Patches
The first step is to cover the patches with a coat of topping compound. Then, you can easily sand and paint the topping compound.
There are two types of topping compounds you can use, and they include premixed mud and hot mud. If you choose to use premixed mud, you can immediately apply it.
However, for hot mud, you’ll need to mix it before using it on your drywall.
Here are steps to mix hot mud:
- You’ll need to buy buckets, a mud mixing drill, and drywall quick set mud from a brand like CGC lifeline or the USG, plus three for the drywall mud mixing.
- Open the drywall mud from its packaging by unfolding the box and tearing open the plastic bag containing the content.
- Transfer the content carefully by turning it over into a bucket, then dispose of the bag.
- If you purchase drywall mud from a brand like CGC, you will notice the mud is dry.
- The dryness of the mud makes it good enough to use in place of the quick set in case you can’t find one available.
- Pour some water into the bucket of mud and use the mixing drill to break it down for a while.
- Hold the bucket between your legs, and allow the drill to spin at the bottom.
- Pause the drill in between spins as you slowly work your way to the top of the bucket
- Add more water into the bucket and lift the drill to the top to spin. The mud will get smoother as you spin the mud.
Once you finish mixing the hot mud, you can apply it to the drywall patches. To apply the mud, you must use a wide-taping knife tool.
The wide taping knife helps you thoroughly get through all the patches. When filling the wall with the topping compound, cover more than the visible patches.
Some patches may be present but not visible enough for you to see. Therefore, filling the whole wall with the topping compound is safer to get a smooth finish.
Here’s how to properly apply the topping compound on the wall:
- Use your wide-taping knife to pack up a joint compound that is a quarter of its capacity
- Stroke the knife along the wall vertically for a while
- While stroking the knife, flatten it up the knife gently
- While smoothening the joint compound on the wall, maintain the knife position at a 45-degree angle to prevent air pockets from forming.
- Keep stroking the knife along the surface to ensure it is smooth enough.
Step Two: Sand the Topping Compound
After covering the patches with the topping compound, the next step is properly sanding the surface. Again, you can use an orbital sander for this process.
Put on safety goggles and a duct mask because it can suffocate when you use the sander. Open out the windows for dust and dirt to freely escape the room.
You must choose a sandpaper grit for your drywall and load it on the orbital sander.
Here is a table to show different sandpapers and their functions in this process.
| Sandpaper | Functions |
|---|---|
| 150 grit sandpaper | To get rid of the imperfections. |
| 220 grit | Blend out the edges and smoothen the patches. |
Choose a finer grit between 150-180 at first and move to 220 grit sandpaper for a smooth finish.
Carefully apply pressure on the wall with the orbital sander in a circular motion. Make sure that you do this slowly and gently to ensure that the outcome is a smooth finish.
After using the orbital sander, smoothen the rough surfaces by hand sanding.
Step Three: Apply a Primer on the Wall
It is necessary to use a primer on the drywall to prepare it before you use paint. The primer will help further smoothen the patches and give the wall a consistent texture.
It would be best if you used a ⅜” or 1/2 ” nap roller for the priming process and waited for about a day between the priming coats to get the best result.
After you apply the primer and still notice patches, try applying the topping compound all over and then repeat the priming process.
Step Four: Paint the Wall
The final step is to repaint your wall with two coats of colored paint. Wait 24 hours between each coat of paint to get the best result.
How to Prevent Drywall Flashing?
It is better to prevent drywall flashing during the process than to find ways to fix it afterward.
That said, here are ways to avoid drywall flashing while working on your wall:
#1. Use the Right Tools and Products for Drywall Repairs
When applying topping compound on drywall patches, use a wide tape knife for maximum efficiency.
To sand, the wall, use 150 grit sandpaper to start and then end it with 220 grit sandpaper.
If you find any minor cracks and holes you need to repair in the drywall, use a 3M patch plus primer. This product helps you to avoid flashing, and it contains a primer solution in it.
#2. Apply the Products Correctly
To avoid drywall flashing, it is necessary to apply the products correctly.
When you apply the first coat of topping compound, primer, or paint, you have to wait for about 24 hours before you apply the next one.
Waiting for about 24 hours between the coating process helps prevent uneven texture. Also, take advantage of the priming process and use a quality primer.
When you start painting, use the same set of tools throughout to avoid uneven texture.
Can You Paint Over a Drywall Flashing?
Yes, you can paint over drywall flashing, but you must first carry out the priming process.
Applying primer on your wall helps the paint to stick well. You should take a step to fix the drywall flashing before painting.
You can easily fix the drywall flashing by applying a topping compound on the wall. The topping compound helps to smoothen out the surface of the wall.
After applying the topping compound, you can use a sander on the wall. After you finish sanding, you can use a primer to provide a good surface for the colored paint you wish to use.

