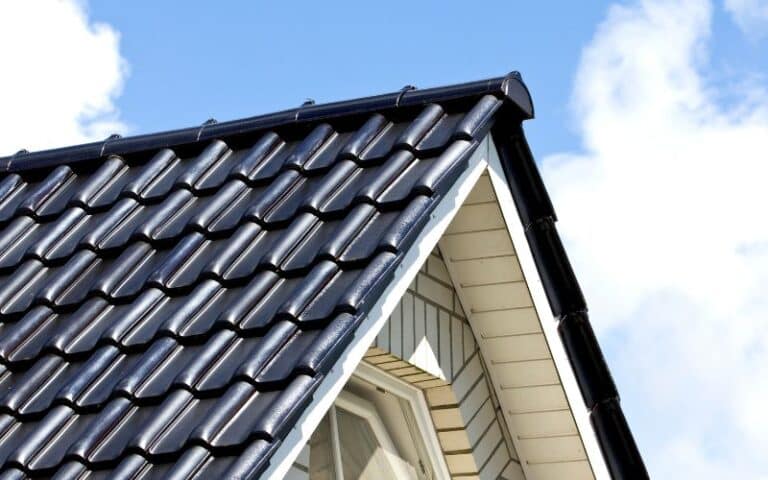
Different roofing styles usually go into the buildings due to their designs and functionality in large roofing houses. A cricket has nothing to do with an insect or the game called cricket.
A Roof cricket between two gables is a triangular construct made to make water flow from two gables. Two gables create an M shape leaving space in between that can collect water. The cricket makes sure it doesn’t.
Ready for a Roofing Quiz?
How To Build Roof Cricket Between Two Gables?
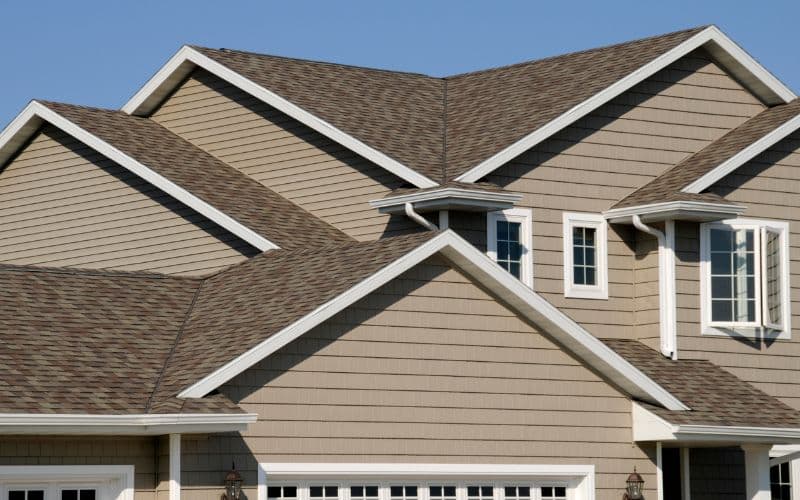
Constructing a roof cricket is quite easy. A roof cricket has nothing related to insects, as the name suggests.
Here is a list of tools and materials you would need to construct a roof cricket and how to do it.
- Measuring tape
- 2 x 4-inch lumber
- ¾ of plywood
- Circular saw
- A waterproof membrane like EDM or TPO
- Counter flashing and metal flashing
- Level
- Screws (galvanized) and screw gun
- Masonry saw
- Shingles and shingle nails
- Hammer
#1. Step 1
Removing old roofing and flashing from the area around the two gables would be best.
Just like when you want to install a new roof, strip it till what is just left is roof decking and basic masonry. Install water flashing on the membrane bent at 90°.
#2. Step 2
Keep the slope of the roof between the two gables in mind. Use the measuring tape to determine the distance between the two gables and the roof’s edge.
Use the level by putting one side on the slope of one gable and the other end on the leveled roof.
#3. Step 3
Cut a 2 x 4-inch framing lumber using the circular saw. Use this framing lumber to make vertical support from the top of the board to the bottom of the roof.
The beam should be the same height horizontally as the level of the slope. Screw the lumber into the roof’s framing.
#4. Step 4
Install the ridge beam to the roof’s upper decking with galvanized screws. Measure the triangle between the two gables and the cricket beam.
Install the plywood triangle to the cricket ridge and the roof decking. Cover the cricket with a waterproof membrane using a construction stapler.
Overlap the roof’s seams by nailing the metal flashing on the sides of the cricket. Add more flashings on the angles along the gables, and counter flashing on the top.
#5. Step 5
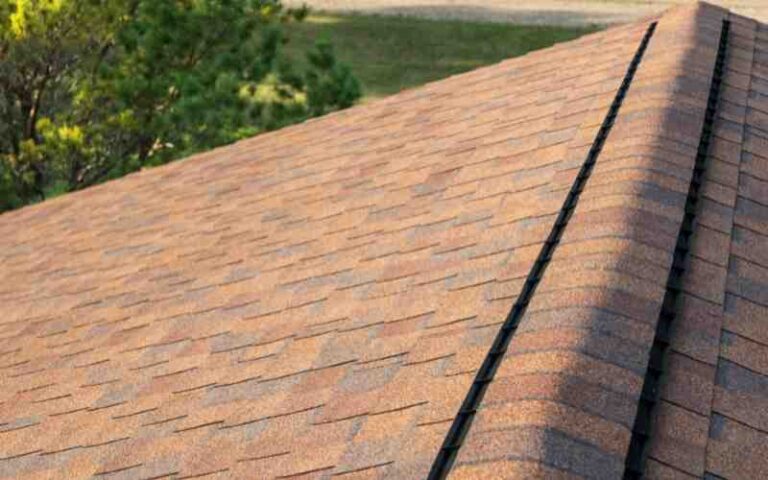
Cover the cricket and roof in shingles, securing them with shingle nails—bend shingles across the seams and over the top of the cricket. Let every shingle overlap so there is no gap.
Ensure you follow these steps to construct a good cricket that wouldn’t get spoiled easily or not do its work at all.
Make sure to read the local roofing codes to see the requirements in your area.
Benefits of Having a Roof Cricket and Drawbacks of Not Having a Roof Cricket
Having a Roof cricket is important. Let’s see its presence’s benefits and its absence’s detriments.
| Benefits | Drawback |
|---|---|
| Prevents damage to the roof by displacing collected water. | Damage to your roof would cost more to repair than installing a cricket |
| It prevents mold growth and fungi infestation | Introduction of fungi and molds into the house |
| It keeps moisture from getting into the wood | Excess moisture that will lead to wood rot |
| Stops wood rot from excess moisture | The collapse of the roofing frame due to water into it |
What Is The Purpose Of A Roof Cricket?
A Roof Cricket is used to reroute water from a place with a penetration. Like a chimney or skylight or two roofs. Like in this case, two gables.
Even flat roofs need crickets as a roof is never truly free of slopes which can collect water that should go towards gutters or drainages.
When you don’t install crickets in areas that collect water, the collected water will eventually evaporate, leaving debris and a dark spot on your roof.
Collected water can also weaken the roofing membrane over time, causing it to fail.
The places most likely to collect water are; drains, walls, chimneys, and the valley between two gables.
Best Waterproof Detail For A Cricket At The Valley Where Two Gables Come Together?
The valley between two gables tends to collect water, as already stated. The best way to line a cricket to make it waterproof is with a torch down with little bitumen.
Start from the bottom, moving up to the roof’s transition, and then the roof shingles by at least one foot.
From the lines of the intersecting planes on the slopes of the gables, torch the layer to full width.
Next, follow it with a layer of water and ice membrane—Line the difference in thickness with lauan. The gables descend to the valley using roofer nails to pin them to the roof’s sheathing.
Make sure you hire someone with experience using a fire source like a torch down to give your cricket fantastic detailing and waterproofing.
How Do You Frame An Intersecting Gable Roof?
A gable roof is geometrically simple, but the intersecting roof lines make it complex when two gables intersect.
If you’re used to the basic framing constituents of a typical gable roof, then the framing at the intersection is easy.
There are several methods to frame an intersecting gable roof. Here are different ways to frame intersecting gable roofs;
#1. Ridges
In a gable roof, the ridge board is the horizontally framing component that details the roof line. It goes from one end of a gar to another on the rooftop.
At the intersection of two gable roof lines, the ridge board of both roof lines meets.
In a conventional gable roof, the ridge board functions as a nailing surface for the edges of the upper rafters. The ridge board offers no support structurally for the roof.
Local building codes vary, and so does the method of joining the ridge boards; however, if the intersecting roof lines have no bearing, no special action is required.
#2. Structural Ridges
Unlike typical roof framing, where the roof board has no structural purpose, the rafters hold the roof’s weight. Structural ridges offer support to the roof’s weight.
Columns strengthen the structural ridge beam at the interiors of the building or ends of the gable. If ridge beams intersect, a ridge line must support it at that intersection.
#3. Common Rafters
Rafters run at slopes from the roof ridge to the wall tops. Rafters are the main support of the roof, and they reroute the vertical load of the roof through the walls to the ground.
Normally, the nail connects the rafters’ upper edges to the ridge beam, but in cases where the ridge board is absent, the ends collide with each other. In this situation, you reinforce the connection with a gusset plate.
#4. Valley Jacks And Valley Rafter
At the intersection of two gable roof lines, they form valleys. A valley rafter runs diagonally from the inside corner of the walls’ top to the ridge’s intersection.
On the other hand, valley rafters are short and run from the valley rafters to the ridges. The valley jacks transfer the weight of the roof to the valley rafters.
How Much Does A Roof Cricket Between Two Gables Cost?
The installation cost for a cricket depends on many variable factors like; the materials used, the position, and the size.
A typical cricket installation between two gable roofs is around $3000-$6000.
Seeing the price, it looks quite expensive, but this is nowhere near the cost of fixing a roof from leaks or even replacing them as collected water can weaken roofs, causing a compromise to your structure.
Moreover, the damage a leaking roof can cause is much. A leaking roof can also introduce fungi into the house, which in turn would cause pest problems and other issues.
Conclusion
Crickets are an important part of the roof. Construct them where necessary to avoid collected water causing any damage to your roof and costing you more in the long run.
You’ll spend money to rectify the accompanying issues if you don’t construct crickets.

