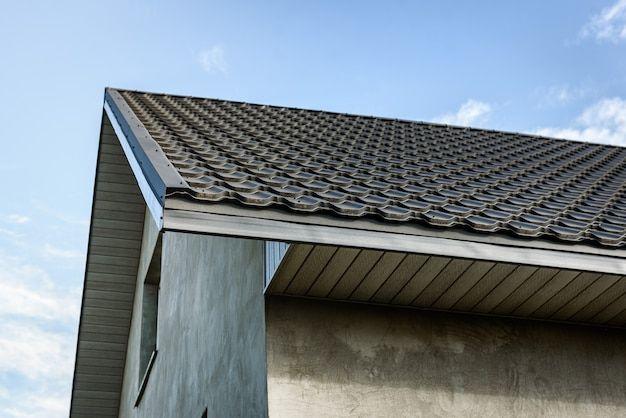
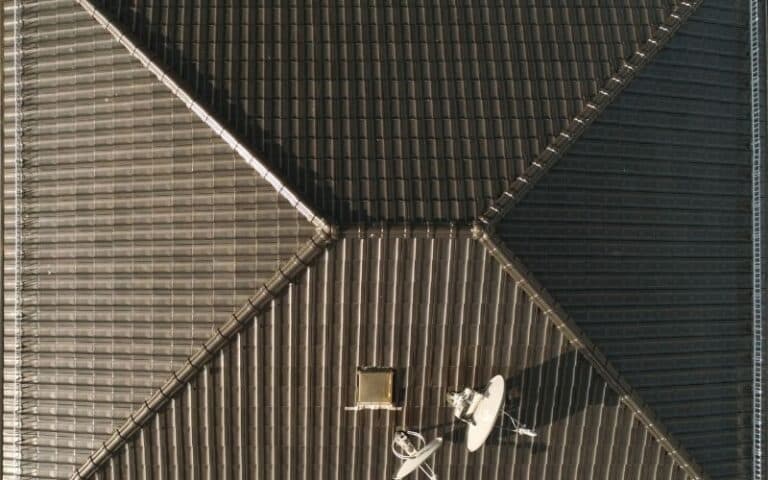
Roofing felts are sheets placed between the roof wood deck and the roof tiles. They usually consist of a natural or synthetic base and a protective coat made of bitumen.
One of the significant characteristics of felt is that it is water repellant. In addition, roofing felt adhesives help bind roofing layers felt to working surfaces.
These surfaces could be metal, wood, or concrete.
Due to the value of roofing felt adhesive, it is essential to apply it to the base surfaces correctly. This is to ensure durability and to prevent wastage. The length of time it takes for roofing felt adhesive to dry varies depending on some factors. One of the significant factors is the weather conditions.
Ready for a Roofing Quiz?
How Long Does It Take Felt Adhesive To Dry?
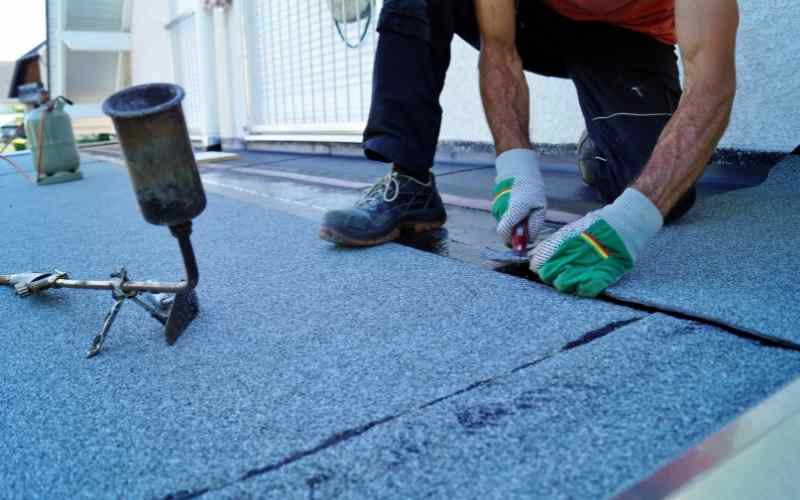
Typically, it takes a day, or two for roofing felt adhesive to dry properly. Therefore, it is always better to start this countdown after all felt installation must have taken place.
This advice is so that all the areas where the adhesive must have been applied have a reasonable amount of time to dry up.
The weather condition is one factor that determines how long it would take the felt adhesive to dry. It usually takes days and weeks for the glue to dry appropriately under rainy or snowy weather.
This is why it is preferable to carry out roofing projects on sunny days. This speeds up the drying process and the number of days it would take to begin and finish the project.
Another determining factor is the time it takes to place the felt on the adhesive. Usually, the adhesive is supposed to air dry for about 15 minutes before the felt is placed on it.
During this time, the adhesive ought to become tacky. Therefore, the stickier it becomes, the less time you will need for it to dry up after you’ve finished all applications.
The number of coatings applied is another determining factor. Most people like to apply more than one base coat of adhesive before laying down the felt.
This factor works hand in hand with the one above. The more the number of coatings applied, the more time it will take to feel tacky.
How Do You Apply Roof Felt Adhesive?
Applying roof felt adhesive to surfaces is quite an easy thing to do. But there is one crucial thing to note. Before and during the felt installation, always remember that your safety is paramount.
So, always put on appropriate work clothes and shoes. The main items needed are roof felt and the felt adhesive. Other tools required include:
Once you have all these items on hand, the next thing to do is get to work following the steps below.
#1. Prepare The Roof Surface
The first thing to do is to clean the roof surface thoroughly. If there is any old felt on the roof, it is best to take it down. Also, ensure to brush off any debris or oil on the roof.
This might reduce the efficiency of the adhesive if this step is not done correctly.
If you are re-felting your roof, it is essential to check the base woodwork. This is what serves as the base for the new installation. You should inspect it for rot or moss.
If there are signs of damage, it is best to replace the wood strips. You should also remove all nails so that they do not catch on the felt and damage it.
#2. Apply The Felt Adhesive
Using 50mm stiff brushes, apply the roofing felt adhesive on the clean, dry roof. The layer of adhesive applied should not be too thick or too thin.
It is best to follow the coverage guideline regarding the adhesive or the felt. The adhesive should also be spread evenly over the roof and then left to dry for about 15 minutes to one hour.
You can tell the adhesive is dried enough when it starts to feel tacky.
#3. Spread The Roofing Felt Over The Adhesive
There are two ways to spread the felt over the adhesive. The first is to roll out the felt over and cut at the end. The second way is to cut out measured sections of the felt and then spread them on the adhesive.
The second way is more accessible and saves you the stress of carrying the felt all the time.
To know the measurement to cut, you have first to measure the roof. When taking these measurements, it is essential to consider some excesses and overlapping material.
The extras are needed to protect the strips of wood at the edges of the roof.
After placing the felt on the adhesive, ensure it sicks appropriately without air pockets. You can use a lightweight roller to run over the felt wherever you notice trapped air and smoothen it out.
#4. Join Overlapping Roll Sections
Due to how roofing felts are made, you will have to have overlapping sections when placing them. It is advised to have about six to seven centimeters for the sides and the edges, 10 to 15 centimeters.
The felt adhesive should be applied on both sides of the roofing felt n moderate proportions with the stiff brush. Then it should be allowed to dry for some minutes before it is pressed down to help them stick.
Other optional steps depend on the structural material before they can be applied. For example, if your roof is made of wood, it is advisable to nail down the felt at the edges and overlapping areas.
This helps to hold down the felt to the roof. On the other hand, if the roof is made of concrete, you can use a primer during the preparation.
The primer must be completely dry before the felt is laid on the surface. This helps to boost the efficiency of the roofing felt adhesive.
#5. Allow The Roofing Felt Rest
After the whole roof has been covered, allow the felt to rest for at least 24 hours.
During this time, check the overlapping areas well and the edges to ensure that the adhesive holds appropriately and that the felt is adequately laid.
Most times, roofing felts are used as an underlying material beneath roof tiles or shingles. However, they can be used as the primary roof in outhouses like sheds and garages.
Depending on its management and maintenance, the roofing felt last for about 10 to 20 years. Therefore, it is ideal that it should be inspected yearly or at least every other year.
Related: Can You Use Roofing Felt Under Vinyl Plank Flooring?
What Is The Best Adhesive For Roof Felt?
Compared to the torch down roofing method, the best adhesive for roof felt is the cold-applied adhesive.
The lower felt layer is melted and welded to the roof using a blow torch with the torch-down method.
However, the cold-applied adhesives are safer and easier to install. There are many suitable cold-applied adhesives for roofing, depending on your budget.
Examples are the Everbuild Black Jack 904 Roof Felt Adhesive, IKOpro High-Performance Roofing Felt Adhesive, and the Bostik Bituminous Felt Adhesive.
So, these adhesives are highly resistant to water and other chemicals like dilute acids and alkalis. With them, you are guaranteed to get good value for your money.
Conclusion
Following the instructions above will ensure that your roofing felt installation goes smoothly. It is essential to store the adhesive in a warm room as it can thicken at colder temperatures.
Always make sure that the base material, whether wood or anything else, is dry before spreading the roof felt adhesive.

