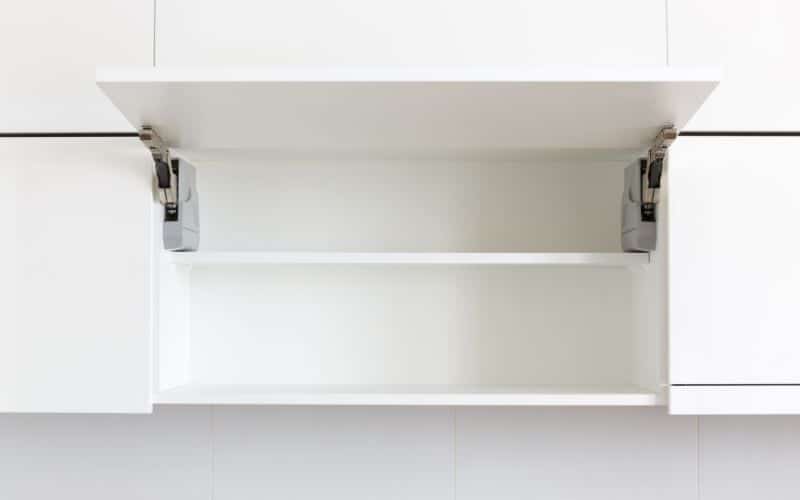
Cabinets are essential storage openings in different home parts, including the kitchen, bathroom, and storage room.
However, your cabinets will look bare without cabinet trims, like boxes attached to the floor or walls. Cabinet trims also give a room an aesthetic finishing touch.
A cabinet trim is a small, flat wood piece used to cover the bare edges of your cabinet to beautify and protect its soft edges. Below is a step-by-step guide to going about it.
To trim your cabinet opening, ensure you are familiar with its uses and have the right tools for the job. First, you must unscrew the cabin chips to separate them from the cabin opening and clean the cabinet edges. Then with a saw, trim the cabinet to the size you need. You can also repaint the cabinet and allow it to dry for a few days before replacing the cabinet clips.
Ready for a Roofing Quiz?
Ready for a Drywall Quiz?
How Do I Trim My Cabinet Openings?

Use a screwdriver to unscrew the cabin door clips to separate the cabin doors from the cabinet, then proceed to trim the cabinet openings.
However, before trimming our cabinet openings, ensure you have all the necessary tools. Trimming your cabinet allows you to change the decor of your kitchen cabinet.
It is also helpful in covering exposed holes in your cabinet paneling. Furthermore, you can paint the trim to match your room style and dimension.
Below are the tools you need to trim your cabinet:
- Clorox wipe
- Sanding block
- Clamp
- Brush
- Screwdriver
- Measuring tape
- Wood putty
- Paint Roller
To trim your cabinet openings:
Step 1:
Label the front and back of the cabinet with tape to help you distinguish which part is the front or back when you want to replace the cabinet doors.
Next, use a screwdriver to unscrew the nails and loosen all the cabin clips. Store the clips in a safe place so you don’t lose them while trimming the cabinet.
Step 2:
Place the doors on a horse saw stand or in a high-level position to balance the doors on a flat cabinet-level surface.
Next, use wipes to clean any dirt from the surface of the cabinet. Finally, use the sander block to sand the front side of the door.
Sanding will give the door a smooth surface and allow the primer to stick to the surface of the cabinets.
Step 3:
Next, use the woodcutter saw to cut the trim according to the size you require for the cabinets. Again, keep to the measurements to cut what you need.
If you want to increase the size of your cabinet, apply trim molding to your cabinet.
Step 4:
On each door, disperse the glue on the horizontal and vertical edges (at the top and bottom, and the left and right sides of the door), so you can stick the cabinet trim at the edges.
After gluing the trims to the sides of the door, allow it to dry. Then, use wood putty to fill the spaces between the joints of the trims.
Once dry, sand the trim with a sanding block until all edges are equal. Next, apply primer and a thin coat of paint to the trims and allow them to dry for two hours. Then reapply primer to the trim surface.
Step 5:
Place the cabinet door back in the kitchen and fill old empty holes with trim to make new holes for the screws. Use the screwdriver to screw the cabinet clips back in place.
Pros and Cons of Trimming Cabinet Openings
Though trimming your cabinets gives it a stylish and new look, it can also ruin the look of your room if you don’t plan the measurements correctly.
Here are some benefits and cons of trimming cabinet openings:
#1. Benefits
- It beautifies the cabinet and gives the room a different look.
- It helps fill the space between the cabinet and the ceiling
#2. Cons
- It can increase the shelves’ length, making the cabinets top out of reach.
- If you have a small kitchen, trimming your cabinet opening will make the area feel cramped and smaller.
- It can ruin your kitchen look if you fail to plan measurements properly.
Related: How To Transition Wainscoting To Door Casing?
What Kind of Trim Goes Around Cabinet Openings?
Cabinet molding goes around the cabinet openings. It is a long, decorative wood that you can use to cover the opening between the cabinet and its ceiling.
Available in varying styles and designs, trim moldings give your cabinet a stylish and personal look.
Moreover, you can install the trim molding above or below the cabinet or tight in front of the cabinet.
Among the different types of moldings available, here are some of the typical cabinet moldings:
| Types of Cabinet Molding | Description |
|---|---|
| Crown molding | The crown molding gives the cabinet a decorative crown look since it rests at the top of the cabinet. |
| Insert molding | It is decorative molding with a stylish insert that gives the cabinet a custom-built look. |
| Light rail molding | This molding helps hide the lighting fixtures under the cabinet while enhancing the cabinet’s beauty. |
| Stacked molding | This is a group of crown moldings stacked above another on the cabinet, hence the name. |
| Baseboard molding | Provides a furniture-like dressing on the toe-kick part of the cabinet base. |
How Do You Shave the Side of a Cabinet?
You can use a hand plane to shave the side of your cabinet. Shaving the cabinet is handy when you create space for an appliance or slightly adjust the cabinet size.
Trimming the cabinet is not ideal if you only want to lose a little space in the cabinet. Before shaving the cabinet, ensure you have the following tools:
- Hand plane
- Finishing tools like paint, brushes, and wood finish
- Sanding block
To shave the side of your cabinet:
- Adjust the measurement of the plane wheel to a shallow cutting level to avoid over-cutting. You can tighten the plane knob to increase the cutting as required.
- Apply the hand plane on the surface of the cabinet side with pressure. Ensure the tip of the hand tool is facing downwards.
- Make downward strokes with the hand plane till you have shaved the side of the cabinet to your liking.
- Use the sanding block to smooth the shaved surface and remove any imperfections.
- Keep the sander in regular up-down motion on the surface of the cabinet until it is smooth enough.
- Use refinishing tools to finish the shaved surface of the cabinet. If your cabinet is painted, you can finish the surface by using a coat of paint on its surface.
- If it is a wooden cabinet, you might require a clear wood finish to refinish your cabinet.
Related: Exterior Trim Nail Size! (Choose The Correct One)
What Is the Best Saw for Cabinet Trimming?
The best saw for cabinet trimming is the miter saw. It is also popularly known as a chop saw. It is best for cutting small lengths of wood with short widths, like trim cuttings or shiplap.
#1. Miter Saw
The miter saw is also an excellent choice if you are a beginner in DIY woodwork because it is easy to handle.
You can also use this type of saw to cut 4×4 to 6 inches wide lumbers. Again, this depends on the size of your miter saw, as it works best on small pieces of wood.
You can also use the miter saw to create different angles on your piece of wood, especially on small cuttings.
Apart from this type of saw, you can also use a circular saw, also known as a skill saw.
#2. Circular Saw
A circular saw is a handheld tool that can cut different angles of cuts. It works best when cutting cross cuts; you can adjust it to get the depth of wood cut you want.
The circular saw also has various attachments that allow you to use it differently, including cutting large plywood sheets and angled cuts like that of a miter saw.
This type of saw is also cheap and versatile to handle, which makes it a good choice for starters. In addition, you can adjust the saw to fit different features like dual bevel or miter cuts.
Related: Can You Put Window Trim Over Siding?
How Do You Cut Kitchen Cabinets Without Chipping Them?
Install a laminate blade in your miter saw to cut your kitchen cabinets without chipping them.
The laminate blades cut directly through the wood while reducing the number of chippings coming off the wood.
The blade pushes the chippings down against gravity instead of scattering the wood pieces like your typical metal saws.
Conclusion
Trimming your cabinet is easy, but you need the right tools to perfect the trim measurements. Use laminate blades to prevent chipping the cabinet wood.
Though easy, you must ensure you can continue the trimming process. If not, contact a professional to trim the cabinet for you.


