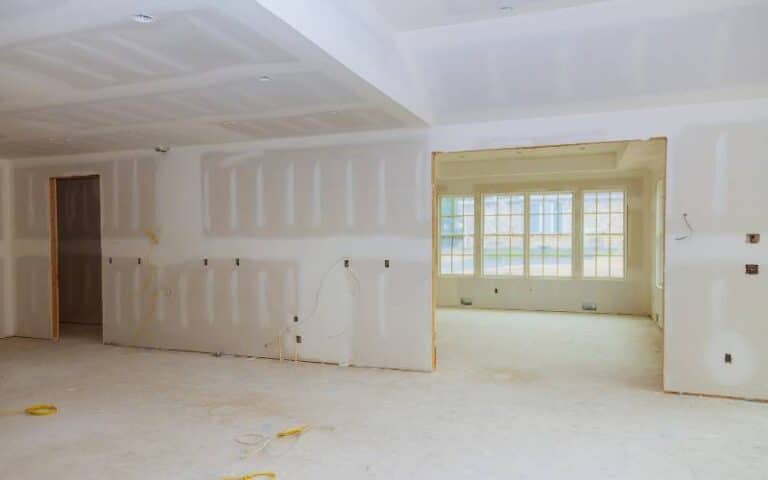
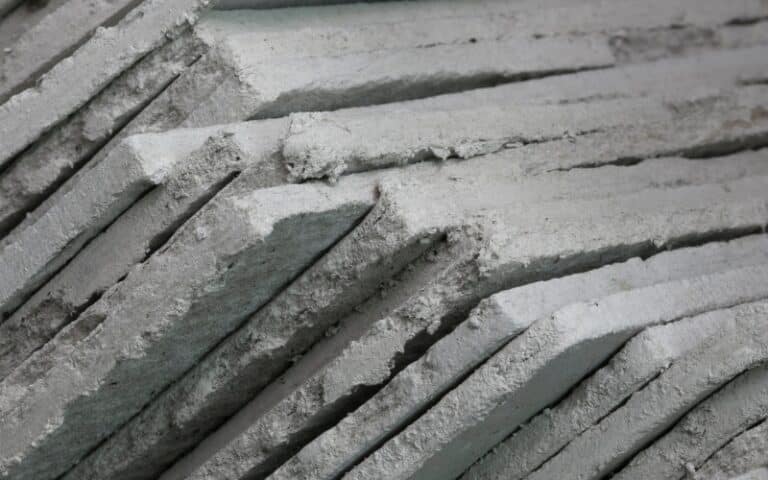
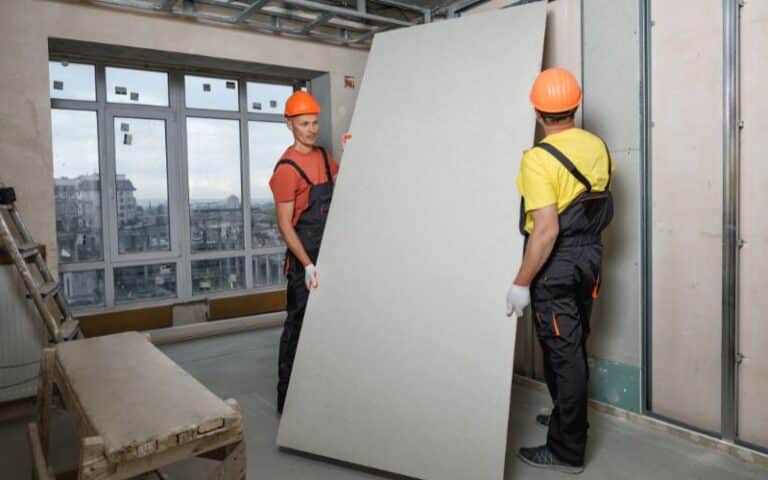
Joint compound, also known as drywall, is a common finishing used for house interiors. It’s applied before painting.
However, it may become visible through your wall for several reasons.
One is flashing, which occurs when drywall particles bleed through paint. It takes some careful steps to prevent or cover up flashing.
And in this article, we’ll examine the reasons for joint compound flashing and steps/suggestions on how you can fix them.
Differences in your wall’s texture are one reason joint compound particles become visible through the paint. You can fix this by scraping away these particles and reworking them on the patched area with putty and drywall knives, fine-grit sand or primer, a textured roller, and a coat of the original paint on your wall.
In this article, you’ll learn more about joint compound flashing, how to identify it, and the steps you can take to hide or cover them up.
Ready for a Roofing Quiz?
Ready for a Drywall Quiz?
What Causes Joint Compound Flashing Through Paint?
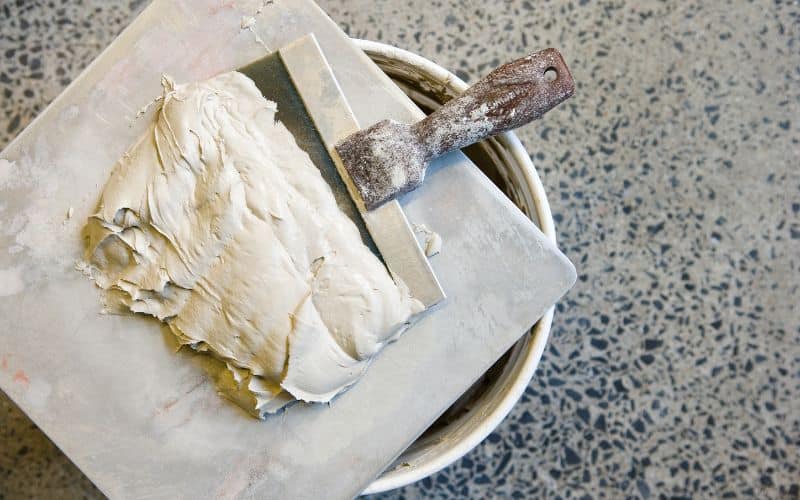
Several reasons can cause joint compound flashing. And they are
#1. Uneven Texture
One major reason you can see drywall patches through your paint job is the difference in texture between patched and unpatched areas.
The reason is that patched areas appear smoother than the rest of your wall.
Although it may not be visible from all corners, the patched area becomes clear under the right lighting effects.
And since patched areas are smoother and often reflect differently with proper lighting, unprimed areas that have absorbed paint quickly will start to appear very dry.
It may then spread to the rest of the surrounding wall and cause flashing.
Also, apart from the smooth textures of drywall, your repairing process is another reason drywall compounds will flash through your paint.
If you don’t prime drywall properly, the final paint will not adhere to the wall’s surface properly, making the surface with no primer appear dull and flat.
Also, the quality of the paint and paint rollers you use may cause flashing. Poor paint and rollers may result in thick and thin patterns and textures on your wall.
However, you can fix most flashing issues using a coat of satin paint.
#2. Lumber Issues
Not using the right lumbar is another reason drywall or joint compound flashing occurs.
This issue is common with new homeowners, as they use green lumber (fresh wood), which naturally absorbs high moisture and shrinks as it dries out.
The shrinking movement over time causes tiny cracks to appear through your drywall. And this is why these tiny cracks or fractures are common in newly built homes.
#3. Leaks/Water
Leaks are widely known when it comes to starting drywall flashing and cracks.
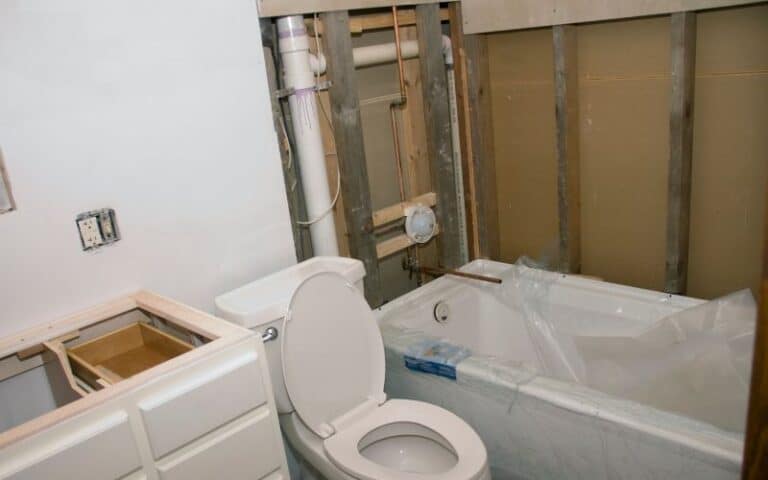
Water invasion in homes causes damage to plasterboard (sheetrock) from a broken water pipe, roof, window, etc.
This water causes stains to appear on the affected wall. Afterward, the invading water will saturate your drywall, resulting in wall cracks.
In most cases, the surface of the cracks is wet to the touch, and you may even see dews of water droplets on your wall’s exterior.
#4. Bad Tape Job
When installing plasterboard, the grooves between the drywall you plaster with mud usually have tapes.
So it will roll away from the drywall when you can’t complete the taping. When this happens, it removes some of the joint compound finishing.
If it occurs in several locations, it’s always best to re-tape the grooves to prevent this problem from happening some other time.
#5. Unoccupied Dwellings
Leaving your house vacant for a long period can cause drywall flashing because your home doesn’t regulate temperature and humidity in your absence.
And this can cause expansion and shrinkage in the drywall compound.
However, with recent technology, you can set a thermostat on your vacation home with just a tap of a button.
#6. Trouble with Foundation
Generally, foundation settlement and heave can put too much pressure on your home’s foundation.
While both are different (settlement sinks the foundation downwards, while heave shoves the foundation upwards), they often have overlapping signs and symptoms.
That said, here are some signs of flashing on your foundation to look out for:
- Thick cracks on drywall that increase in length and broaden over time.
- Cracks that begin from your windows or doors.
- Cracks treading through drywall can result from excessive pressure transmitted to the drywall.
- Bowing, leaning, or bulging on drywall compound.
How to Fix Flashing on Painted Drywall?
Although you can apply paint over a patched drywall area, it doesn’t solve the problem because the patch will still be evident.
So, a better option will be to tune the defect to blend with the wall’s texture around the area that needs patching.
Therefore, the following are steps you can take to fix a drywall compound:
- Using a putty knife, scrape out any swollen or loose drywall particles, like a loose seam or bad tape.
- Using a flat-faced hammer, lightly tap the raised area to make a small dent and remove any remaining drywall particles.
- Next, using a 10-Inch drywall knife, apply a light layer of the drywall compound to the spot that needs patching.
- When this area has been smoothened to a seam, add a new piece of tape over it.
- Then, apply another thin layer of joint compound on the tape, and allow it to dry out completely.
- Using fine-grit sanding paper, sand the patched area thoroughly to align any raised area.
- Afterward, wipe the dust that may appear from the sanding, and apply another layer of the drywall compound. Allow the area to dry out, and then repeat the process.
- Finally, wipe your wall and apply at least two primer coats to the patched area. Then, using a roller, apply a double-coat paint finishing.
Your paint finish can be the initial paint you used. But, if the original paint used on the wall is unavailable, take the paint can to any local stores near you for a new one.
But, if you can’t get it, you can buy a color match for the original paint. However, you may have to repaint the entire wall if it isn’t close enough.
Furthermore, as a new homeowner, you may want to refrain from fixing any flashing or cracks on your wall until the wood used has completely dried out.
After you do this, you may be able to fix any drywall flashings or cracks with a putty knife, paint, tape, or primer, without having to worry about the issue occurring again.
Regarding cracks and leaks, be sure you’ve fixed the leaking source before fixing any water damage issues.
Similarly, with foundation issues, the main source of the problem needs to be properly addressed.
Otherwise, you’ll have to keep patching up and repainting your house for the rest of your stay there.
Does Priming Drywall Prevent Flashing After Painting?
You may still experience flashing even after using drywall primers.
However, it would be best to use primers to ensure an even patterned texture of your wall before painting.
Drywall or joint compounds are more porous than the materials that make up the rest of your wall.
And, due to this porous exterior, not using a primer will make the drywall patches appear like dull spots on the wall’s surface.
So, it is very important to apply a primer on the exterior of your wall before it’s painted, as it helps prevent wall finishing from appearing dry or flat from the rest of the surrounding wall.
Also, you should note that priming works better with more complicated repairs.
Additionally, it’s also important to consider the finishing products you use on a repair job, especially when it’s on the surface of your property.
Nevertheless, it’s your call on whether you want your house primed. However, some pros and cons to priming that may aid you in making a better decision are:
| Pros | Cons |
|---|---|
| Wall dries out quickly, so you can apply paint immediately after sanding. | The appearance of blemishes over time is due to differences in the texture of the surrounding wall. |
| You can repair small flashings with a topping or AP mud | Primed touch-ups on larger patches will broaden and elongate. |
| You’re less likely to have issues with flashing in the future. | It won’t take long for flashings or cracks to become visible on the wall. |
| Primed walls are relatively smoother and reflect lights differently. | Unprimed walls will absorb paint more and differently while leaving dry patches visible on your wall. |
How to Hide Patches Flashing Through Drywall?
Here are more suggestions on how to hide or cover up patches from appearing through drywall:
#1. Ensure Drywall Flushing
If your wall is untextured, it will help if you ensure that the joint compound is in alignment with the wall.
You can do this by spreading out the joint or drywall compound a little beyond the surroundings of the application.
Then, you’ll need to sand until the drywall compound dries.
Also, since your fingers are more reliable here than your sight, you’ll need to use your fingers to lightly check if there are any flashes left on the wall.
#2. Priming
As mentioned earlier, priming is necessary for larger and more complicated repairs.
So, if you’re experiencing a little flashing, you may skip this step and head straight to the next.
#3. Painting the Affected Area First
It’s best to do this before you take out the rollers. You can use a small brush to cover the area you fixed.
It’s always best to follow this step because if you don’t, the unpatched area will have a different texture from the rest of your surrounding wall.
#4. Painting Job
Finally, you can use your roller to paint the rest of your wall. Examine the repaired area properly, just like any other area.
The color and texture should be perfectly blended once it dries out thoroughly.
However, it would be best if you never used matte paint as this would make your painting glossier and make any defects visible.
Related: How To Bend Vinyl Flashing?
Conclusion
Drywall flashing can leave relatively ugly marks on your wall. However, with the above suggestions, you’ll surely eliminate those pesky flashes on your wall.
Also, before addressing any drywall issues, it would be best if you traced the main source of the problem entirely so the problem doesn’t spring up again after fixing it.

